How to Run Sensor Cables Through USB Cables
by Kat
Introduction
You might have noticed that sensor cables don’t come in a convenient round shape, which you sometimes need. A relatively easy solution is to grab a length of USB cable and solder the sensor cable wires onto the USB wires, and here are some easy instructions to get it working:
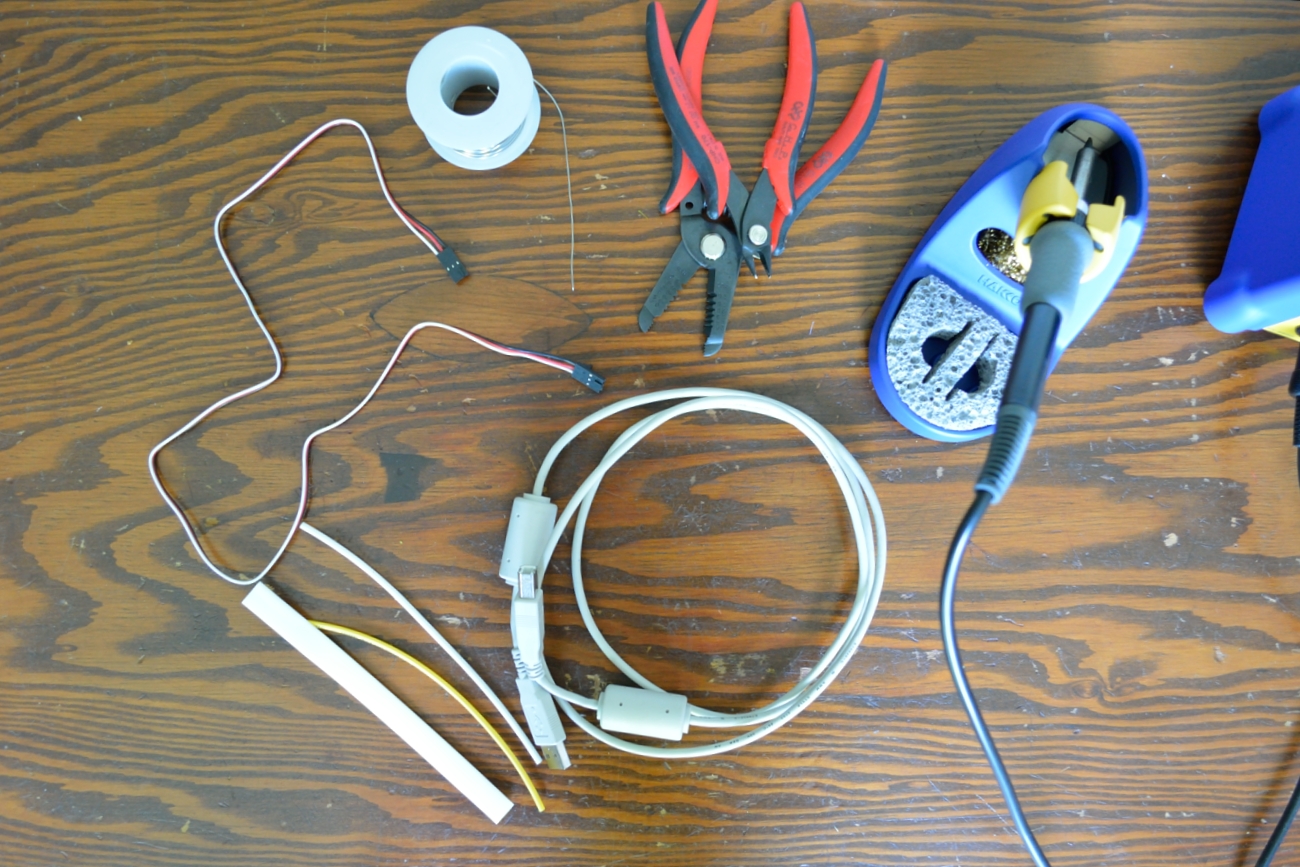
To make a cable, you’ll need:
- One or two Phidgets sensor cables
- A USB cable of appropriate length for your project
- Heat shrink (or electrical tape)
- Solder and soldering iron
- Wire strippers and wire cutters
To put it all together:
1. Cut off the ends of the USB cable. Strip 2-3 cm of the outer plastic, as well as the shielding. On each wire inside, strip 3mm off the end.
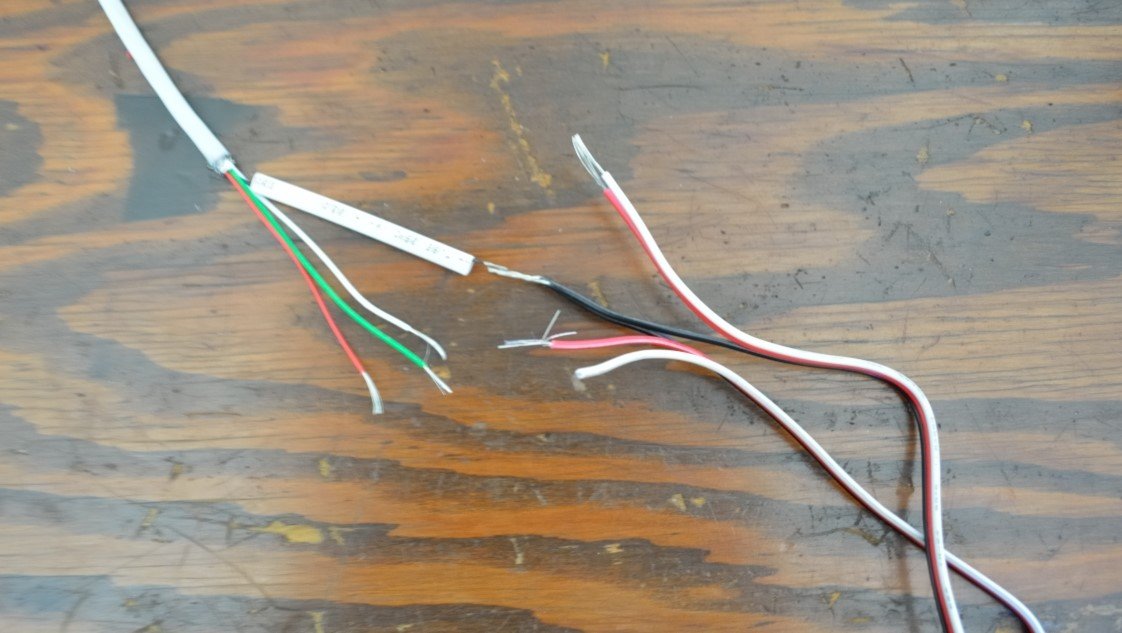
2. Cut the sensor cable in half. strip 3mm off the end of each wire.
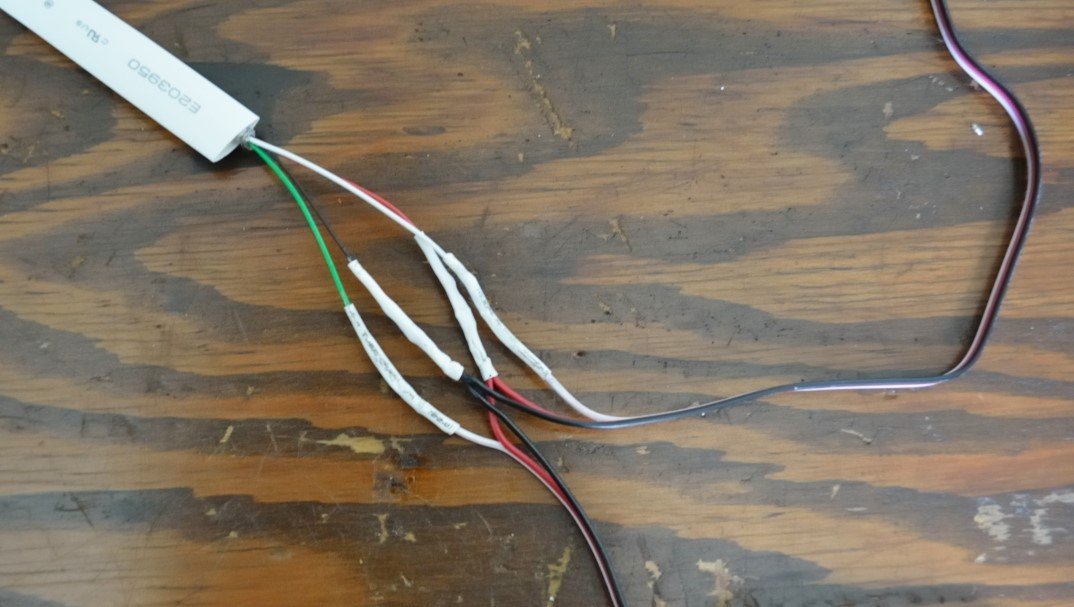
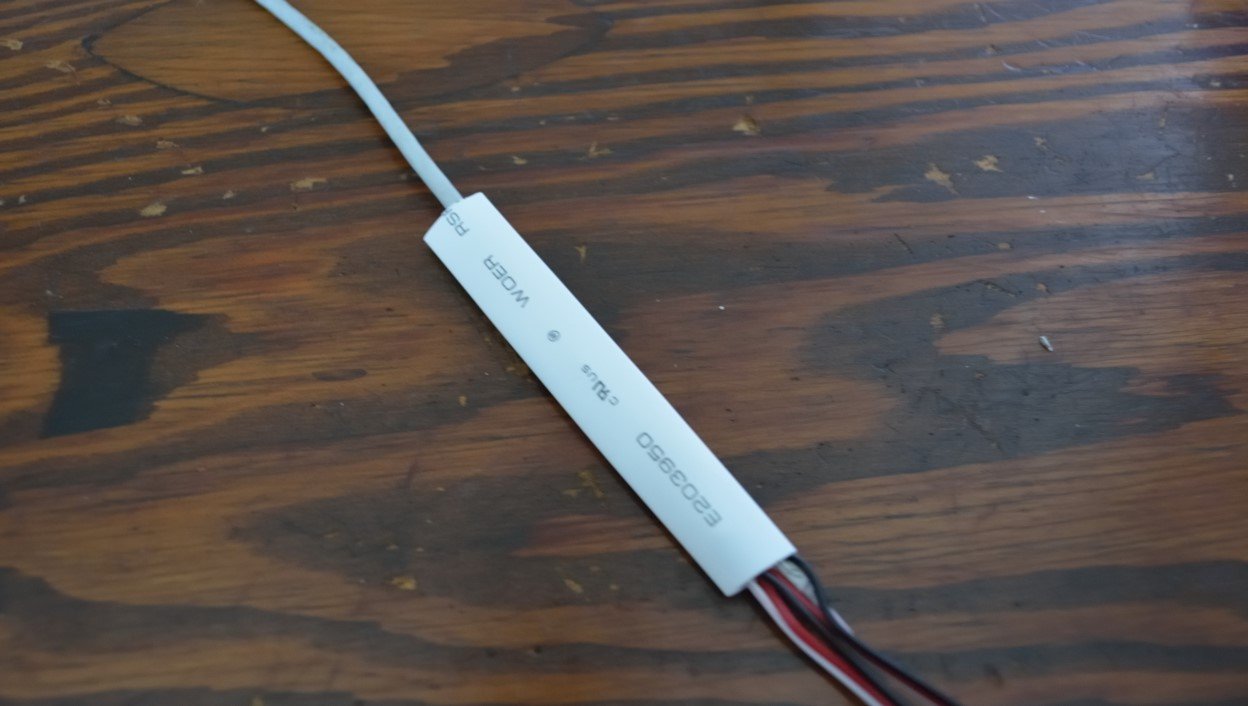
3. Cut one piece of wide (7mm diameter) heat shrink to 7cm and four pieces of narrow (2mm diameter) heat shrink to 3cm long each. Put the larger piece over the entire USB cable for later. Put the narrow pieces over each individual USB wire.

4. You can run up to two sensor cables through a USB 2.0 cable. The power (red) and grounds (black) will be shared. Make sure you clearly label which analog input (white wire of the Phidgets sensor cable) will be run through which wire in the USB cable (green or white), so you don’t mix them up on the other end.
5. Solder the cables together: black to black, red to red, and white to white (or green).
6. Use the heat shrink (or electrical tape) to insulate the exposed wire.
7. You can then do another pass of heat shrink (or electrical tape) to tie everything together, but this is more of an aesthetic improvement.
8. Repeat for the other end of the cable.
