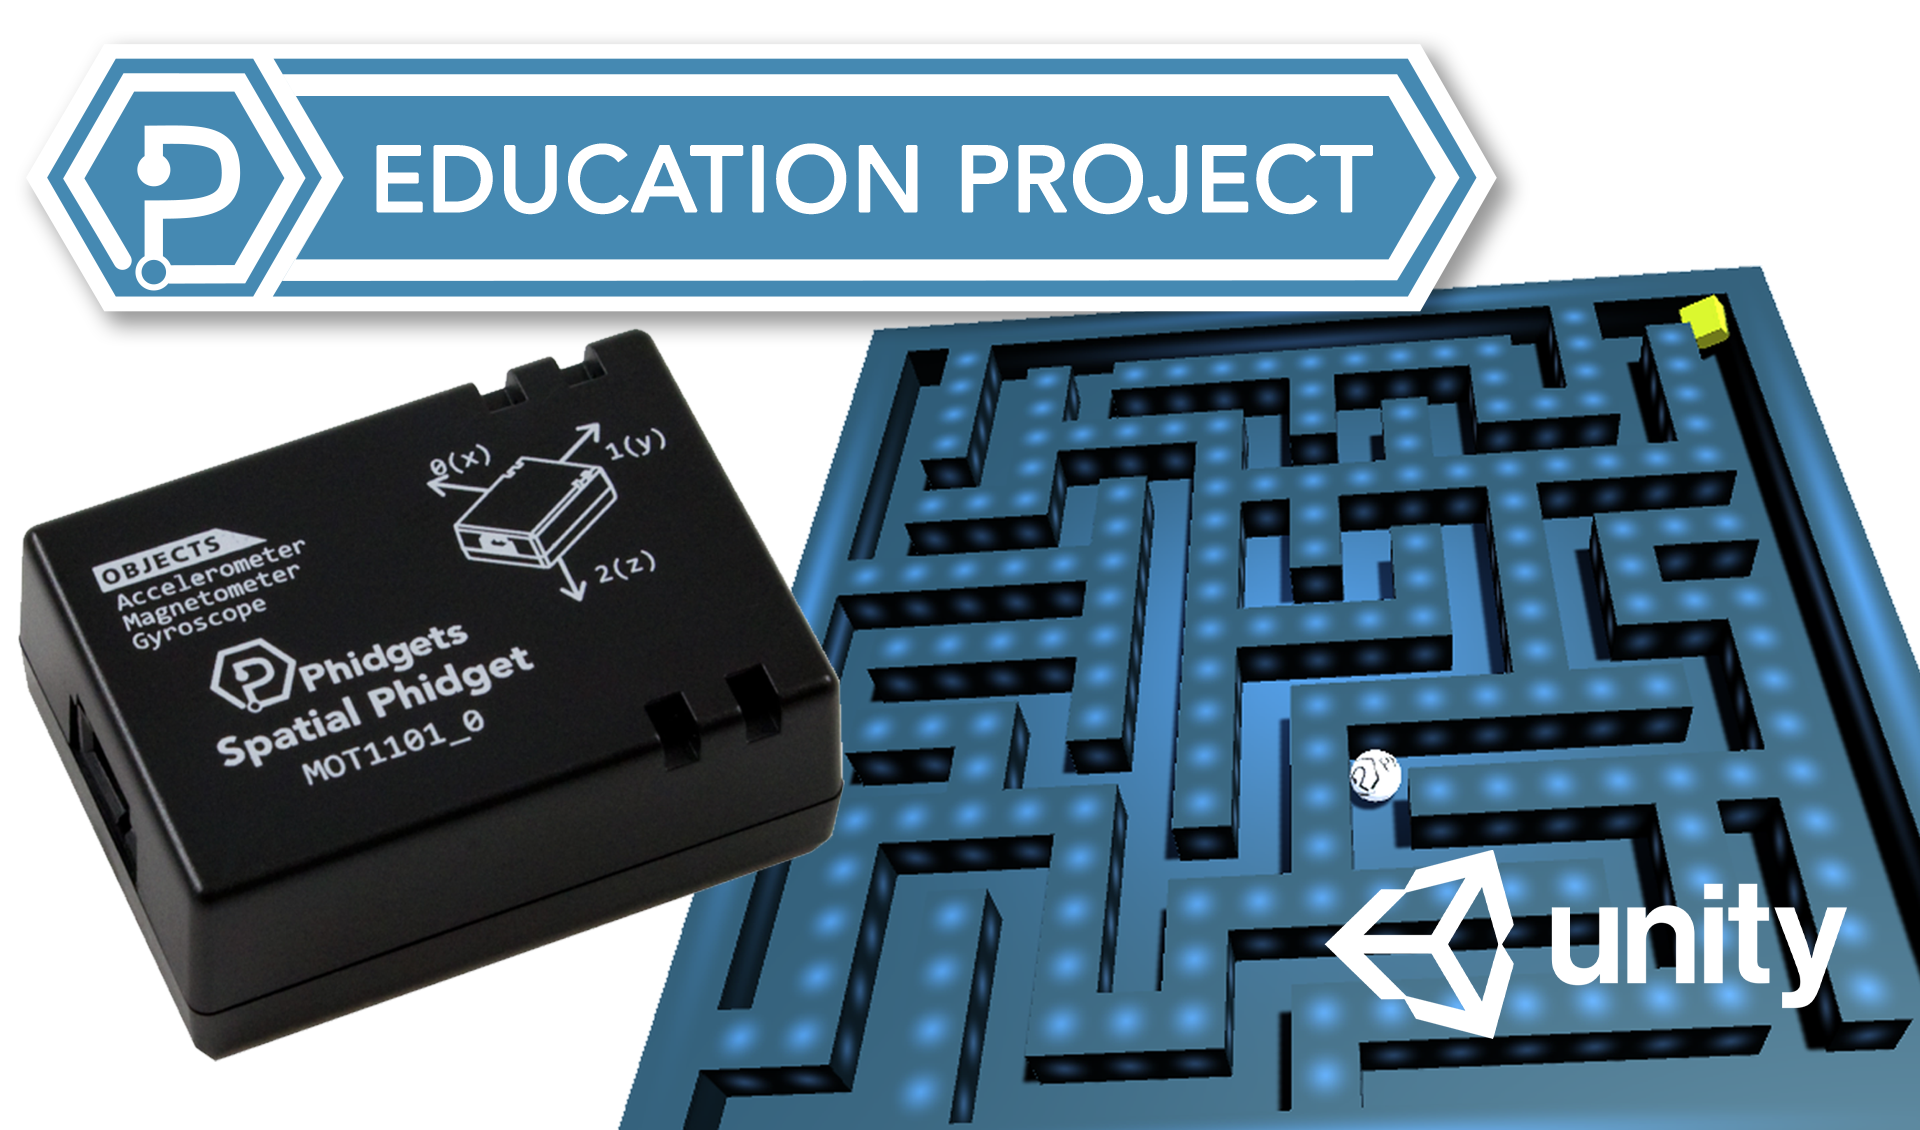
Interactive Maze: Spatial Phidget and Unity Software
Create an interactive Unity game with the Phidget Spatial
Intermediateby Ben
Prerequisites
This project assumes you have completed the following guides:
- The Getting Started Kit. For more information, check out the Student Page
- The Phidgets and Unity Tutorial
- The Spatial Tutorial
- You will need access to Unity Software
- The Roll-a-Ball Tutorial. You will need to reuse the play area with raised edges and yellow collectibles
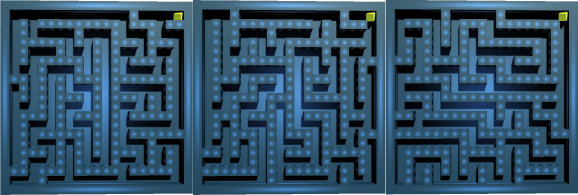
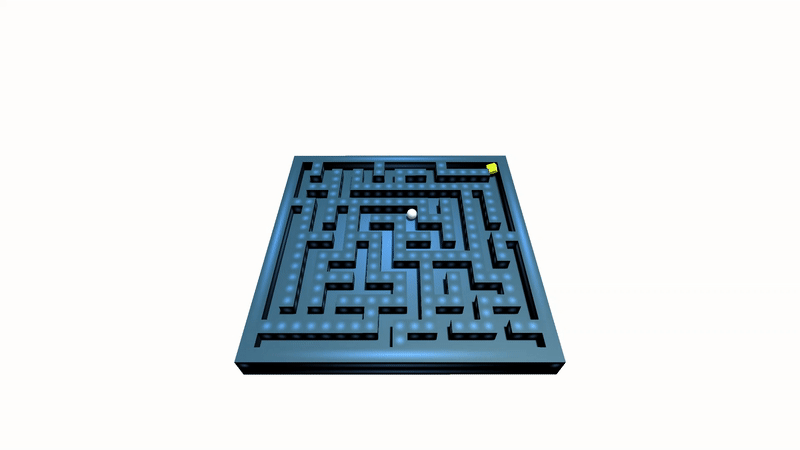
Goal
The goal of the game is to get the ball through the maze. The orientation of the maze is directly linked to the Spatial Phidget. The maze graphic is created using the Unity Roll-a-Ball Tutorial, which should be completed before beginning this project (see prerequisites).


Interpreting Data
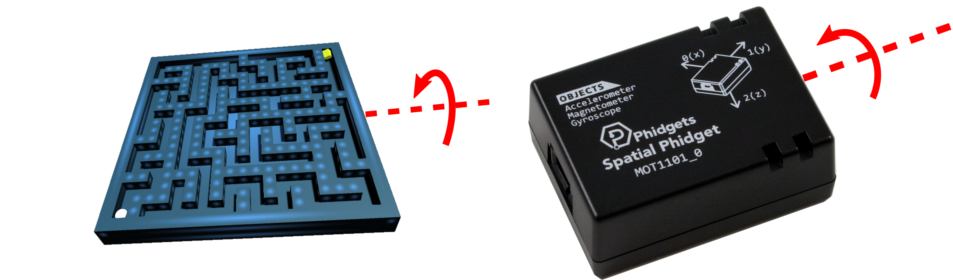
The Spatial Phidget's accelerometer can measure all accelerations experienced by the sensor, including the acceleration
due to gravity. Because this acceleration always points down, it can be used to calculate orientation.
Read the
Calculating Tilt Angles Tutorial for a detailed explanation.
Here are the relevant equations for reference:
`theta = "roll angle "phi = "pitch angle"`
`M_x = "Measured x-axis acceleration"`
`M_y = "Measured y-axis acceleration"`
`M_z = "Measured z-axis acceleration"`
Software
Step 1: Setup
When your program starts, you need to create your accelerometer object. See the flow chart to the right for details on how to set up the accelerometer object.
//create Phidget object outside of Start() so it can be used in other methods
Accelerometer accel = new Accelerometer();
void Start()
{
//TODO: Address, Register for Events
// Open
}
For now, skip the maze creation and just have your ball on a flat surface. Generating a maze will be discussed below.
Step 2: Events
Next, you can add your events.
Attach Event
void OnAttach(object sender, AttachEventArgs e)
{
//TODO: Set data interval to minimum
}
void OnDetach(object sender, DetachEventArgs e)
{
//TODO: Pause game
}
void OnSpatialData(object sender, SpatialSpatialDataEventArgs e)
{
//example of accessing acceleration data
double xAxis = e.Acceleration[0];
double yAxis = e.Acceleration[1];
double zAxis = e.Acceleration[2];
//TODO: Calculate tilt angles
//store angles in variables for use in Fixed Update
}
Step 3: Main loop
Updates
Next, you can take a look at your update code. There are two used in this project:
- Update
- Fixed Update
Your Update code will handle things like an escape key being pressed to exit the game, or the space key being pressed to reset the ball and generate a new maze.
In your Fixed Update code, you should convert your angles and rotate your maze. This process is described in more detail below!
Mapping Tilt to the Maze
Calcluated your tilt angles using the fomula described in the previous section. The next step is converting them into a form Unity understands. Unity uses a system to describe rotations called Quaternions. You can convert your accelerometer angles to a Quaternion like so:
void FixedUpdate()
{
//Convert accelerometer angles to quaternion format
Quaternion target = Quaternion.Euler(/*pitch angle here (in DEGREES)*/, 0, /*roll angle here (in DEGREES)*/);
//TODO: Rotate table to match accelerometer
}
Hint: Check out the Slerp
function on the Unity API if you are stuck.
Reaching Goal
When the ball reaches the goal, you will need to end the game and print a win statement. For bonus points, you could try having multiple levels of increasing maze difficulty. When the goal is reached, the level is passed and the next stage is generated.
Closing Application
As always, you will want to properly close your Phidget objects when an application ends.
Add the following Unity method to your code:
void OnApplicationQuit()
{
    //TODO: Close Phidget object
}
Step 4: Finishing Your Game
After making sure the maze tilts properly, the game is almost complete. Any good maze needs walls to complete it and here are two ways to go about it.
- Manually create and layout the walls.
- Automate the process using a Maze Generation Algorithm
By using an automated system, users can reset their ball and generate new mazes by simply pressing
the space bar.
Tinkering
To put the final touches on the game, try tinkering with the physics options. Changing gravity and the angular drag on the ball can change the responsiveness of the system. Additionally, it can be helpful to spawn the player ball a bit above the maze's surface to ensure it does not fall through or stick to the surface.
Conclusion
You now have a maze that is controled by a Spatial Phidget! With this project, you combined graphics generated through Unity and user data input from your Phidget to create an interactive game.
Check out these other projects that use Unity:
If you have any suggestions for future Phidgets Education projects, let us know at education@phidgets.com