Language - C Sharp: Difference between revisions
| (316 intermediate revisions by 10 users not shown) | |||
| Line 1: | Line 1: | ||
C# | {{#seo:|description=Learn how to use Phidget USB devices with C#.}} | ||
[[Category:Language]] | |||
== | ==Get Started== | ||
With the Phidget22.NET library, it's easy to create C# applications that work with Phidget devices. | |||
==C# Libraries== | |||
===Nuget Package=== | |||
The Phidget22.NET library is available as a [https://www.nuget.org/packages/Phidget22.NET/ nuget package]. This is the recommend way to install and manage the Phidget22.NET library. | |||
====macOS Considerations==== | |||
Phidget devices running a HID USB stack require the installation of the macOS libraries or the standalone Phidget Control Panel ([{{SERVER}}/docs/OS_-_macOS download here]). | |||
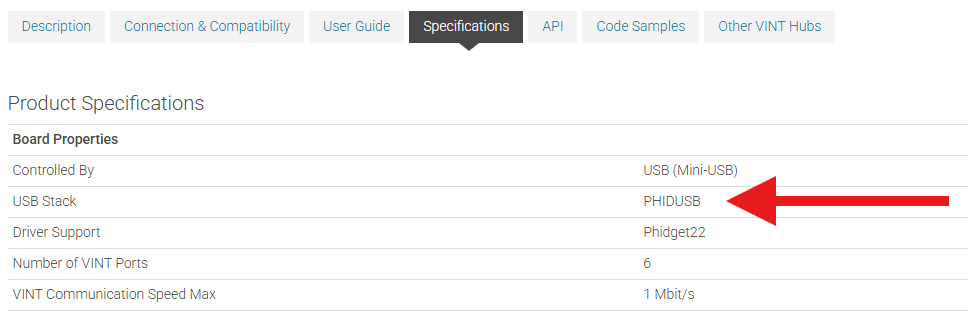
To determine what USB stack your Phidget device is on, navigate to the product page and then to the specification tab, and look for the ''USB Stack'' specification. If you are using a VINT device, navigate to the product page for the VINT Hub you are using. | |||
= | [[Image:Javascript_networkserver_webusb_spec.png|center|600px|link=https://cdn.phidgets.com/docs/images/8/80/Javascript_networkserver_webusb_spec.png]] | ||
=== | ====Linux Considerations==== | ||
Linux restricts access to USB devices to the root user. To run your .NET application as a regular user, you'll need to [{{SERVER}}/docs/OS_-_Linux#Setting_udev_Rules set up udev rules] on your system. | |||
===Library Files=== | |||
If you would like to manually manage the Phidget22.NET library files, you can download them [https://cdn.phidgets.com/downloads/phidget22/libraries/windows/Phidget22-windevel.zip here]. | |||
===Visual Studio | ==Development Environment Configuration== | ||
Visual Studio | ===Visual Studio=== | ||
{| style="margin:auto;" class="table-no-border mw-collapsible mw-collapsed" | |||
|+ '''Instructions''' | |||
| Create your Visual Studio project, and navigate to the '''Solution Explorer'''. From there, right-click on '''Dependencies''' and select '''Manage NuGet Packages...'''|| [[Image:Language_csharp_vs_managenuget.png|center|350px|link=https://cdn.phidgets.com/docs/images/c/cc/Language_csharp_vs_managenuget.png]] | |||
|- | |||
| Next, click '''Browse''' and enter '''Phidget22.NET''' in the search bar. || [[Image:Language_csharp_vs_browsenuget.png|center|350px|link=https://cdn.phidgets.com/docs/images/6/61/Language_csharp_vs_browsenuget.png]] | |||
|- | |||
| Click on the package and press the '''Install''' button. || [[Image:Language_csharp_vs_installnuget.png|center|350px|link=https://cdn.phidgets.com/docs/images/b/b8/Language_csharp_vs_installnuget.png]] | |||
|- | |||
| Finally, add your C# code and run it using the button at the top of the screen. || [[Image:Language_csharp_vs_run.png|center|350px|link=https://cdn.phidgets.com/docs/images/5/5a/Language_csharp_vs_run.png]] | |||
|- | |||
|} | |||
===Visual Studio Code=== | |||
{| style="margin:auto;" class="table-no-border mw-collapsible mw-collapsed" | |||
|+ '''Instructions''' | |||
| Install the [https://marketplace.visualstudio.com/items?itemName=ms-dotnettools.csdevkit C# Dev Kit extension for Visual Studio Code].|| [[Image:Language_csharp_vscode_installext.png|center|350px|link=https://cdn.phidgets.com/docs/images/b/b8/Language_csharp_vscode_installext.png]] | |||
|- | |||
| Next, create a directory and open it in Visual Studio Code. You can do this by opening Visual Studio Code and selecting '''File > Open Folder...''' || [[Image:Language_csharp_vscode_newfolder.png|center|350px|link=https://cdn.phidgets.com/docs/images/4/43/Language_csharp_vscode_newfolder.png]] | |||
|- | |||
| Open the Command Palette (Ctrl + Shift + P), type '''.NET: New Project''', and press Enter. A list of supported project types will appear. || [[Image:Language_csharp_vscode_netnewproject.png|center|350px|link=https://cdn.phidgets.com/docs/images/f/f7/Language_csharp_vscode_netnewproject.png]] | |||
|- | |||
| Select your preferred project type from the list. For this example, we will select '''Console App'''. || [[Image:Language_csharp_vscode_netconsoleapp.png|center|350px|link=https://cdn.phidgets.com/docs/images/b/bc/Language_csharp_vscode_netconsoleapp.png]] | |||
|- | |||
| Next, we need to add the Phidget22.NET library using NuGet. Open the Command Palette again (Ctrl + Shift + P), and enter '''NuGet: Add NuGet package...'''. | |||
|| [[Image:Language_csharp_vscode_addnugetpackage.png|center|350px|link=https://cdn.phidgets.com/docs/images/2/26/Language_csharp_vscode_addnugetpackage.png]] | |||
|- | |||
| When prompted, enter '''Phidget22.NET''' and install the latest package.<br><br>'''Note''': Ensure you are downloading the latest version which can be seen [{{SERVER}}/?view=changelog here]. Visual Studio Code may incorrectly show an older version as the ''latest'' by default.|| [[Image:Language_csharp_vscode_phidget22net.png|center|350px|link=https://cdn.phidgets.com/docs/images/d/d5/Language_csharp_vscode_phidget22net.png]] | |||
|- | |||
|- | |||
| Finally, add your C# code and run it using the button at the top of the screen. || [[Image:Language_csharp_vscode_runcodepng.png|center|350px|link=https://cdn.phidgets.com/docs/images/d/dc/Language_csharp_vscode_runcodepng.png]] | |||
|- | |||
|} | |||
=== | ===.NET Command-Line Interface (CLI)=== | ||
{| style="margin:auto;" class="table-no-border mw-collapsible mw-collapsed" | |||
|+ '''Instructions''' | |||
| Download and install the latest version of.NET from [https://dotnet.microsoft.com/en-us/download/dotnet Microsoft's .NET download page].|| [[Image:Language_csharp_cli_download.png|center|350px|link=https://cdn.phidgets.com/docs/images/9/90/Language_csharp_cli_download.png]] | |||
|- | |||
| Next, open a command prompt or terminal in a new folder and enter the following command: | |||
<syntaxhighlight lang=bash> | |||
dotnet new console | |||
</syntaxhighlight> | |||
|| [[Image:Language_csharp_cli_newconsole.png|center|350px|link=https://cdn.phidgets.com/docs/images/3/3a/Language_csharp_cli_newconsole.png]] | |||
|- | |||
| This previous command will create a new console application at the folder location. || [[Image:Language_csharp_cli_newproject.png|center|350px|link=https://cdn.phidgets.com/docs/images/c/cb/Language_csharp_cli_newproject.png]] | |||
|- | |||
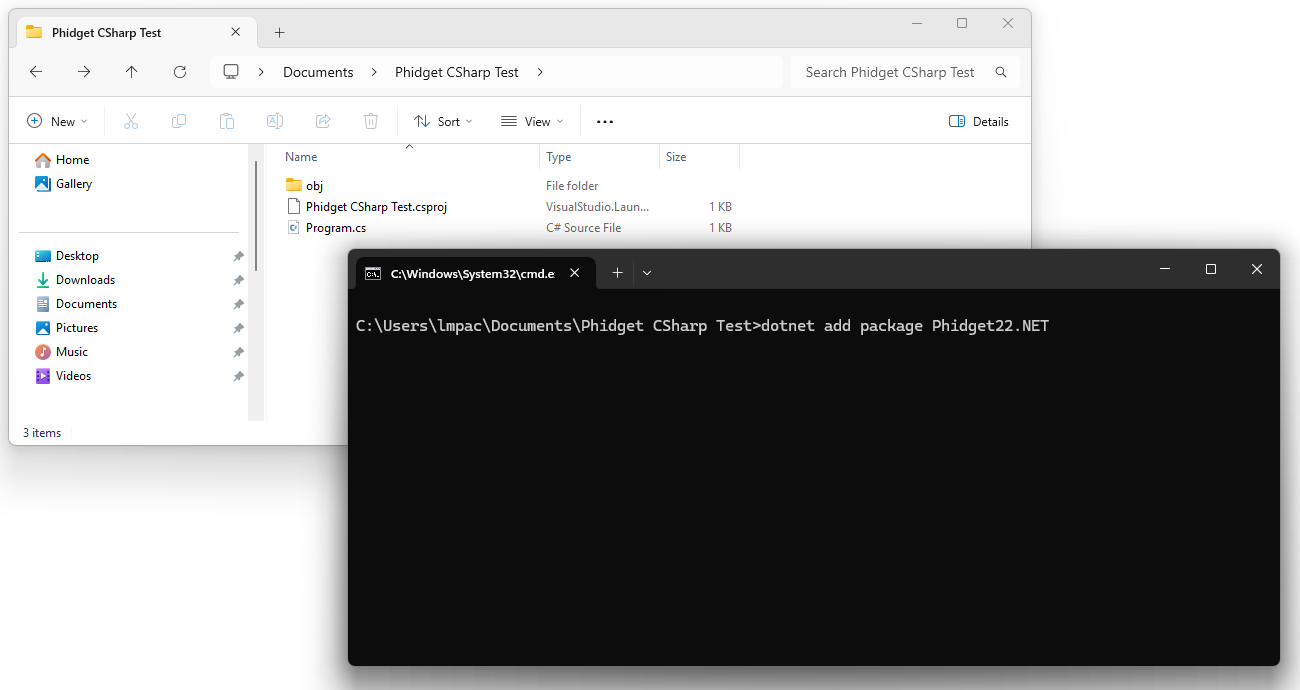
| Navigate back to the command prompt or terminal, and add the Phidget22.NET package with the following command: | |||
= | <syntaxhighlight lang=bash> | ||
dotnet add package Phidget22.NET | |||
</syntaxhighlight> | |||
|| [[Image:Language_csharp_cli_addpackage.png|center|350px|link=https://cdn.phidgets.com/docs/images/7/78/Language_csharp_cli_addpackage.png]] | |||
|- | |||
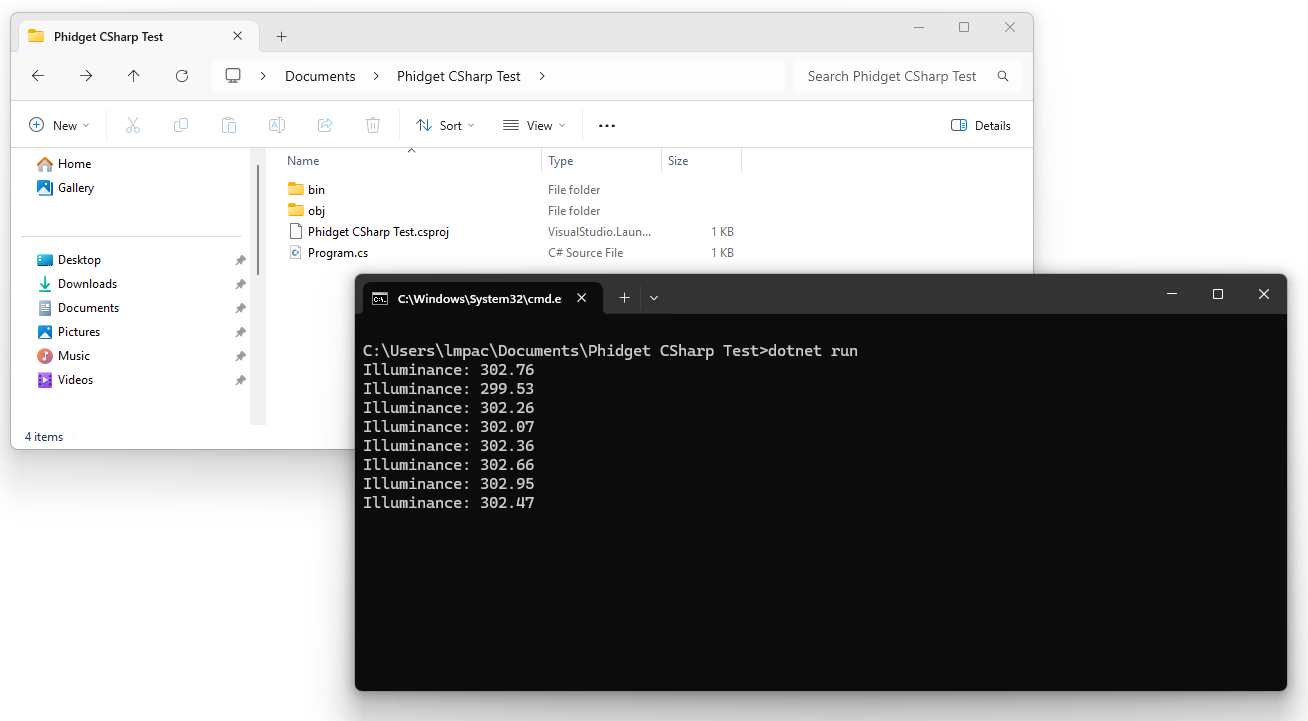
| You can now open the '''Program.cs''' file and add your code. Run the program by entering the following command into your command prompt or terminal: | |||
<syntaxhighlight lang=bash> | |||
dotnet run | |||
</syntaxhighlight> | |||
= | || [[Image:Language_csharp_cli_runcode.png|center|350px|link=https://cdn.phidgets.com/docs/images/f/f3/Language_csharp_cli_runcode.png]] | ||
|- | |||
|} | |||
=== | ==Example Code== | ||
Navigate to our [https://www.phidgets.com/?view=code_samples&lang=CSharp Code Sample Generator] to view and download code samples that are tailored to your specific device. | |||
= | [[Image:Language_csharp_codesample.png|center|600px|link=https://cdn.phidgets.com/docs/images/0/03/Language_csharp_codesample.png]] | ||
===Phidget Programming Basics=== | |||
{{PhidgetProgrammingBasicsLink}} | |||
==API== | |||
[{{SERVER}}/?view=api&lang=CSharp Phidget22 API] | |||
== | |||
{ | |||
} | |||
Latest revision as of 19:47, 13 June 2025
Get Started
With the Phidget22.NET library, it's easy to create C# applications that work with Phidget devices.
C# Libraries
Nuget Package
The Phidget22.NET library is available as a nuget package. This is the recommend way to install and manage the Phidget22.NET library.
macOS Considerations
Phidget devices running a HID USB stack require the installation of the macOS libraries or the standalone Phidget Control Panel (download here).
To determine what USB stack your Phidget device is on, navigate to the product page and then to the specification tab, and look for the USB Stack specification. If you are using a VINT device, navigate to the product page for the VINT Hub you are using.
Linux Considerations
Linux restricts access to USB devices to the root user. To run your .NET application as a regular user, you'll need to set up udev rules on your system.
Library Files
If you would like to manually manage the Phidget22.NET library files, you can download them here.
Development Environment Configuration
Visual Studio
| Create your Visual Studio project, and navigate to the Solution Explorer. From there, right-click on Dependencies and select Manage NuGet Packages... | 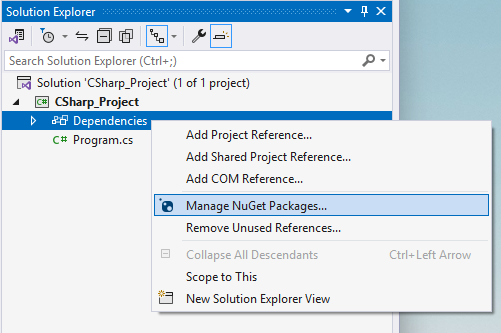 |
| Next, click Browse and enter Phidget22.NET in the search bar. | 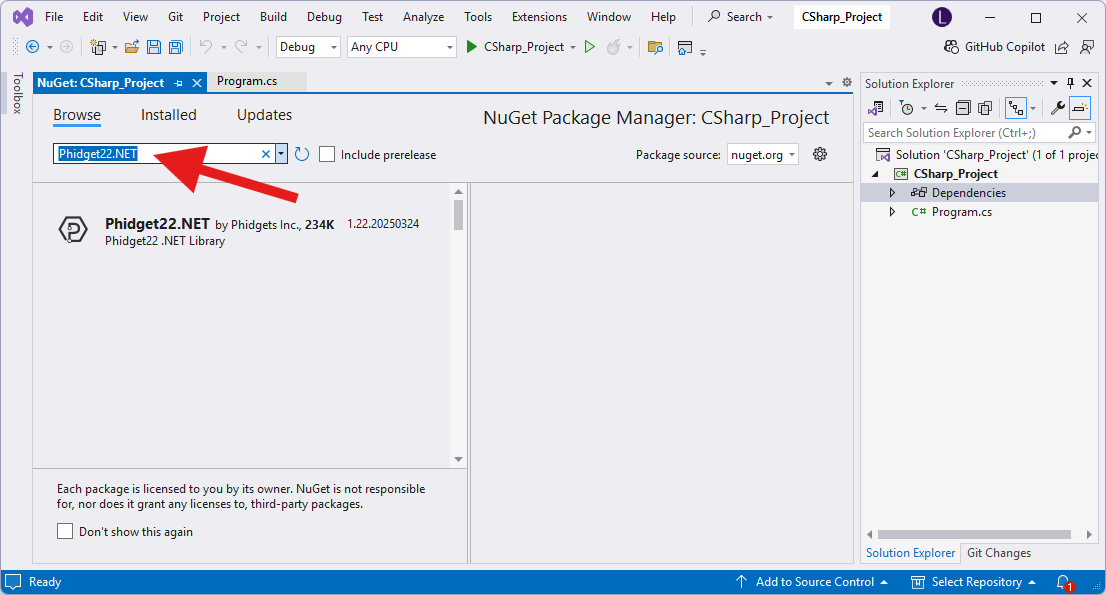 |
| Click on the package and press the Install button. | 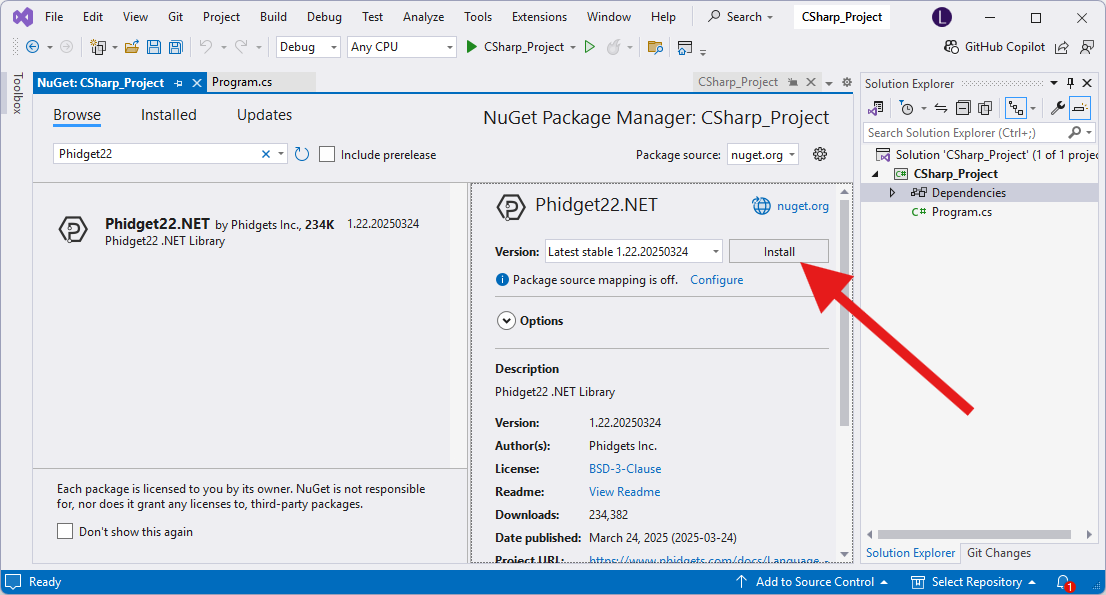 |
| Finally, add your C# code and run it using the button at the top of the screen. | 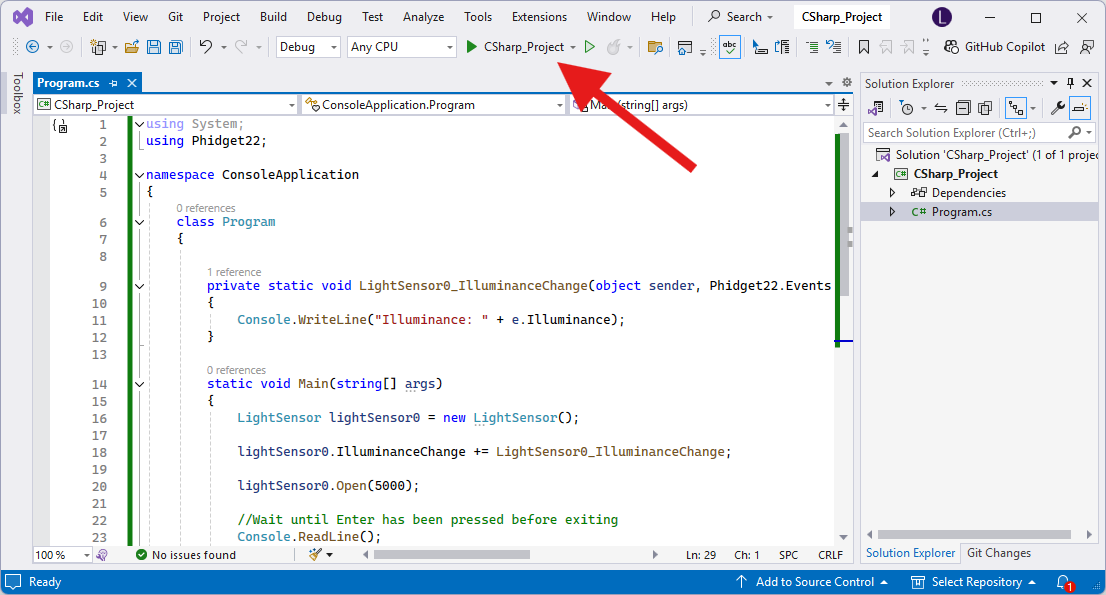 |
Visual Studio Code
| Install the C# Dev Kit extension for Visual Studio Code. | 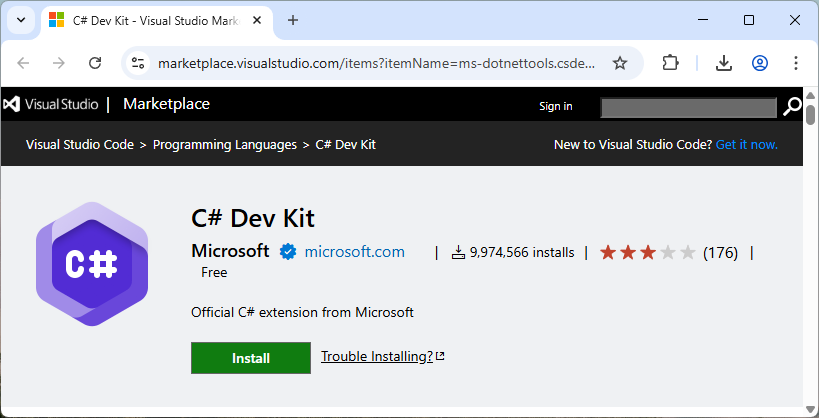 |
| Next, create a directory and open it in Visual Studio Code. You can do this by opening Visual Studio Code and selecting File > Open Folder... |  |
| Open the Command Palette (Ctrl + Shift + P), type .NET: New Project, and press Enter. A list of supported project types will appear. | 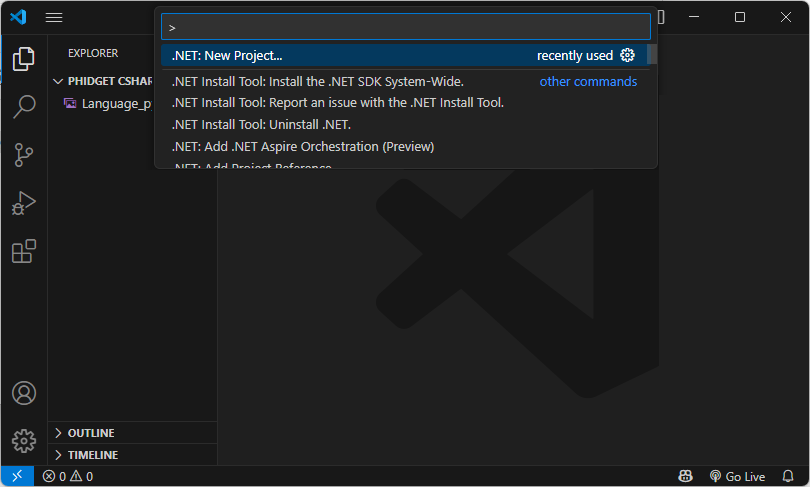 |
| Select your preferred project type from the list. For this example, we will select Console App. |  |
| Next, we need to add the Phidget22.NET library using NuGet. Open the Command Palette again (Ctrl + Shift + P), and enter NuGet: Add NuGet package.... | 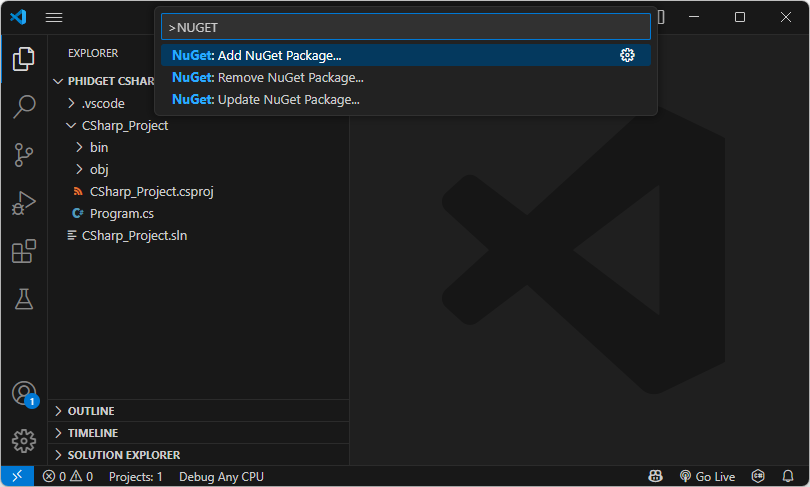 |
| When prompted, enter Phidget22.NET and install the latest package. Note: Ensure you are downloading the latest version which can be seen here. Visual Studio Code may incorrectly show an older version as the latest by default. |
 |
| Finally, add your C# code and run it using the button at the top of the screen. | 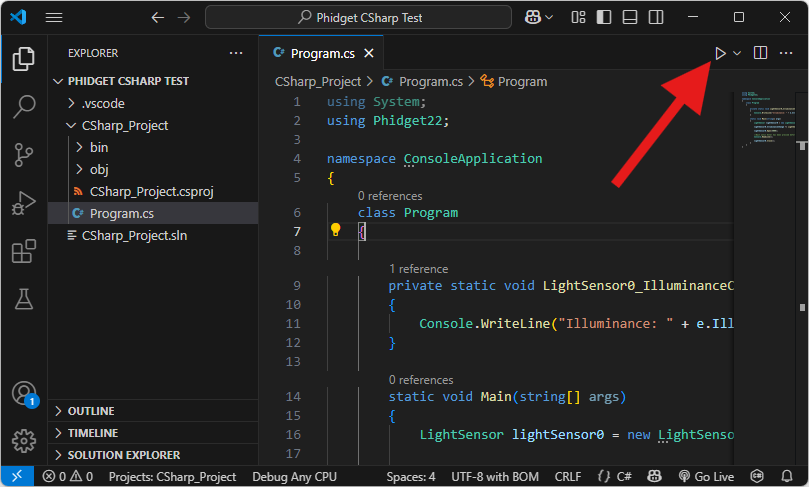 |
.NET Command-Line Interface (CLI)
| Download and install the latest version of.NET from Microsoft's .NET download page. | 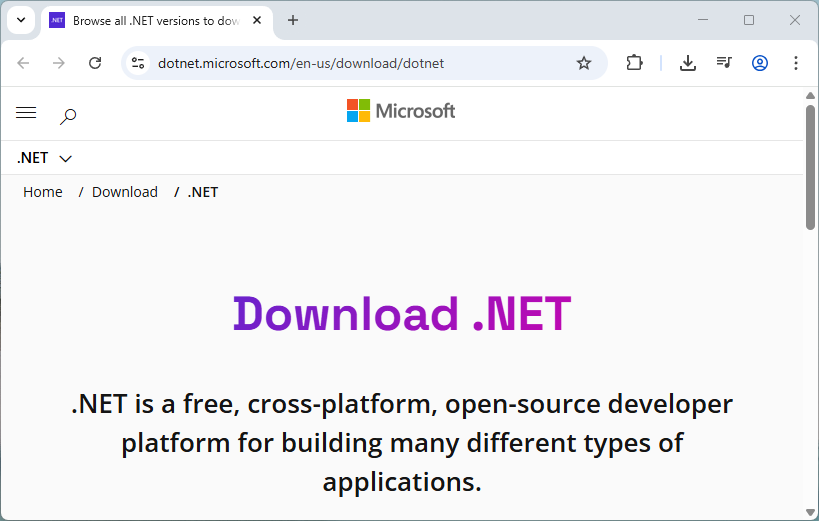 |
Next, open a command prompt or terminal in a new folder and enter the following command:
dotnet new console
|
 |
| This previous command will create a new console application at the folder location. | 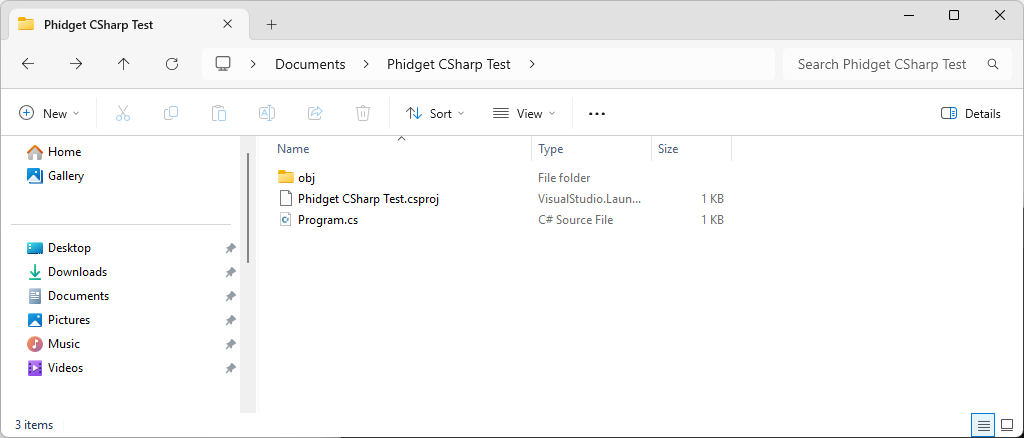 |
Navigate back to the command prompt or terminal, and add the Phidget22.NET package with the following command:
dotnet add package Phidget22.NET
|
 |
You can now open the Program.cs file and add your code. Run the program by entering the following command into your command prompt or terminal:
dotnet run
|
 |
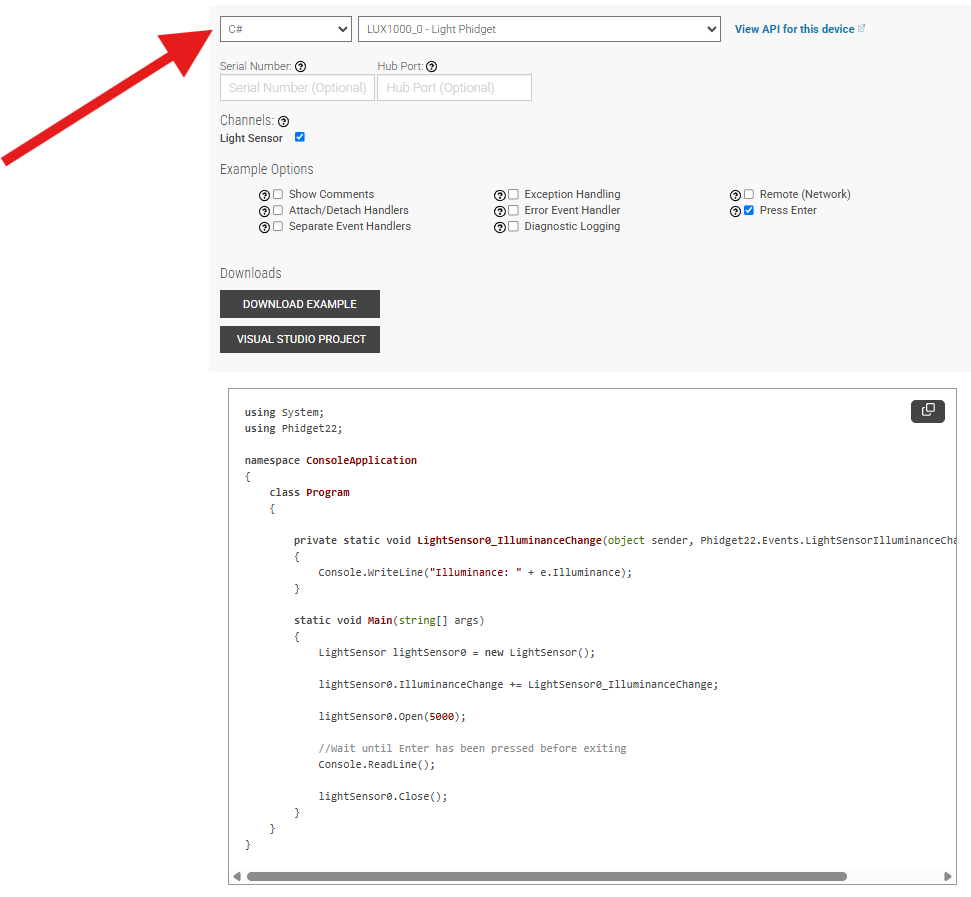
Example Code
Navigate to our Code Sample Generator to view and download code samples that are tailored to your specific device.
Phidget Programming Basics
To learn more about the structure of the example code, visit our Phidget Programming Basics guide.