Setup
Before getting started, make sure you have the following parts.
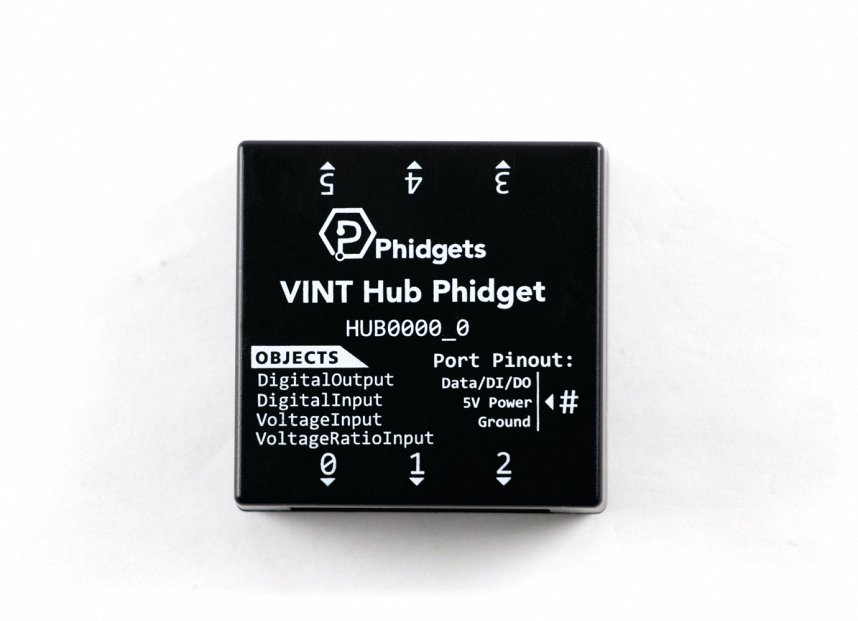
VINT Hub

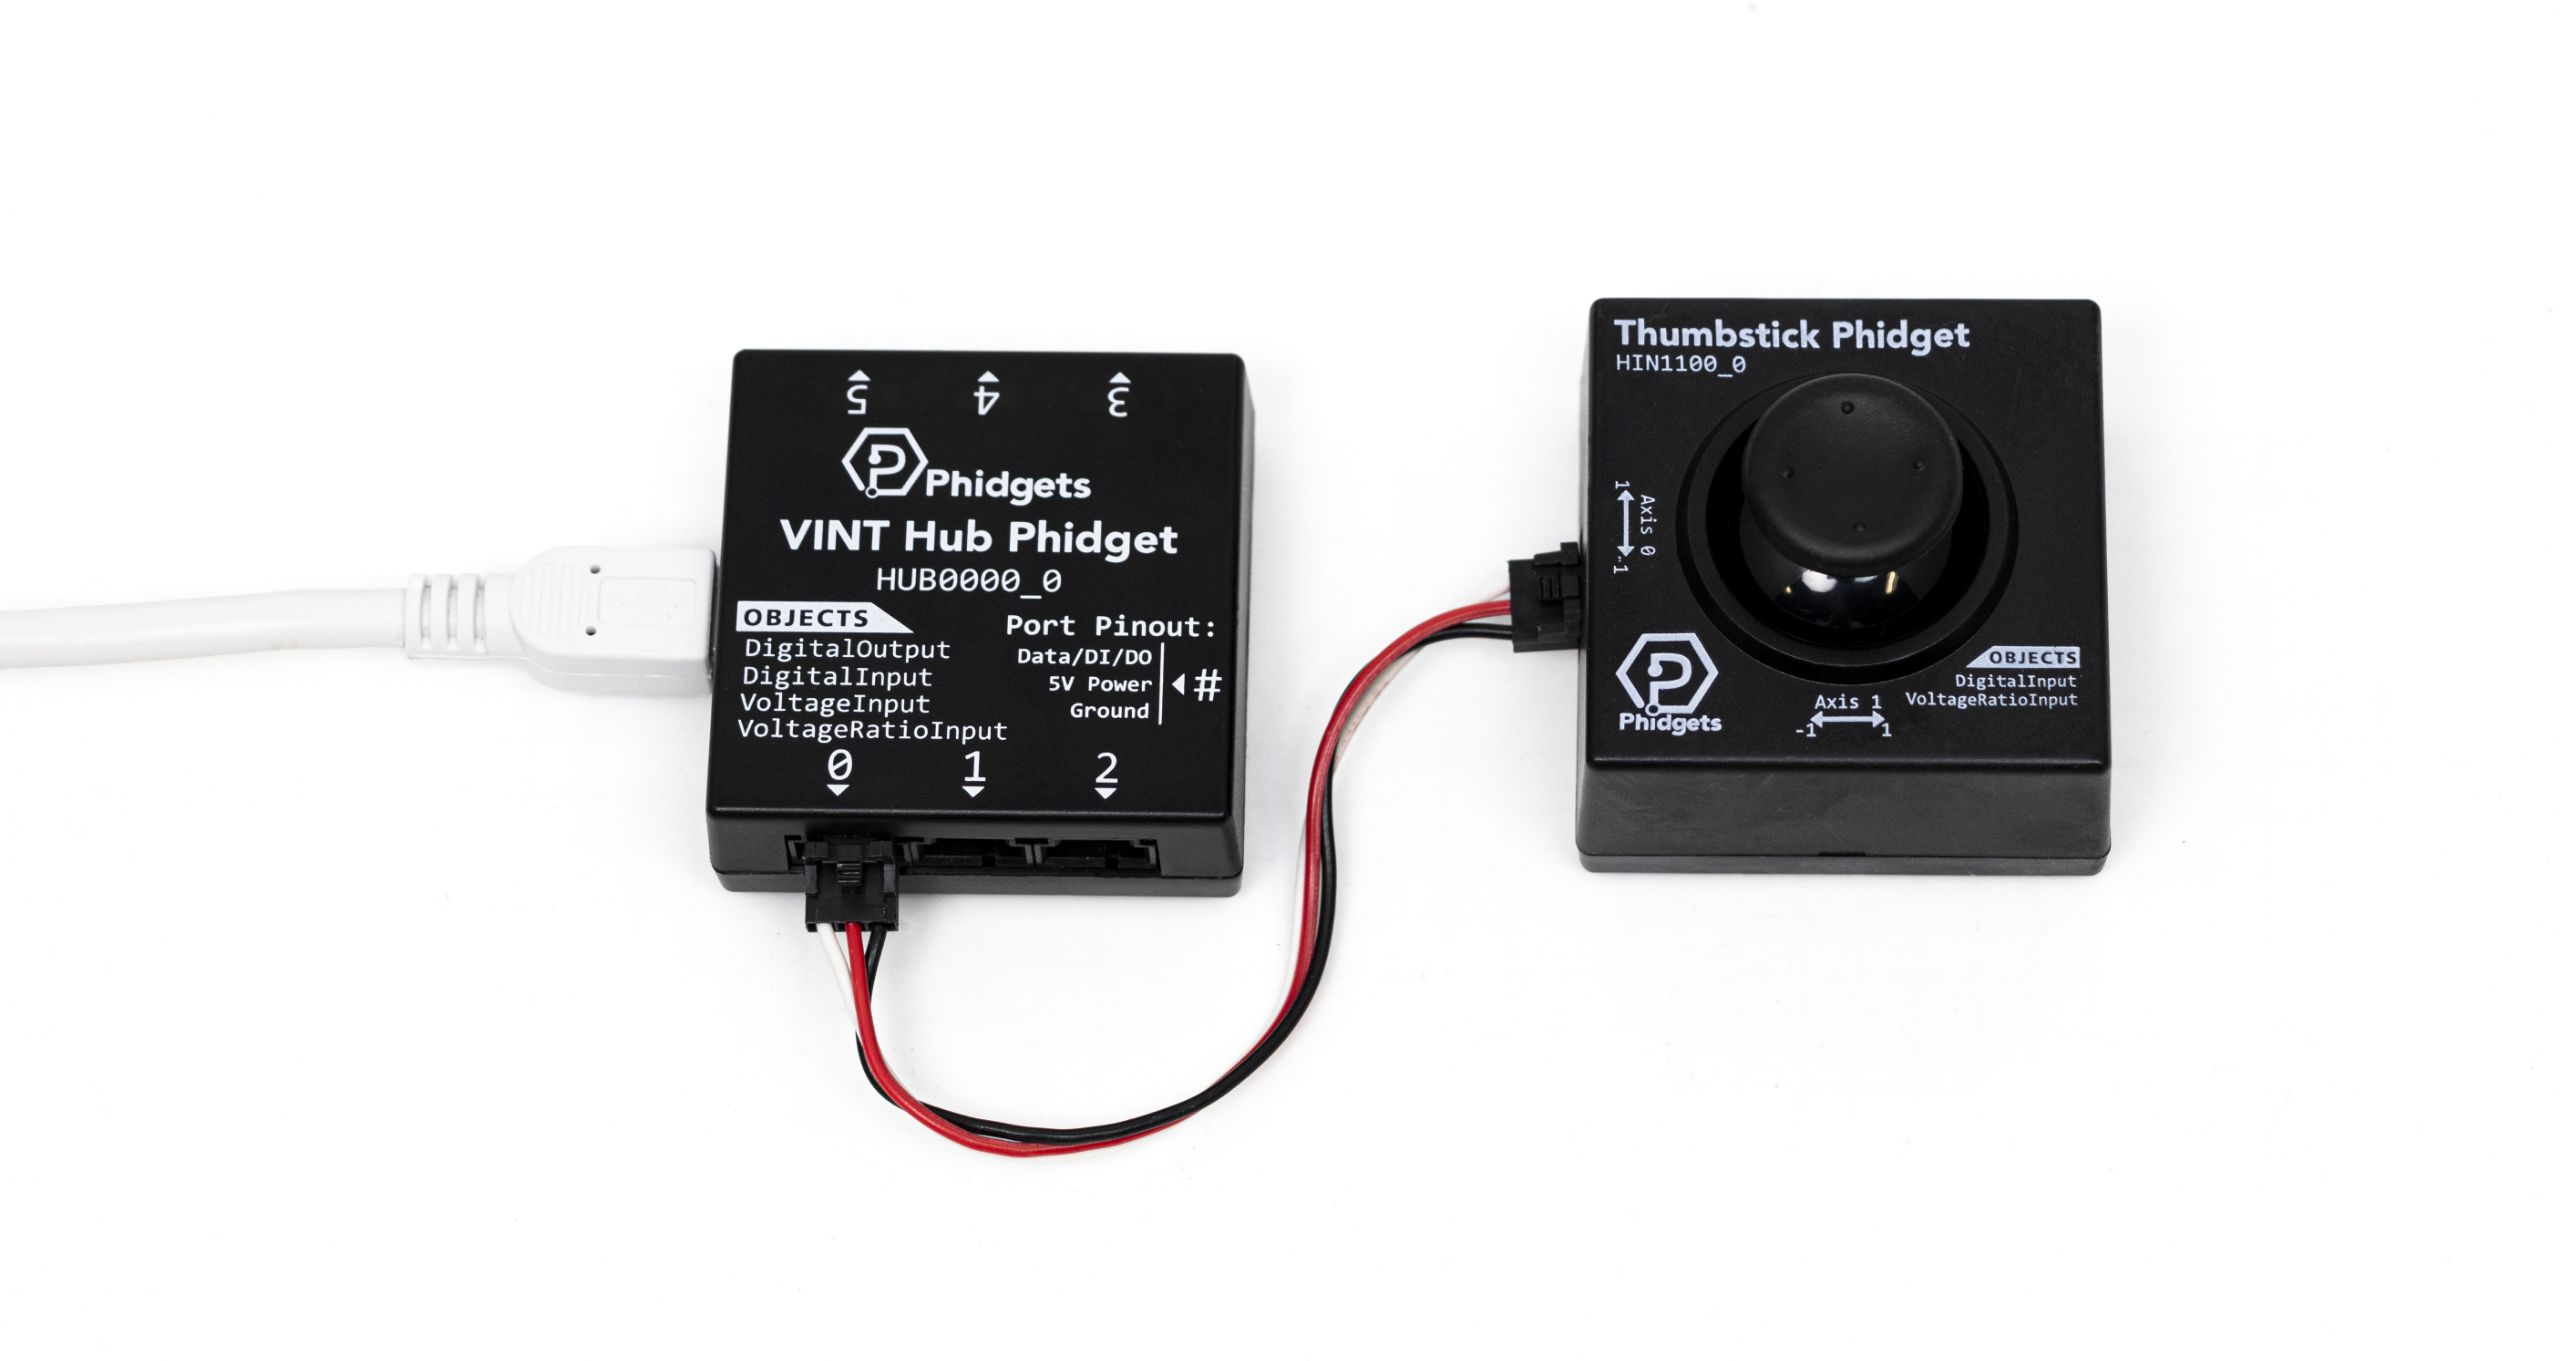
Step 1
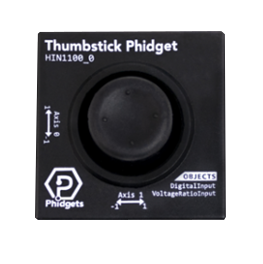
Attach the Thumbstick Phidget to your computer.
Write Code
Copy the code below into a new Processing project. If you need a reminder of how to do this, revisit the Getting Started Course.
//Add Phidgets Library
import com.phidget22.*;

//Define
DigitalInput button;
VoltageRatioInput horizontal;
VoltageRatioInput vertical;

int d = 120;        // diameter of the circle
double xpos, ypos;    // Starting position of shape

void setup(){
  size(400,400);
  noStroke();
  xpos = width/2;
  ypos = height/2;

  try{
    //Create
    button = new DigitalInput();
    horizontal = new VoltageRatioInput();
    vertical = new VoltageRatioInput();

    //Address
    vertical.setChannel(0);
    horizontal.setChannel(1);

    //Open
    button.open(1000);
    vertical.open(1000);
    horizontal.open(1000);

    //Set Data Interval
    vertical.setDataInterval(vertical.getMinDataInterval());
    horizontal.setDataInterval(horizontal.getMinDataInterval());

  }catch(Exception e){
    e.printStackTrace();
  }
}

void draw(){

  try{
    //Use your Phidgets

    if(button.getState()){
      background(random(255),random(255),random(255));
    }
    else{
       background(102);
    }

    //Map thumbstick range to window size
    xpos = ((horizontal.getVoltageRatio() + 1) * width)/2;
    ypos = ((vertical.getVoltageRatio() + 1) * height)/2;

    // Draw the shape
    circle((float)xpos, (float)ypos, d);


  }catch(Exception e){
    e.printStackTrace();
  }
}
Run your program. The circle will track to your Thumbstick's position. Try pressing the thumbstick down to change the background color!
Data Interval
If you haven’t already, make sure to check out the Advanced Lesson on Data Interval to understand the code.
Practice
- Try commenting out the Data Interval lines and run the program. What do you notice? Why does this occur?
- Modify your code so the circle “paints” the background.
- Modify your code so that when the button is pressed, a new shape is generated.