Configure Development Environment
Thonny: Step 1 (Text Instructions)
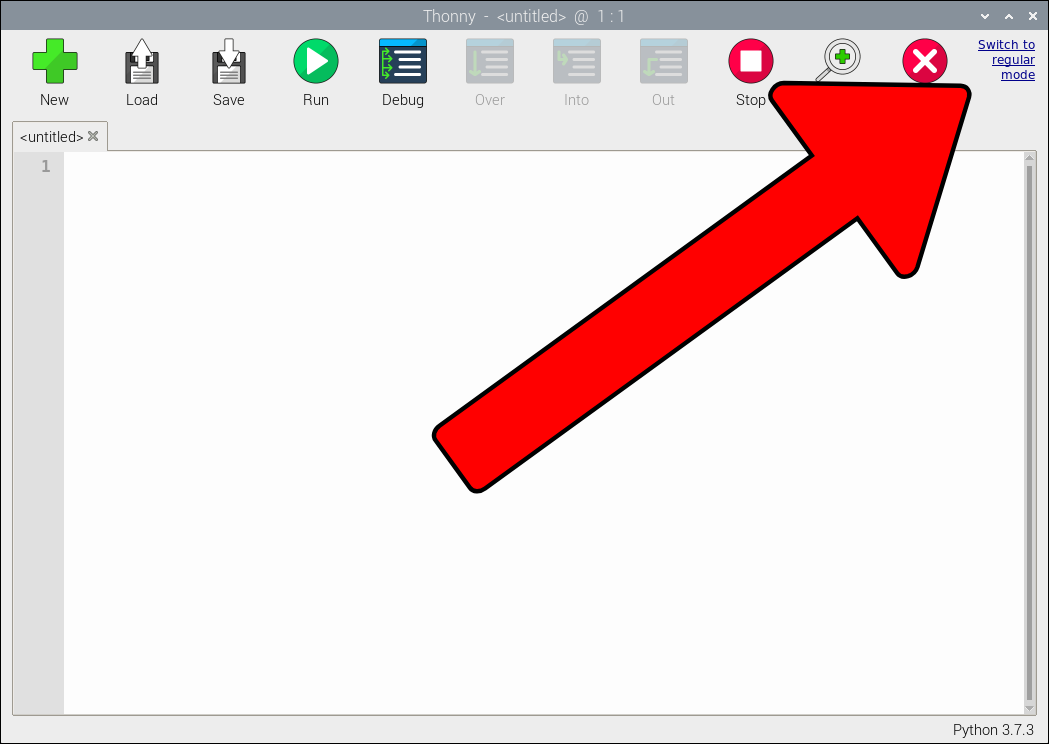
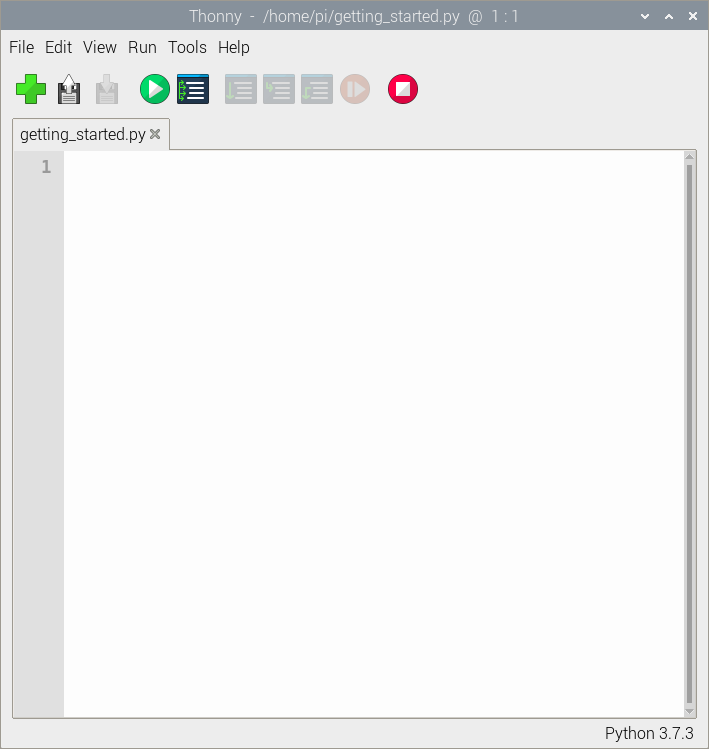
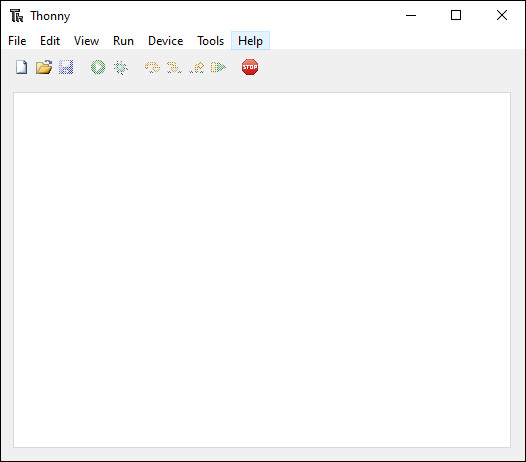
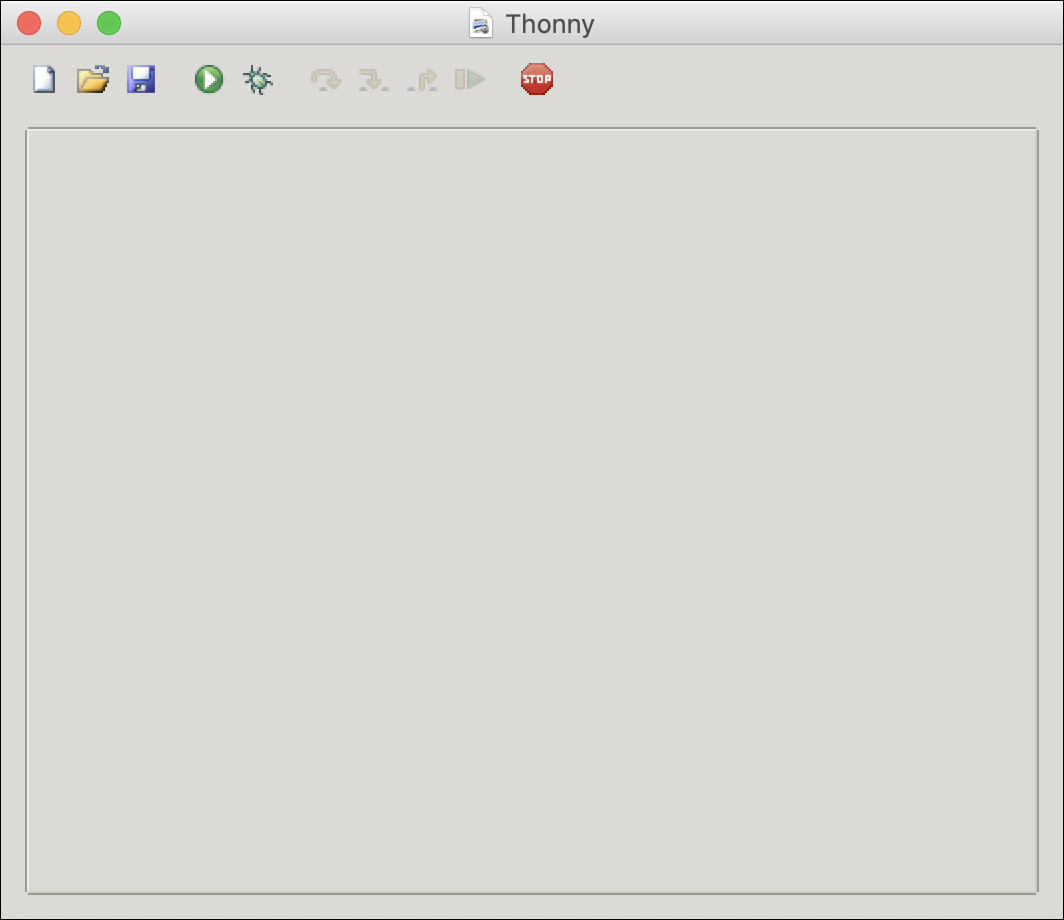
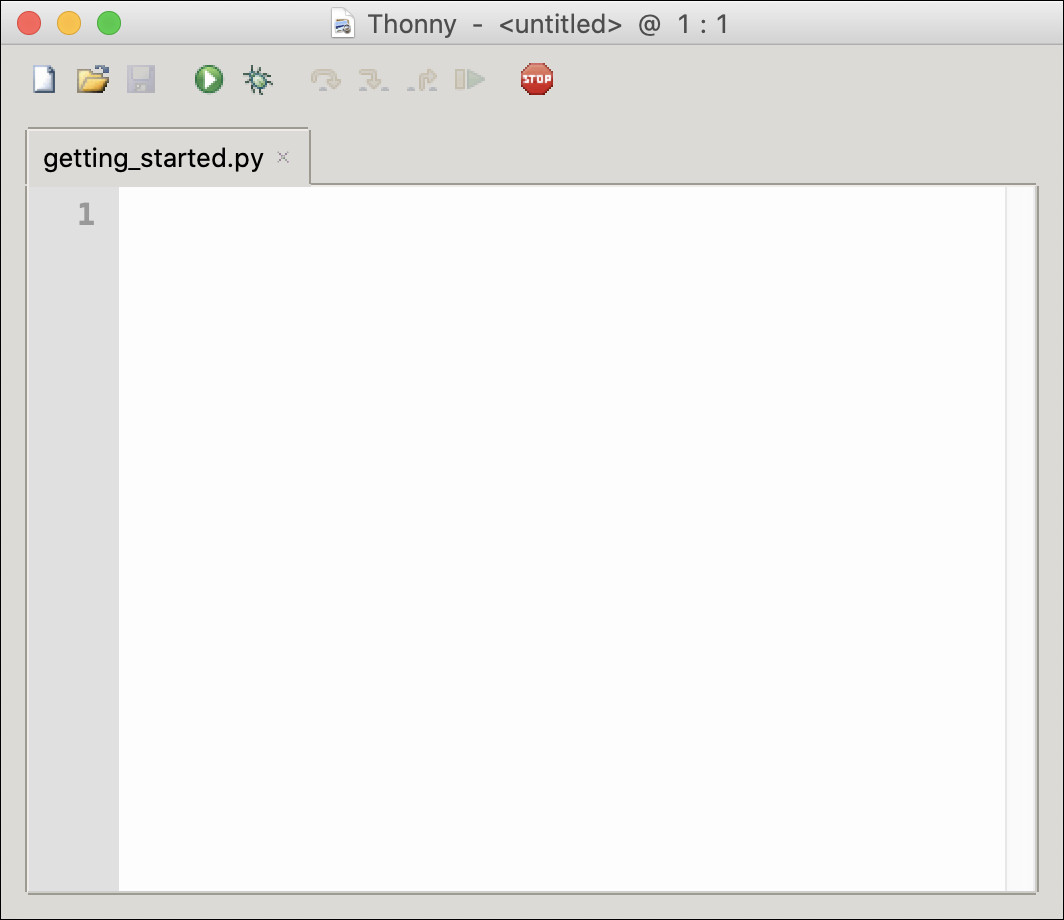
To start, open Thonny.

Thonny defaults to a simple mode on the Raspberry Pi. Click on Switch to regular mode if you have not previously.
Step 2
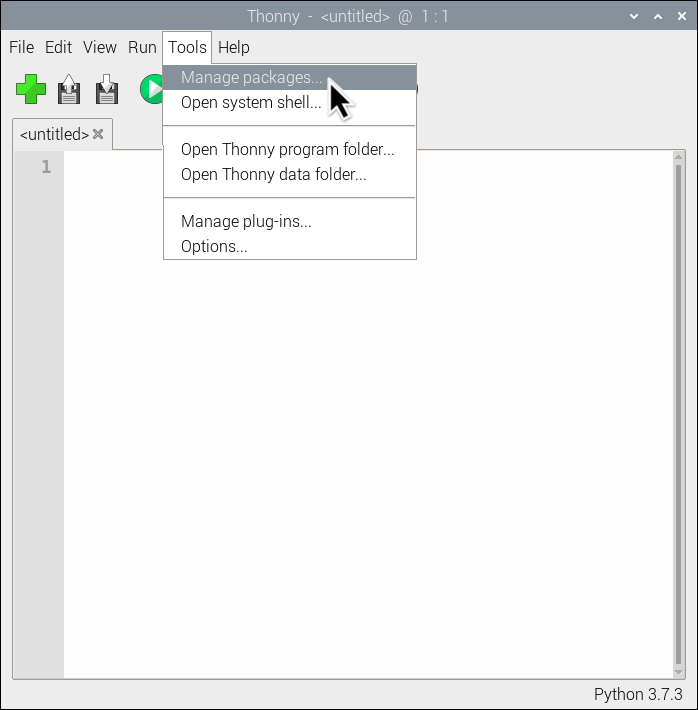
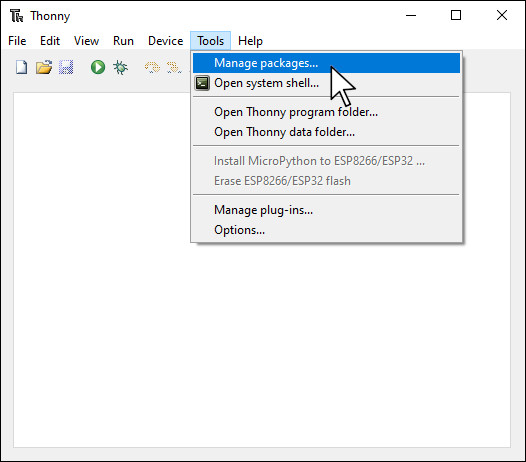
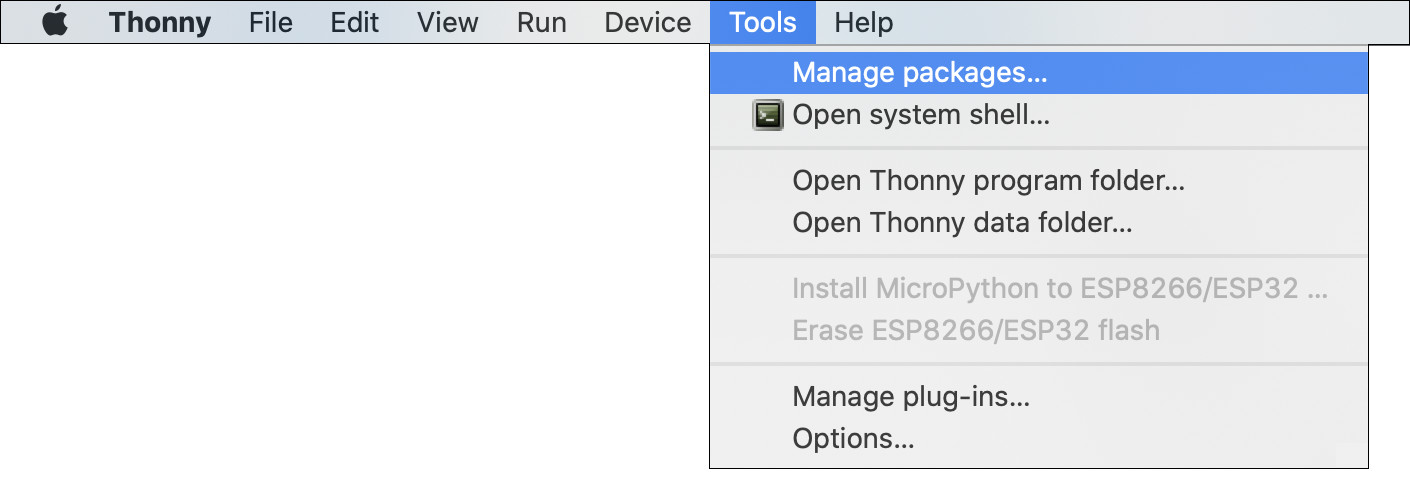
Next, select Tools > Manage Packages.
Step 3
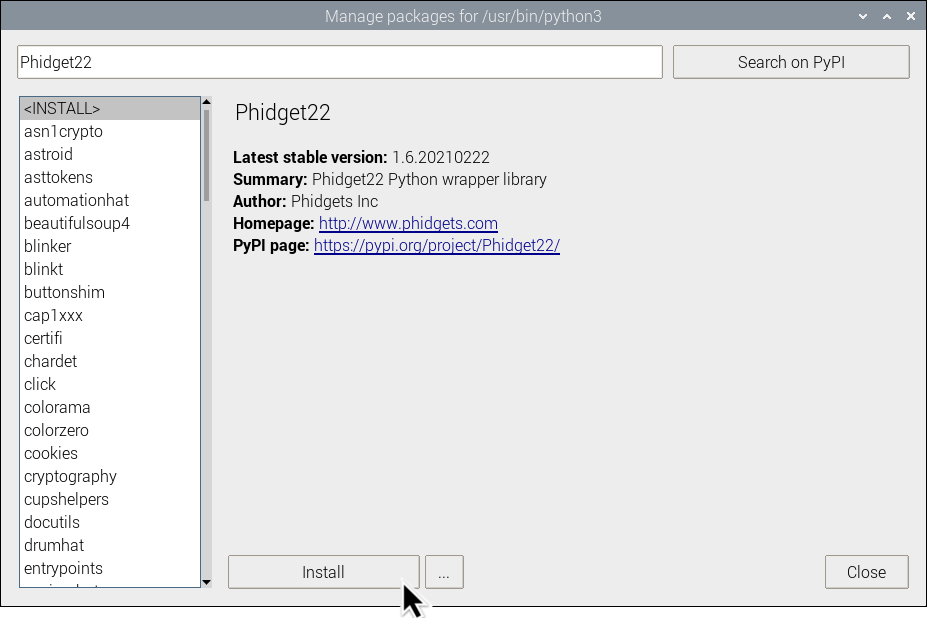
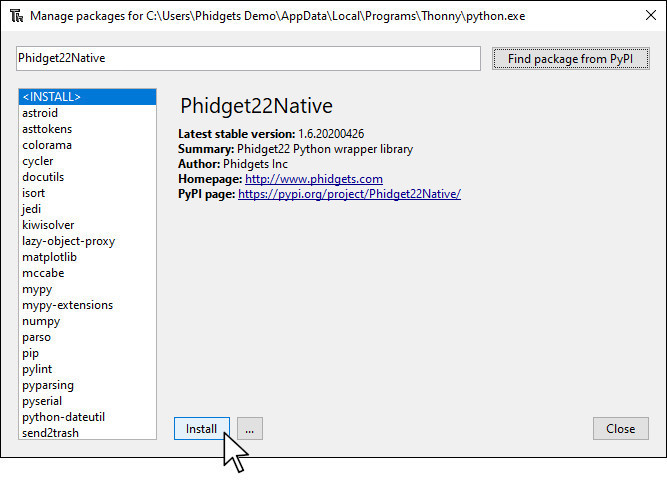
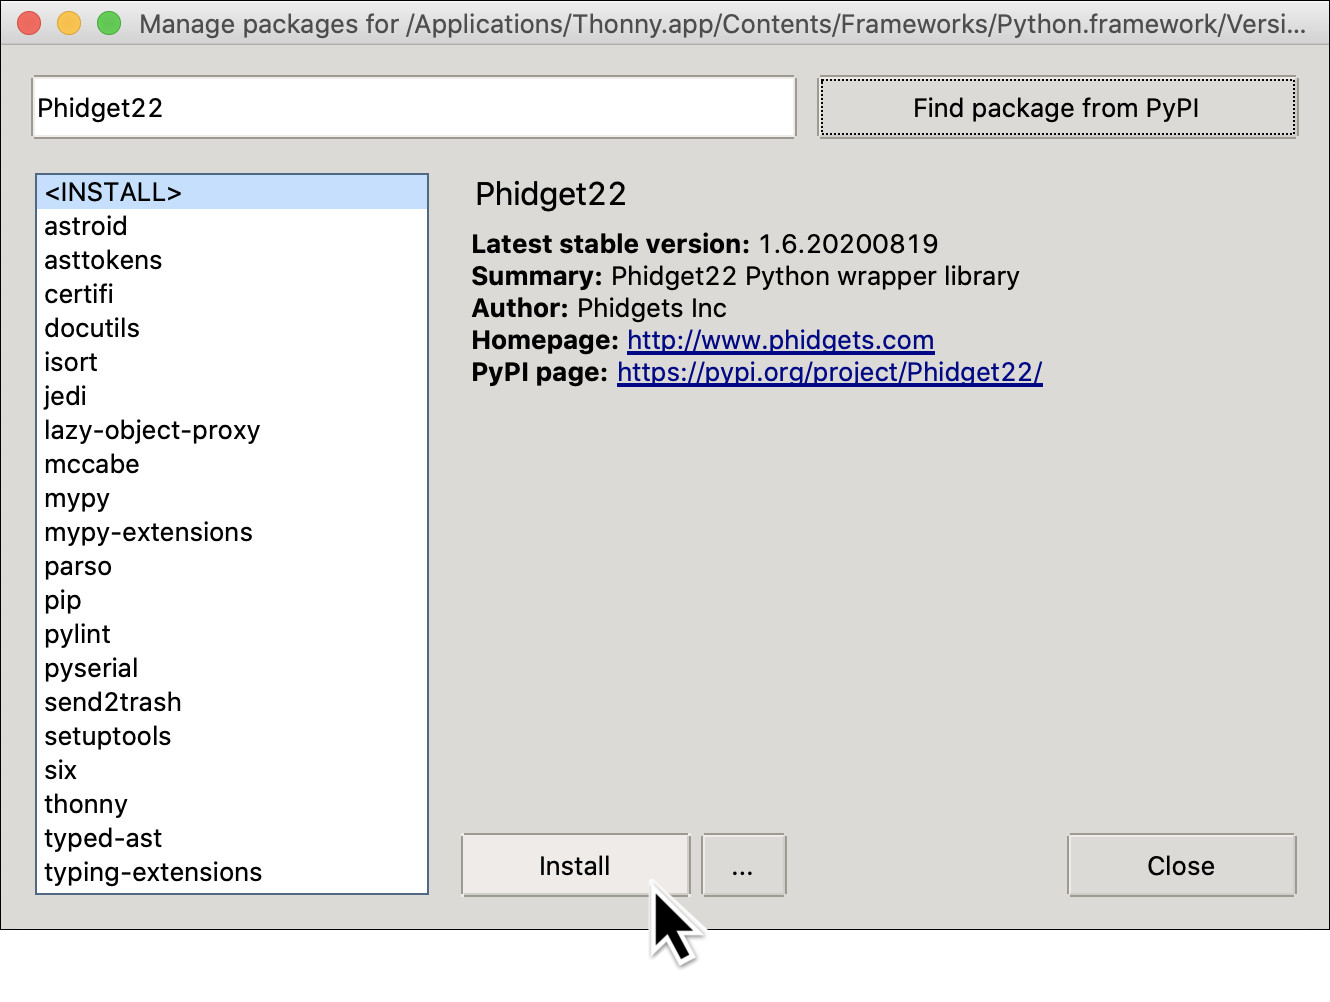
Search for Phidget22 and press Install.
Step 4
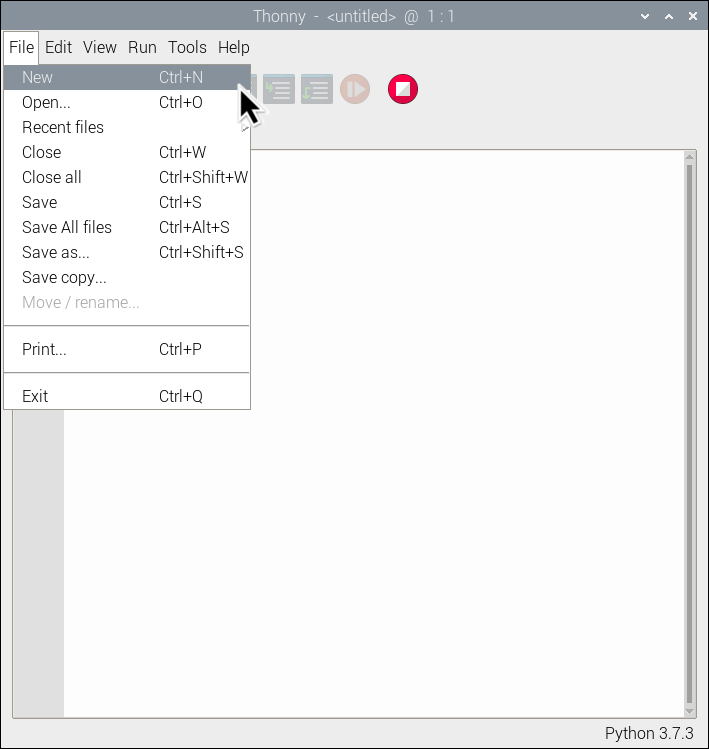
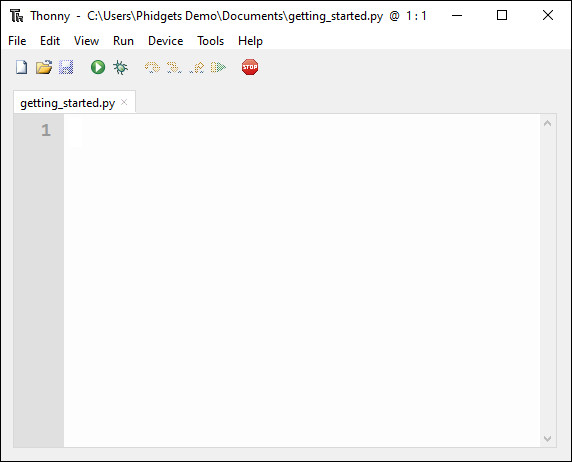
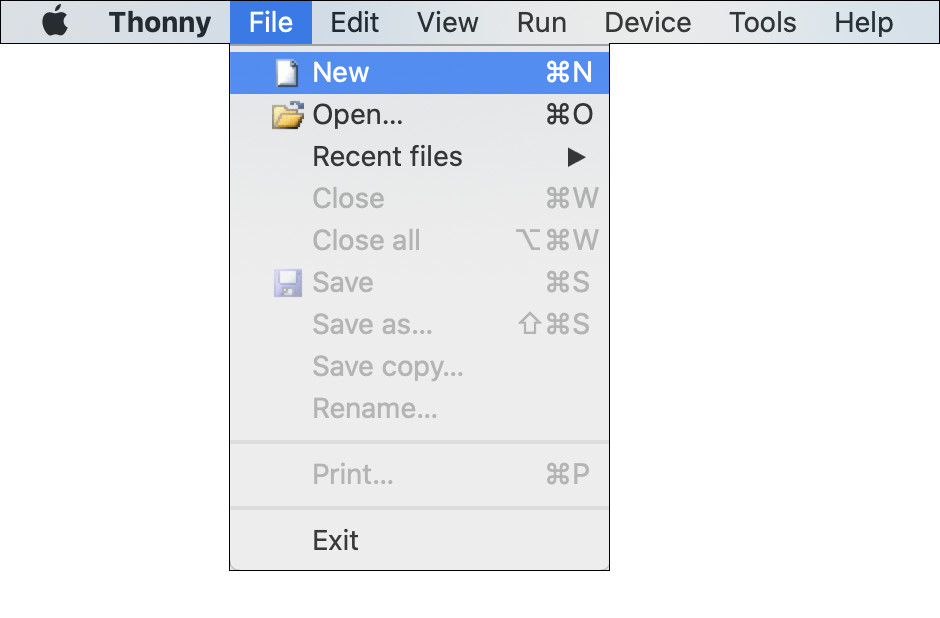
Select File > New to create a new file.
Step 5
Save the file as getting_started.py.
Finished
You are now ready to write some code. Move on to the next step to blink an LED!
Video instructions are not currently available.
Processing: Step 1 (Text Instructions)
Download and extract the Phidget Java folder (you will use this in step 3).
Step 2
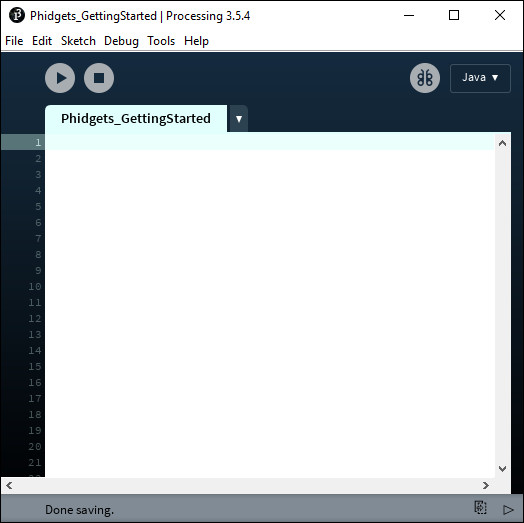
Next, open Processing to a new sketch.

Step 3
Transfer the Phidget library files to your project.
Finished
You are now ready to write some code. Move on to the next step to blink an LED!
Processing: Step 1 (Video Instructions)
Video instructions are not currently available for the selected environment.
Processing: Step 1 (Text Instructions)
Download and extract the Phidgets Processing folder (you will use this in step 3).
Step 2
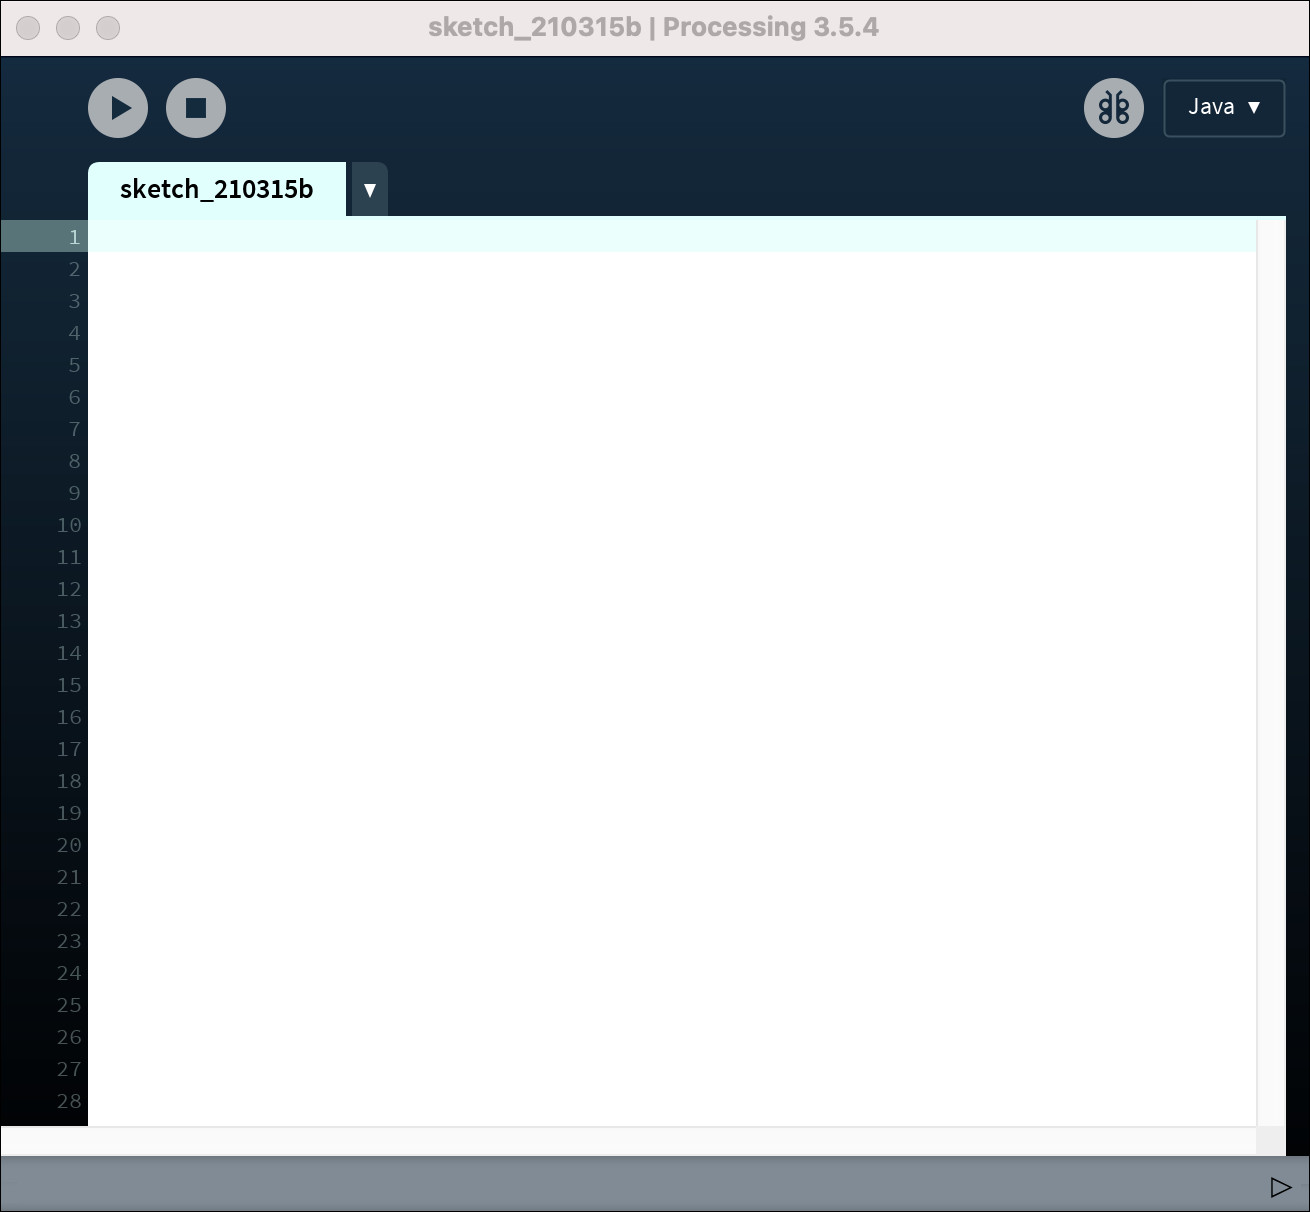
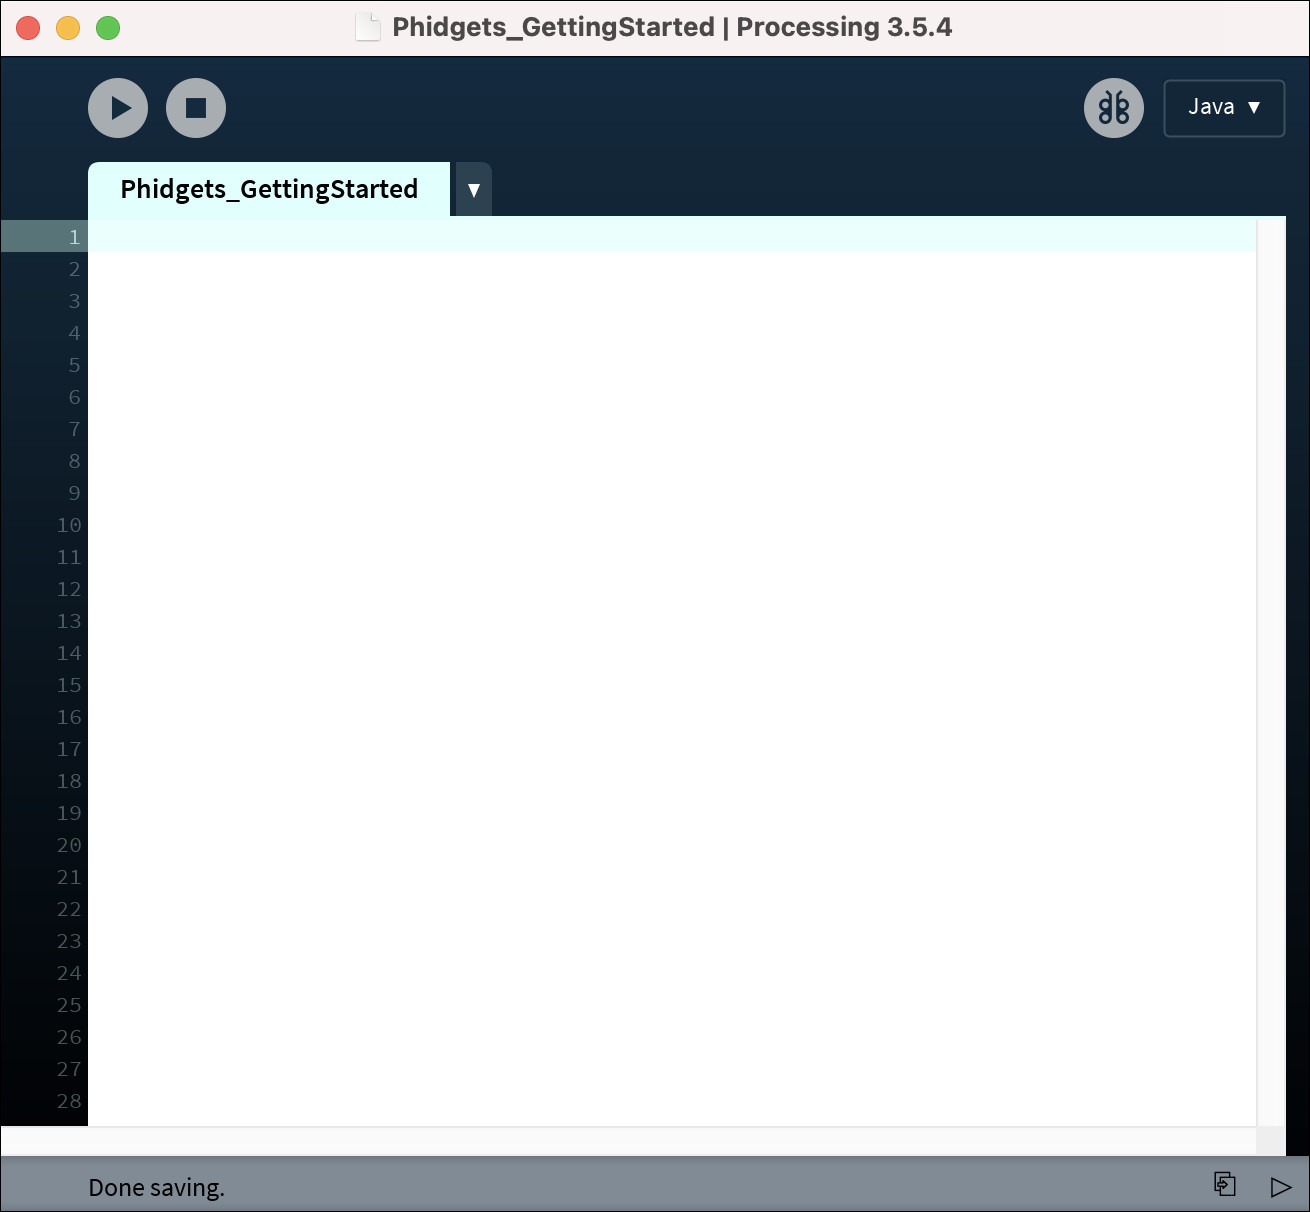
Next, open Processing to a new sketch.
Step 3
Transfer the Phidget library files to your project.
Finished
You are now ready to write some code. Move on to the next step to blink an LED!
Processing: Step 1 (Video Instructions)
Video instructions are not currently available for the selected environment.
NetBeans: Step 1 (Text Instructions)
Download and extract the Phidget Java folder (you will use this in step 5).
Step 2
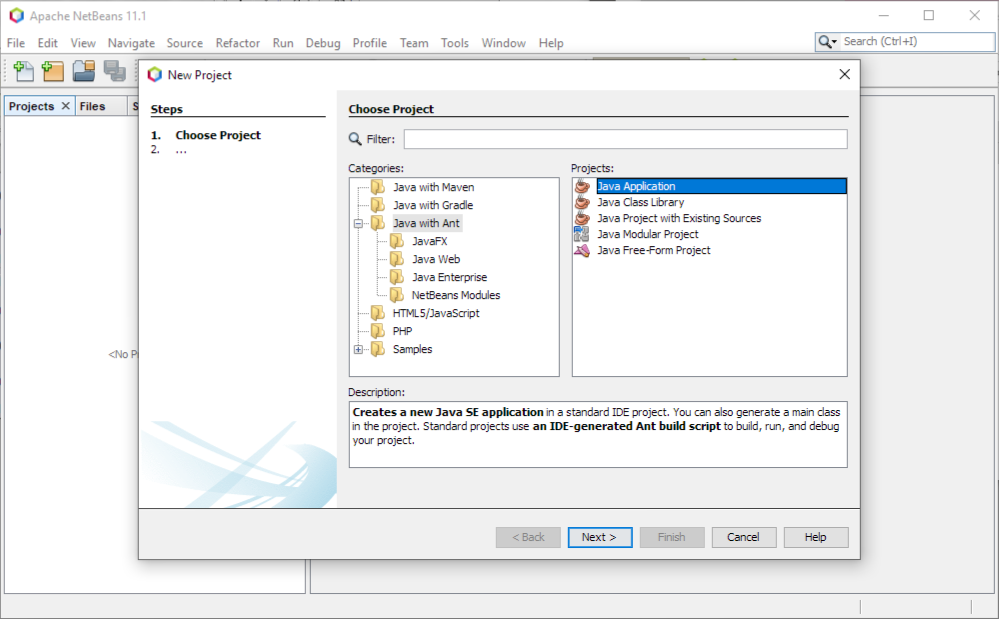
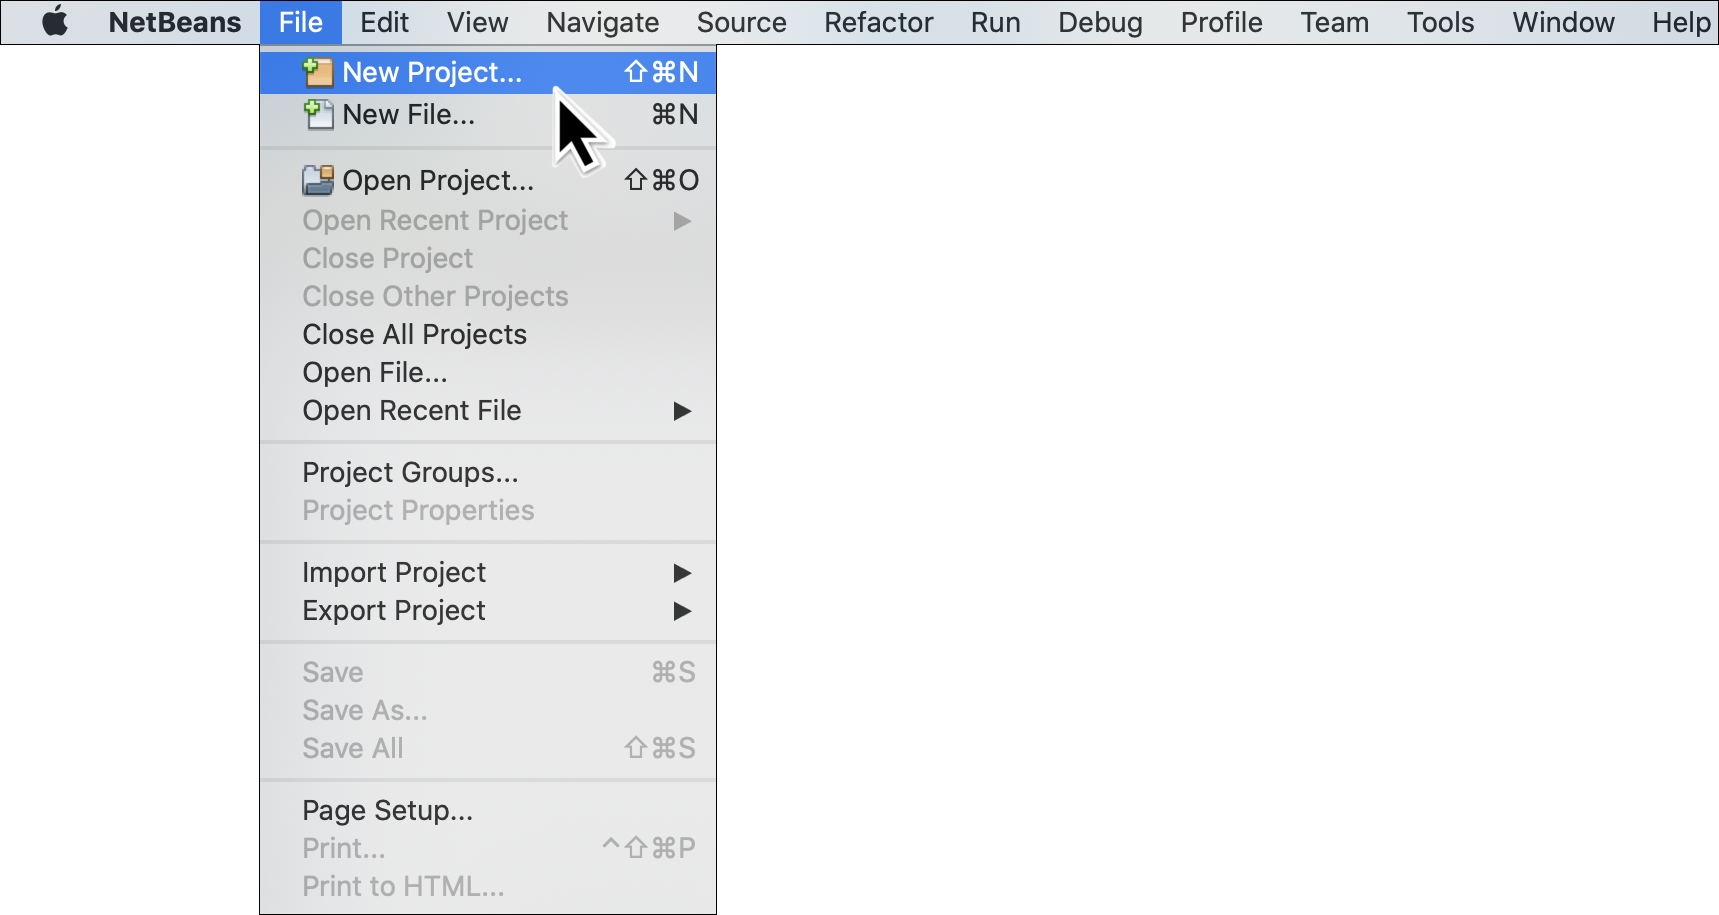
Open NetBeans and select File > New Project to create a new Java Application.
Step 3
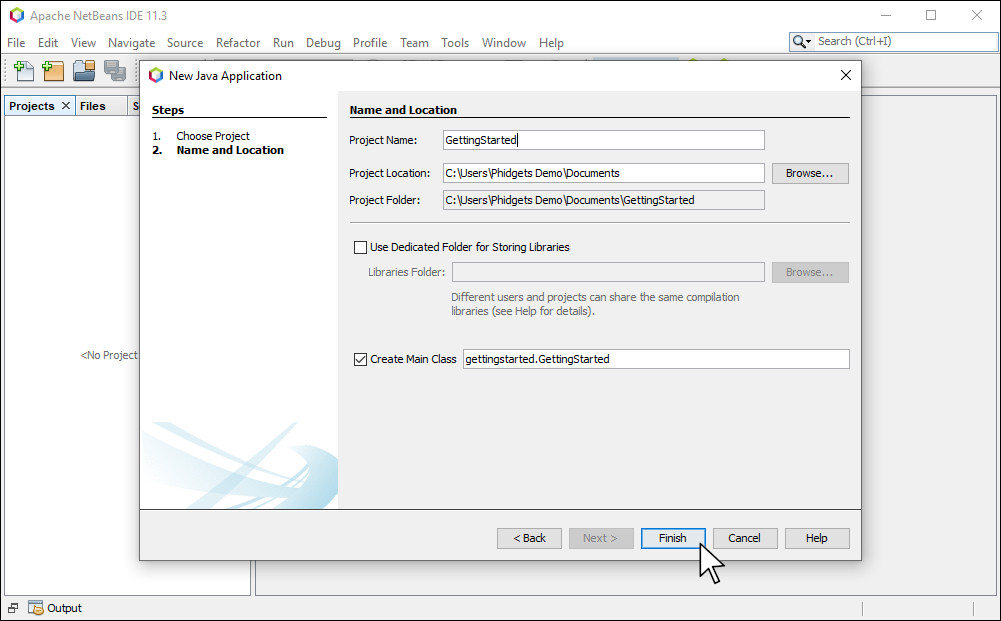
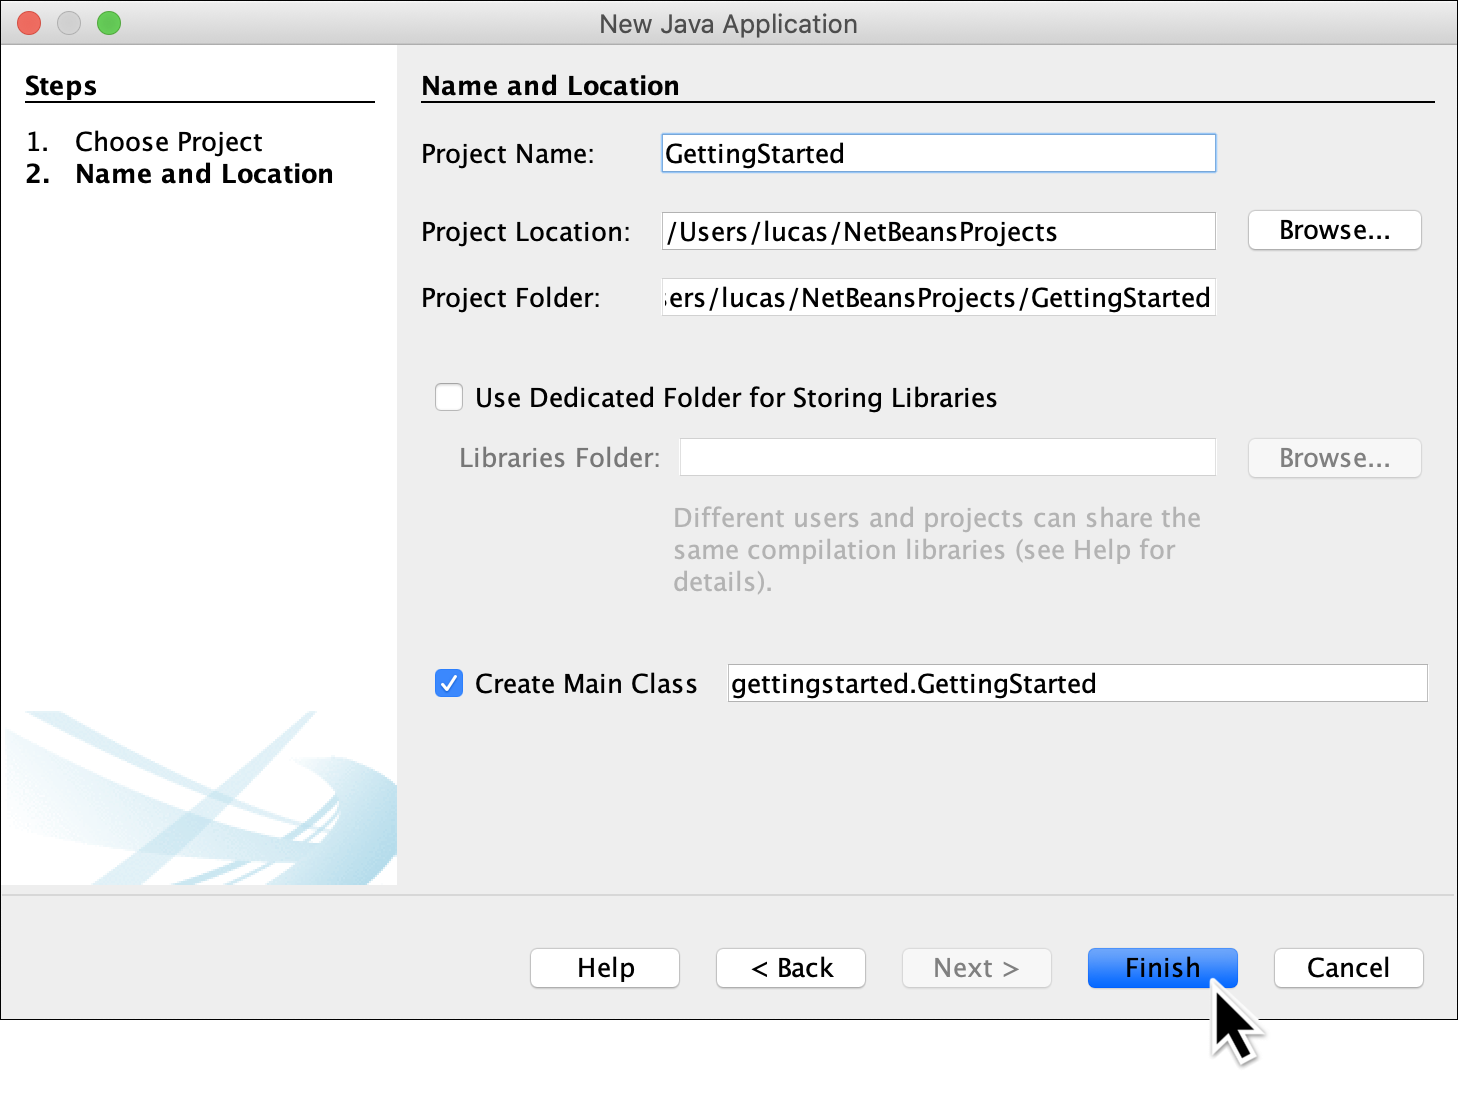
Name the project GettingStarted and press Finish.
Step 4
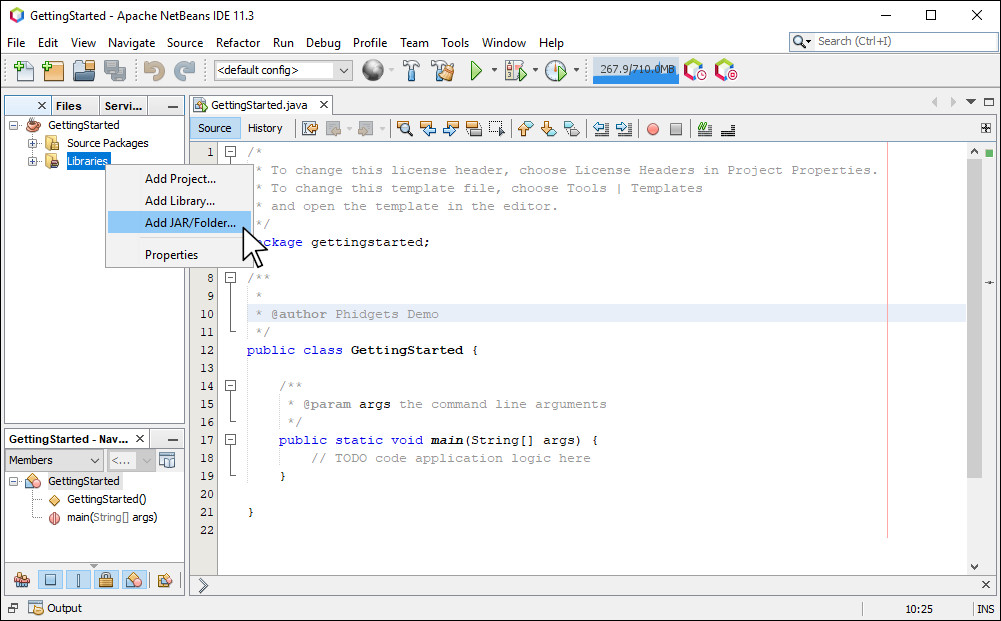
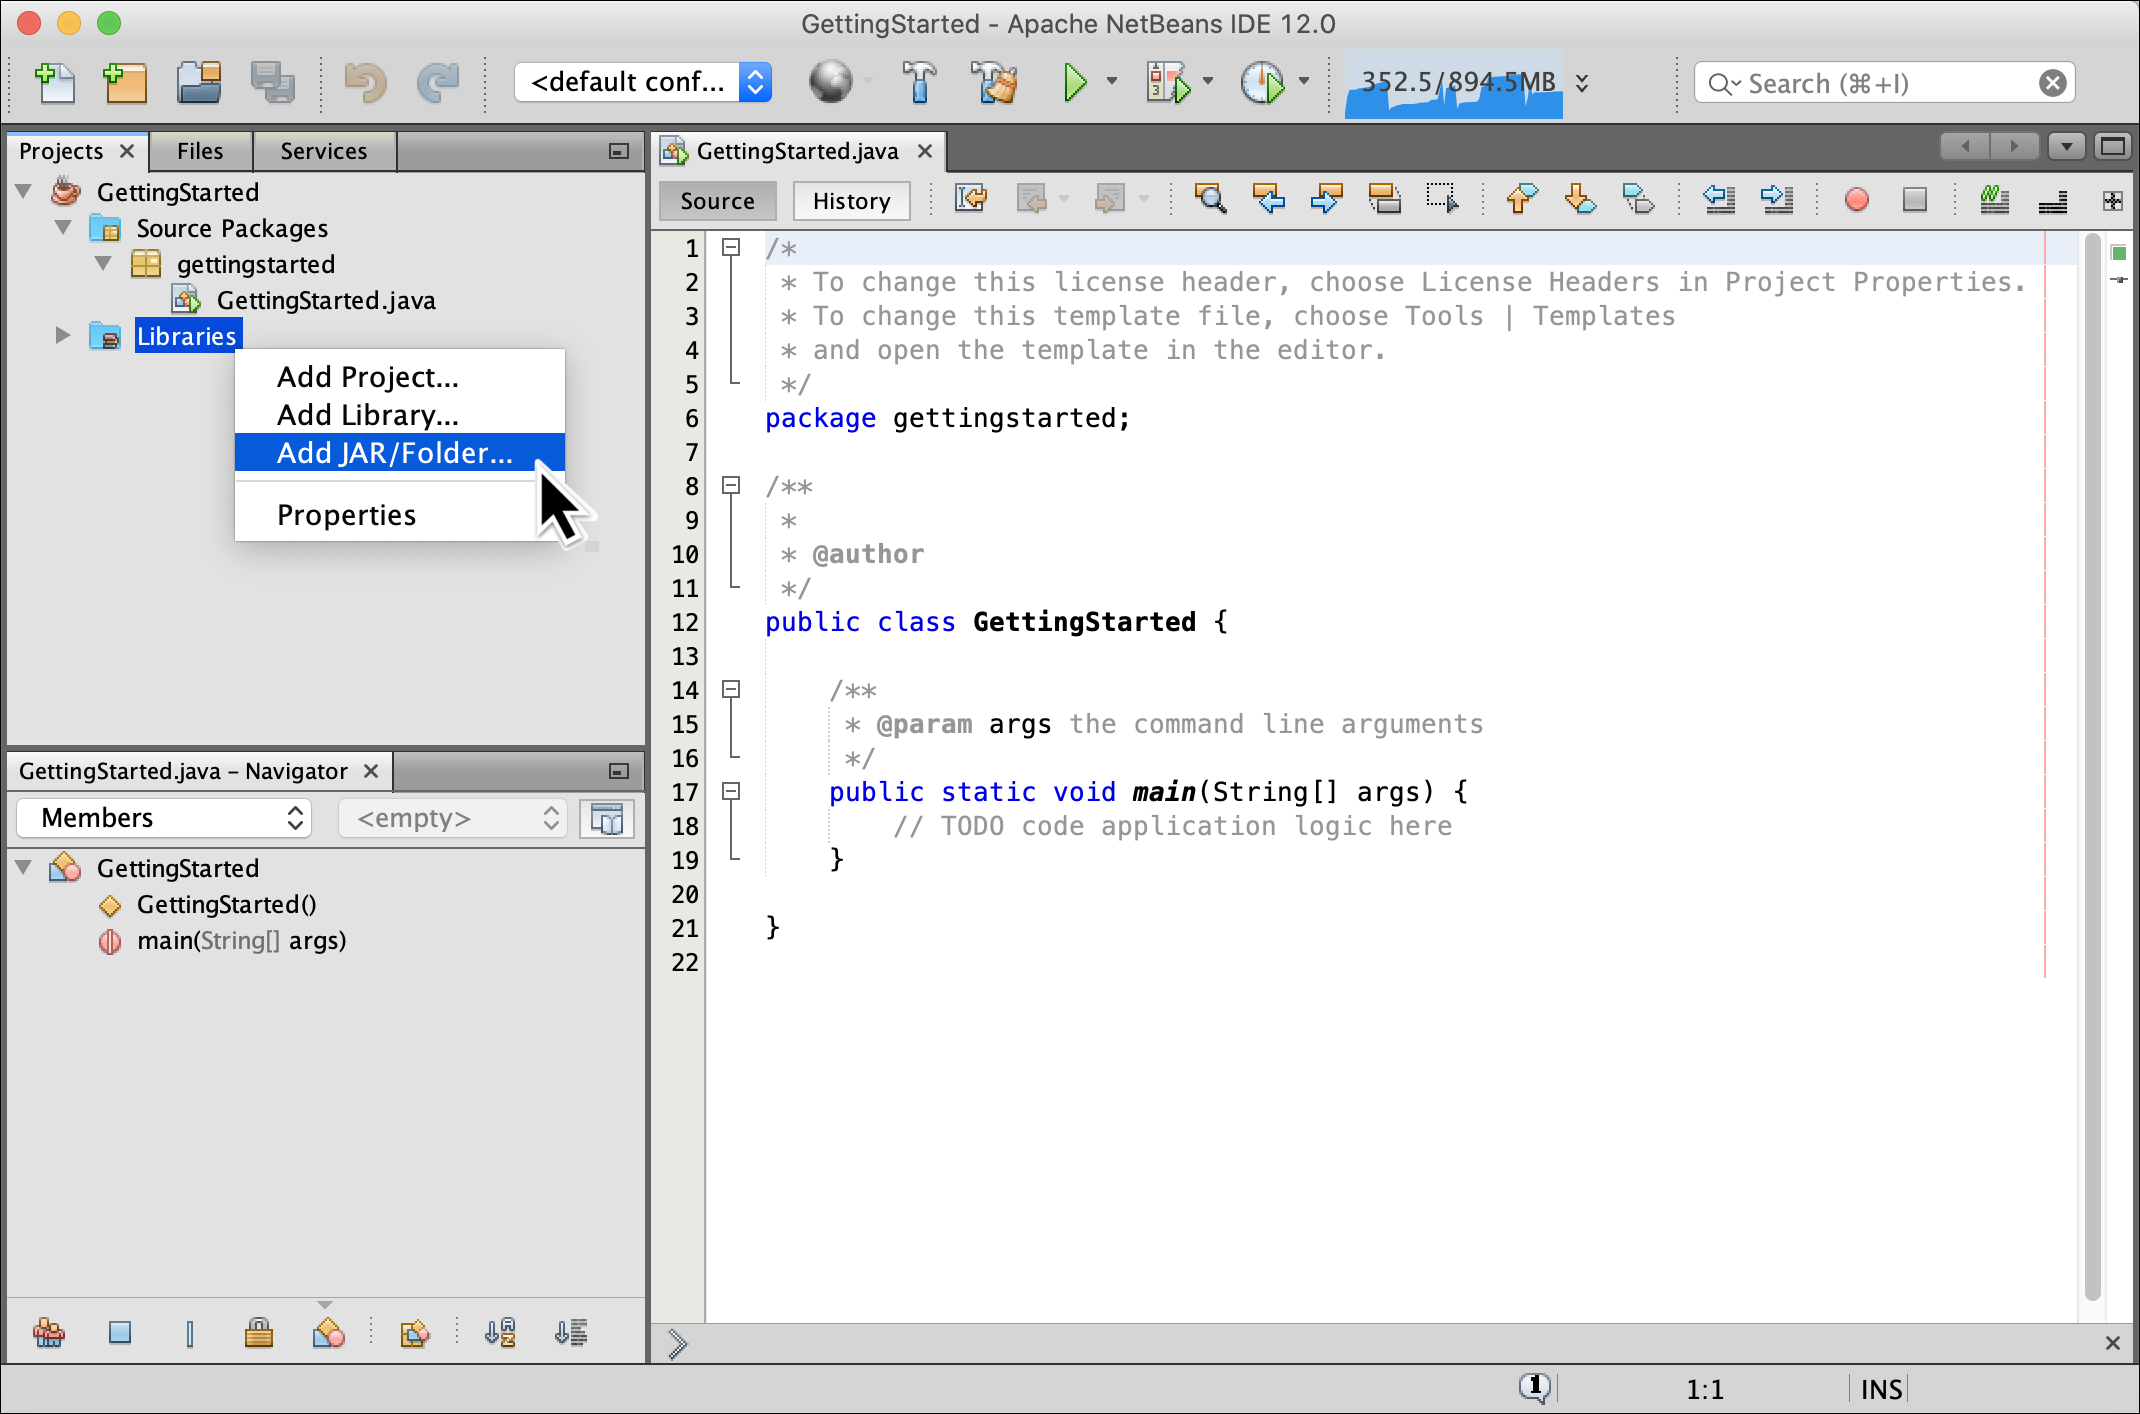
After creating your project, right-click on Libraries and click on Add JAR/Folder...
Step 5
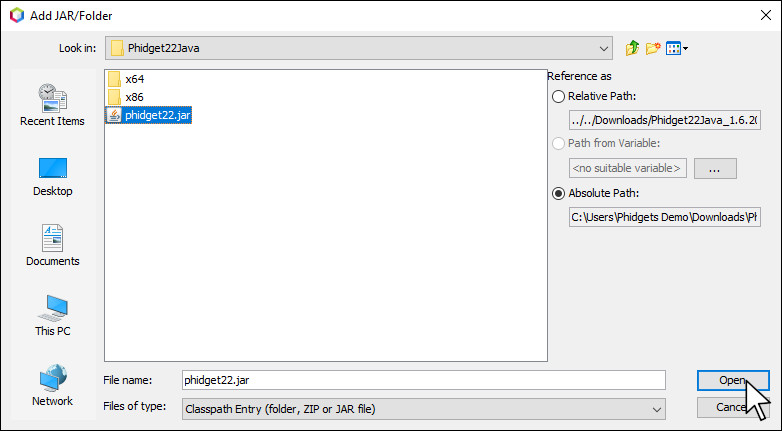
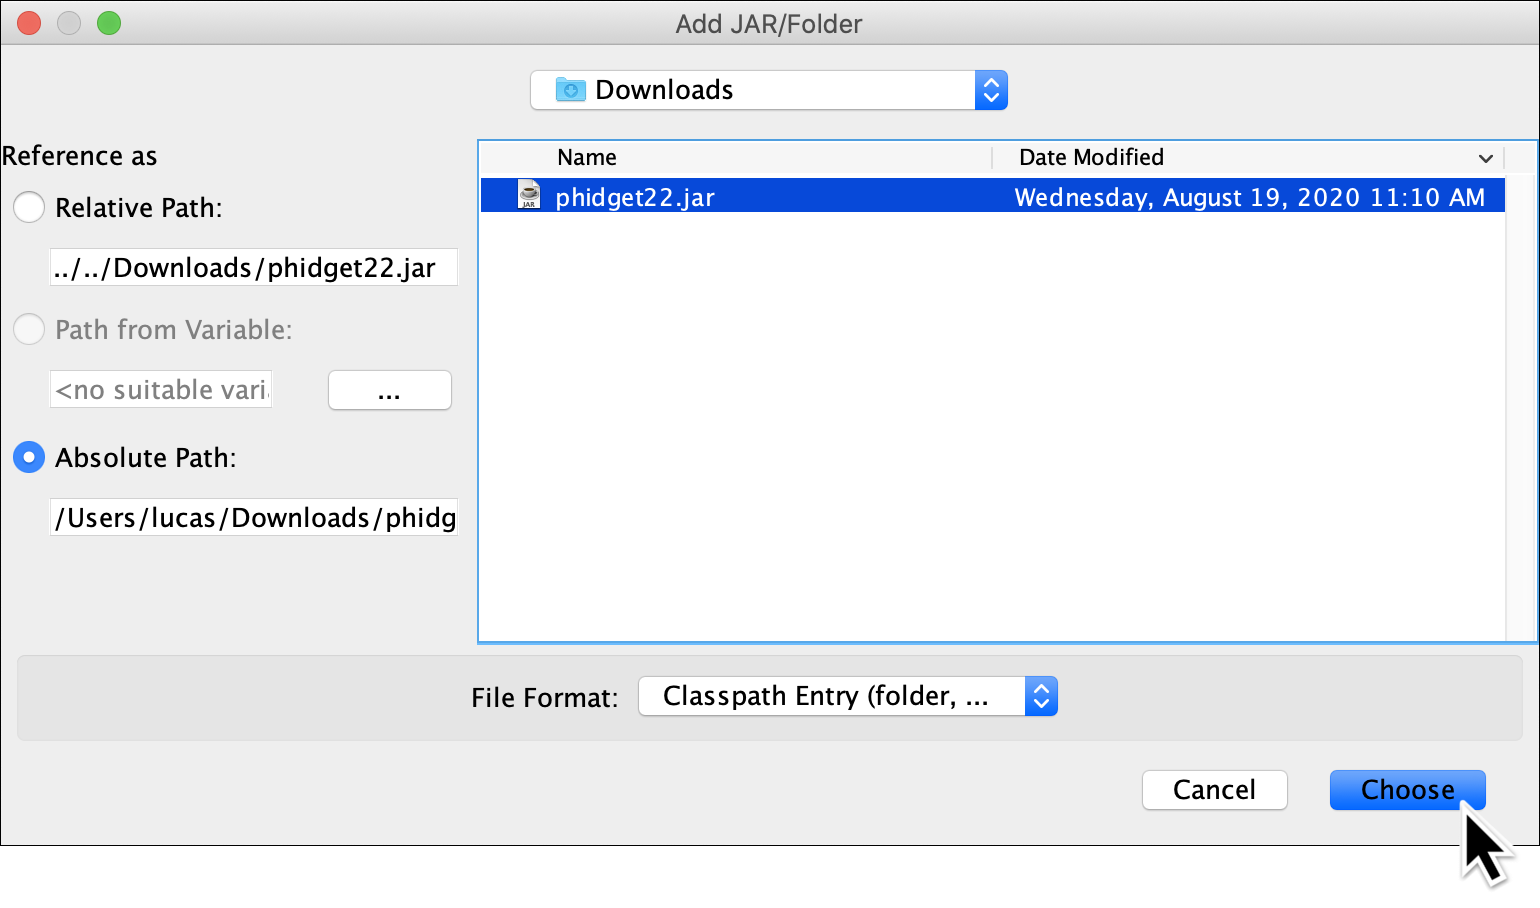
Navigate to the folder you downloaded and extracted and select the phidget22.jar file.
Step 6
Next, navigate to the Window tab and select the Files option.
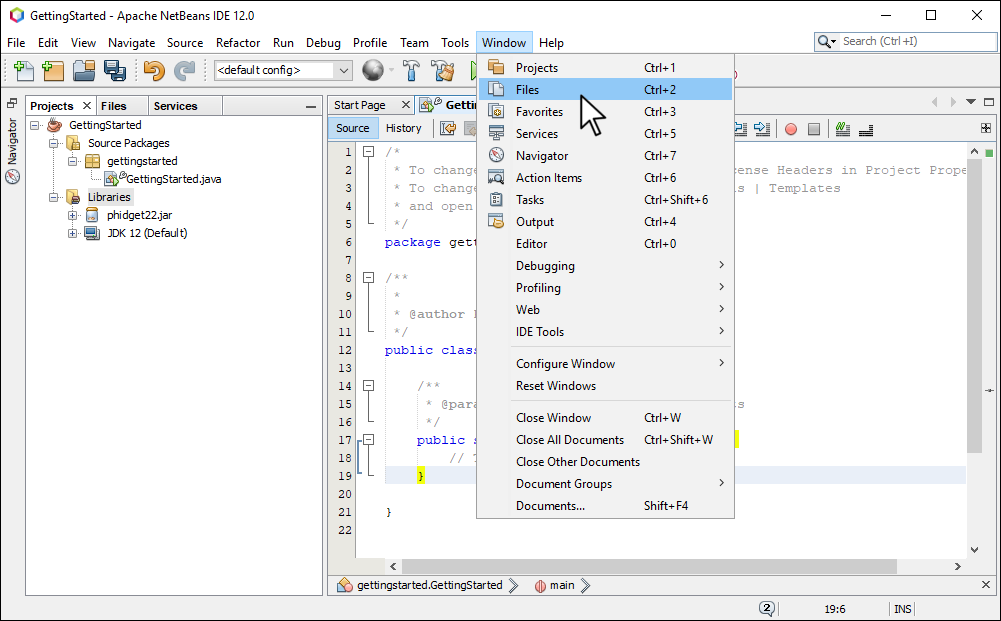
Step 7
Transfer the other Phidget library files to your project.
Finished
You are now ready to write some code. Move on to the next step to blink an LED!
NetBeans (Video Instructions)
Download and extract the Phidget Java folder (you will need this to follow along with the video).
NetBeans: Step 1 (Text Instructions)
Download and extract the Phidget Java folder (you will use this in step 6).
Step 2
Open NetBeans and select File > New Project to create a new Java Application.
Step 3
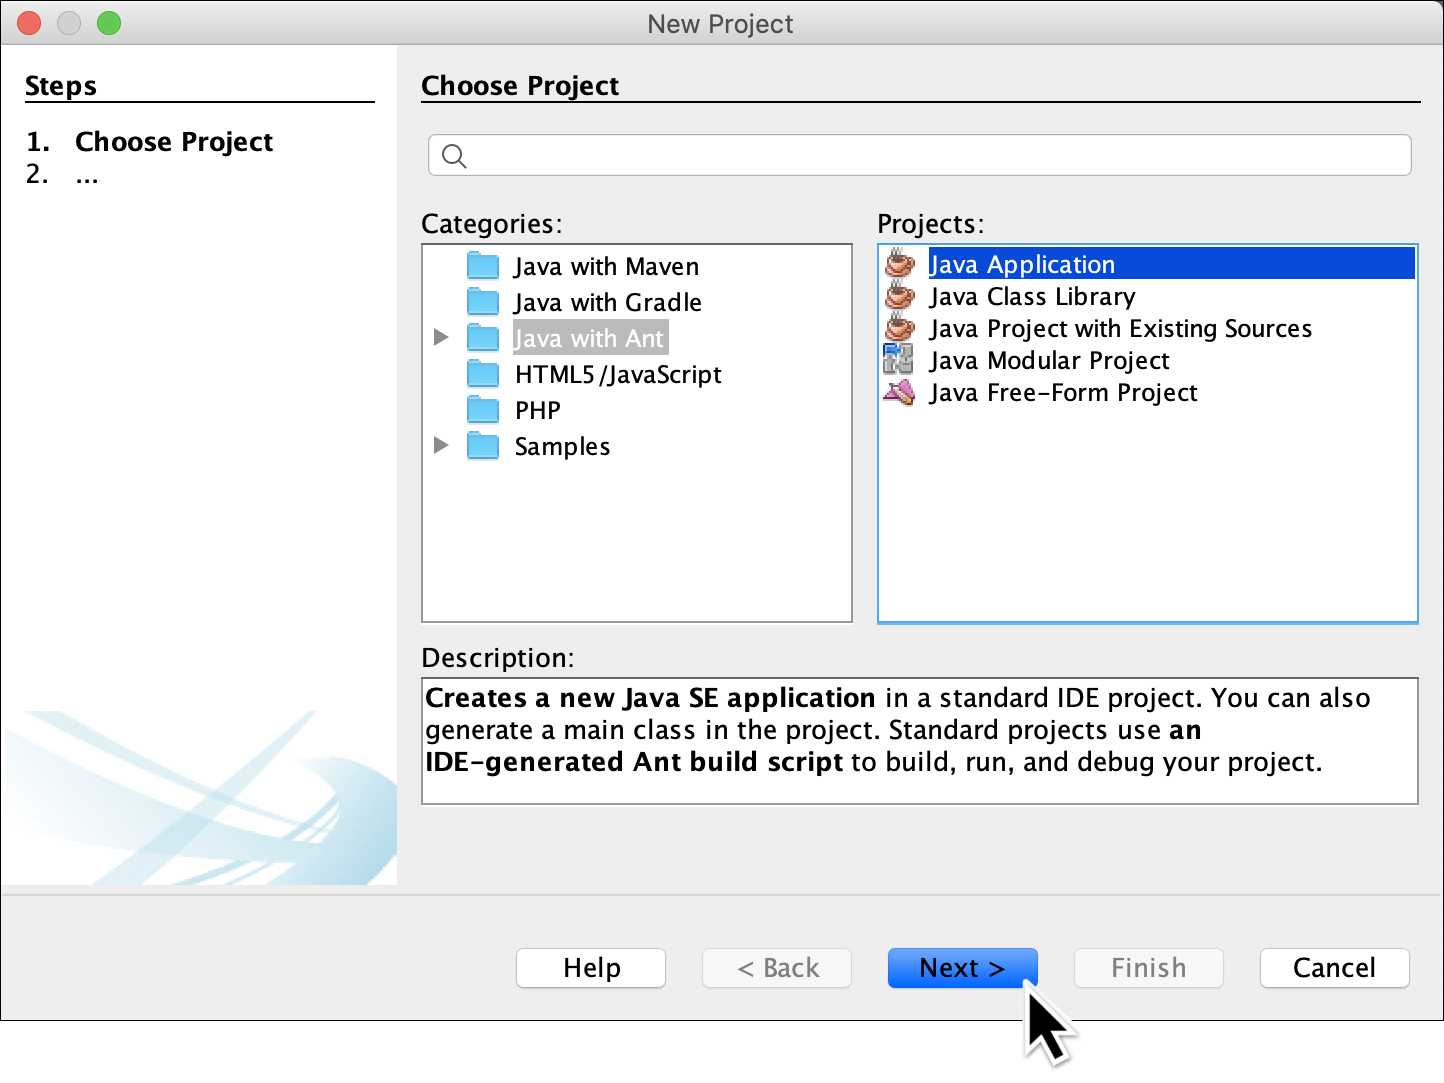
Select Java with Ant and create a new Java Application.
Step 4
Name the project GettingStarted and choose a suitable location. Press Finish.
Step 5
After creating your project, right-click on Libraries and click on Add JAR/Folder...
Step 6
Navigate to the folder you downloaded and extracted and select the phidget22.jar file.
Step 7
You are now ready to write some code. Move on to the next step to blink an LED!
NetBeans (Video Instructions)
Download and extract the Phidget Java folder (you will need this to follow along with the video).
Eclipse: Step 1 (Text Instructions)
Download and extract the Phidget Java folder (you will use this in step 5).
Step 2
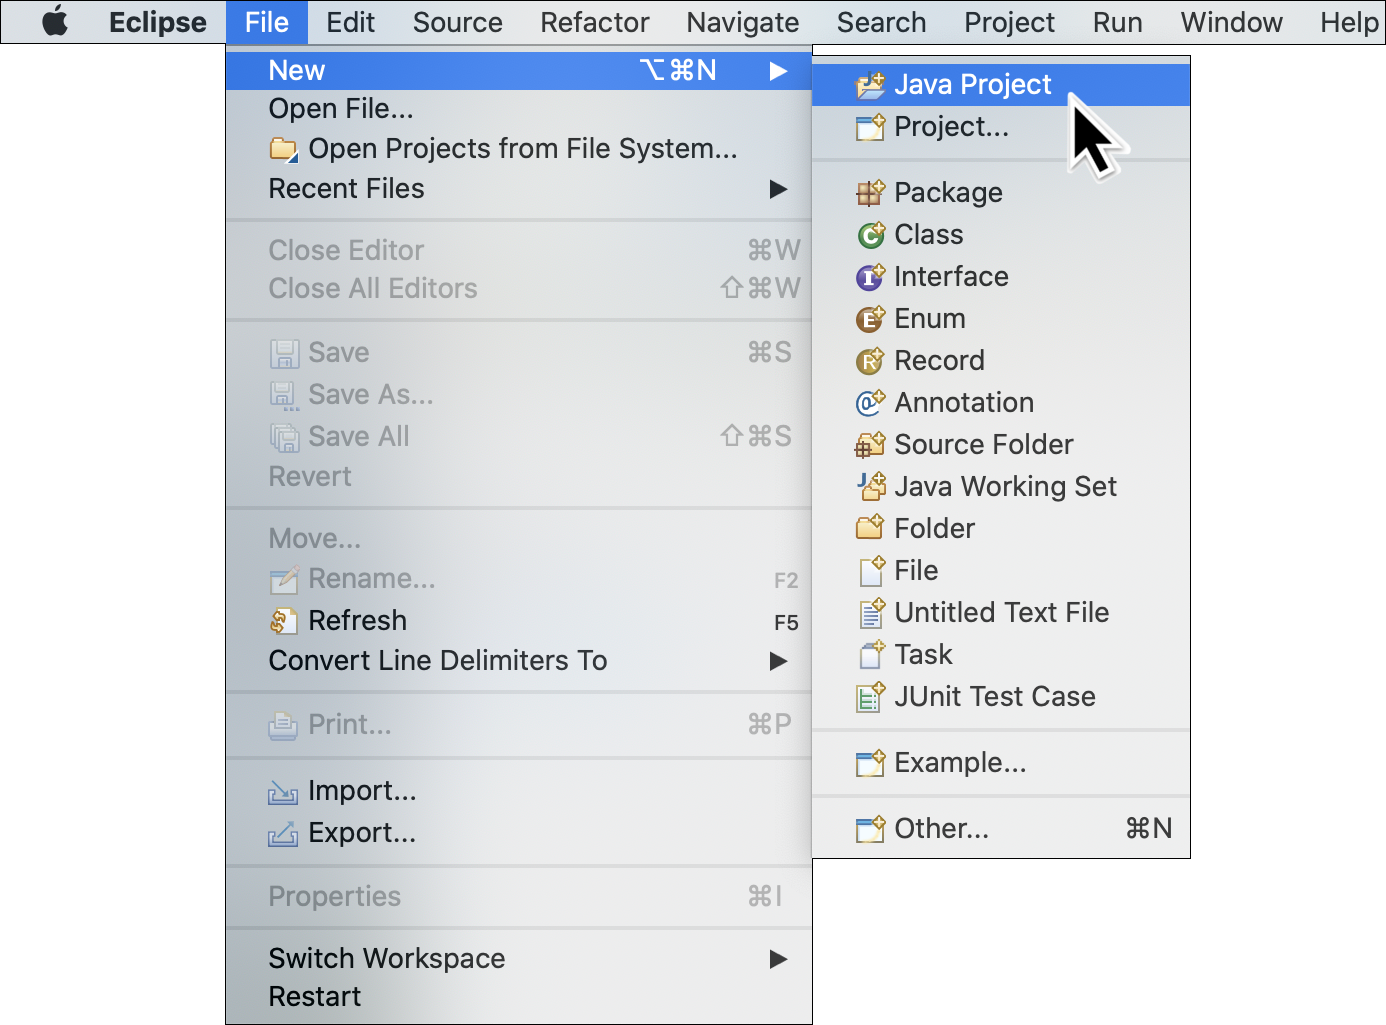
Open Eclipse and select File > New > Java Project

Step 3
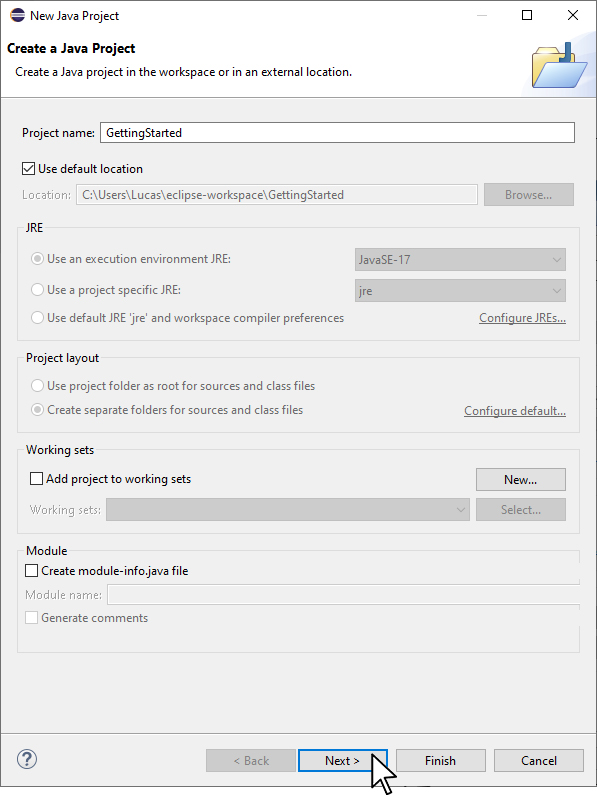
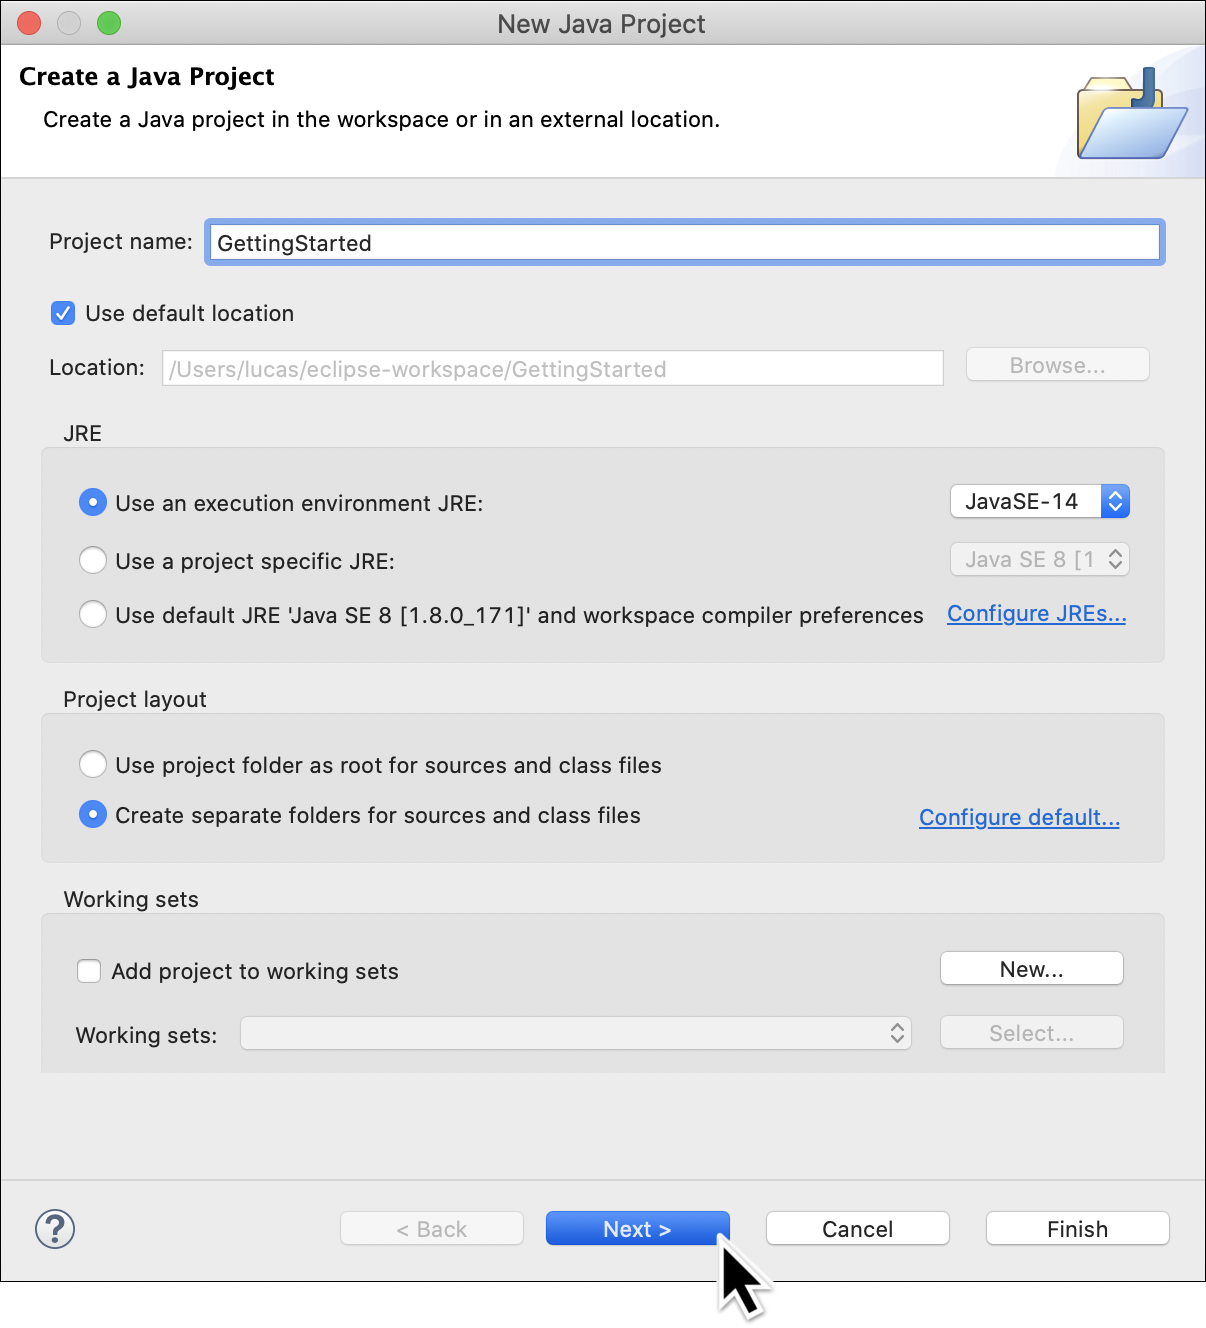
Name the project GettingStarted and click Next.
Note: If the option to Create module-info.java file is present, uncheck it.
Step 4
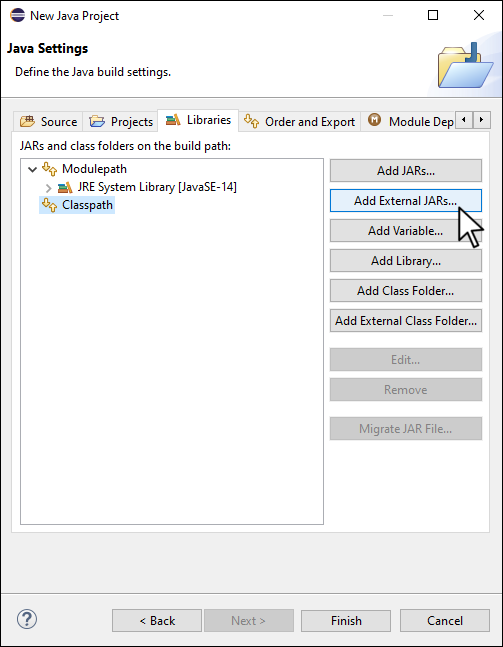
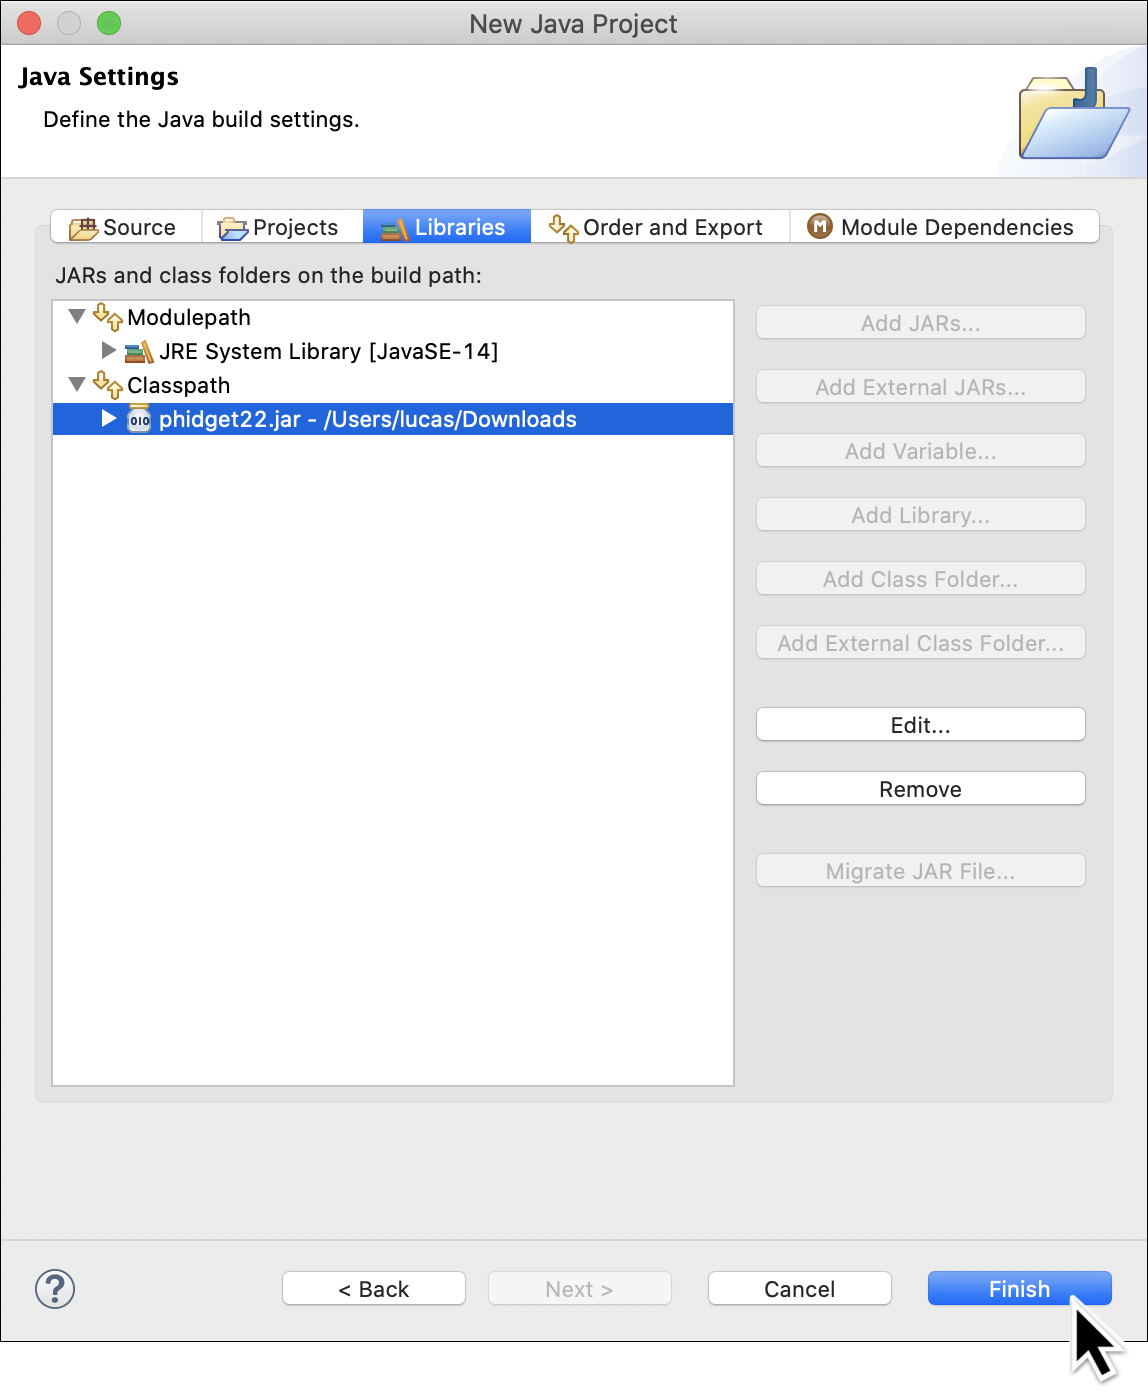
Navigate to the Libraries tab and select Classpath. Next, click on Add External JARs...
Step 5
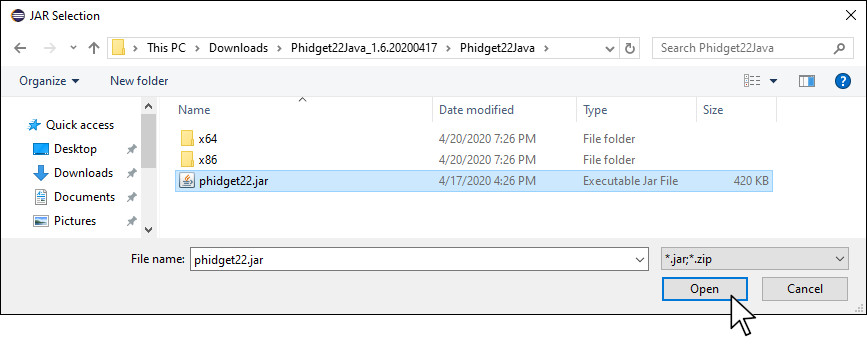
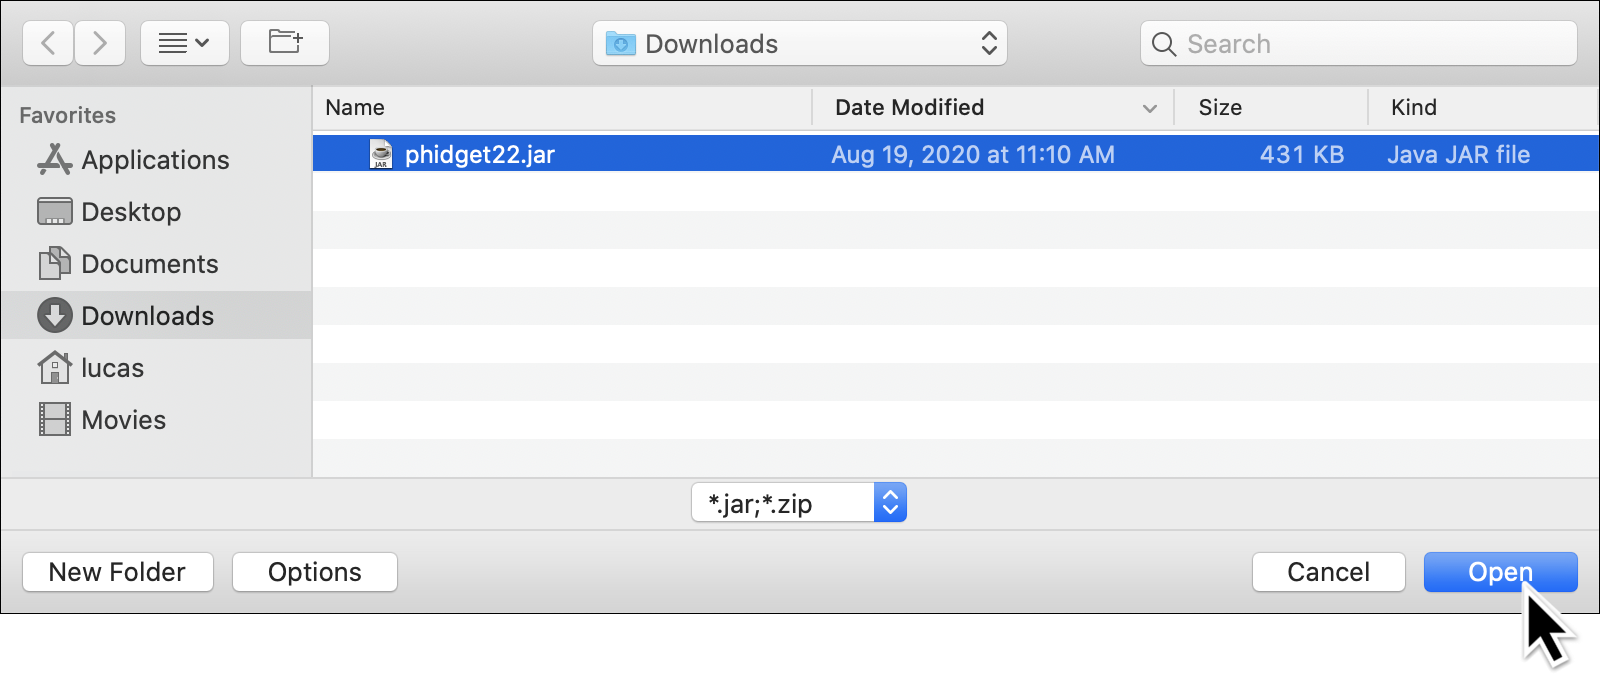
Navigate to the folder you downloaded and extracted and find the phidget22.jar file.
Step 6
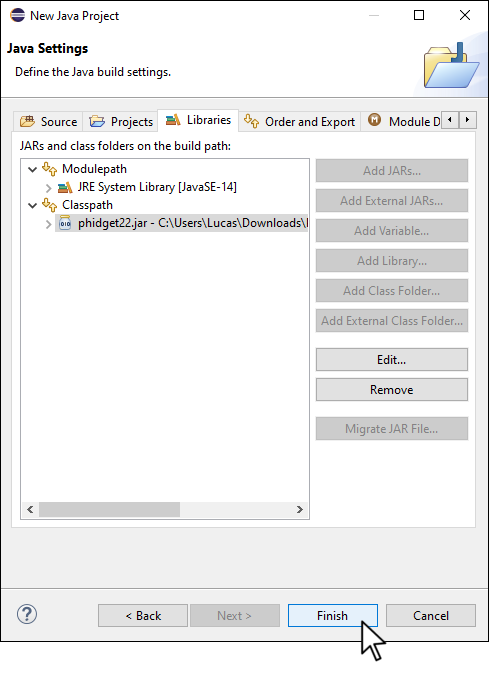
Press Finish.
Step 7
When asked to create a module file, press Don't Create

Step 8
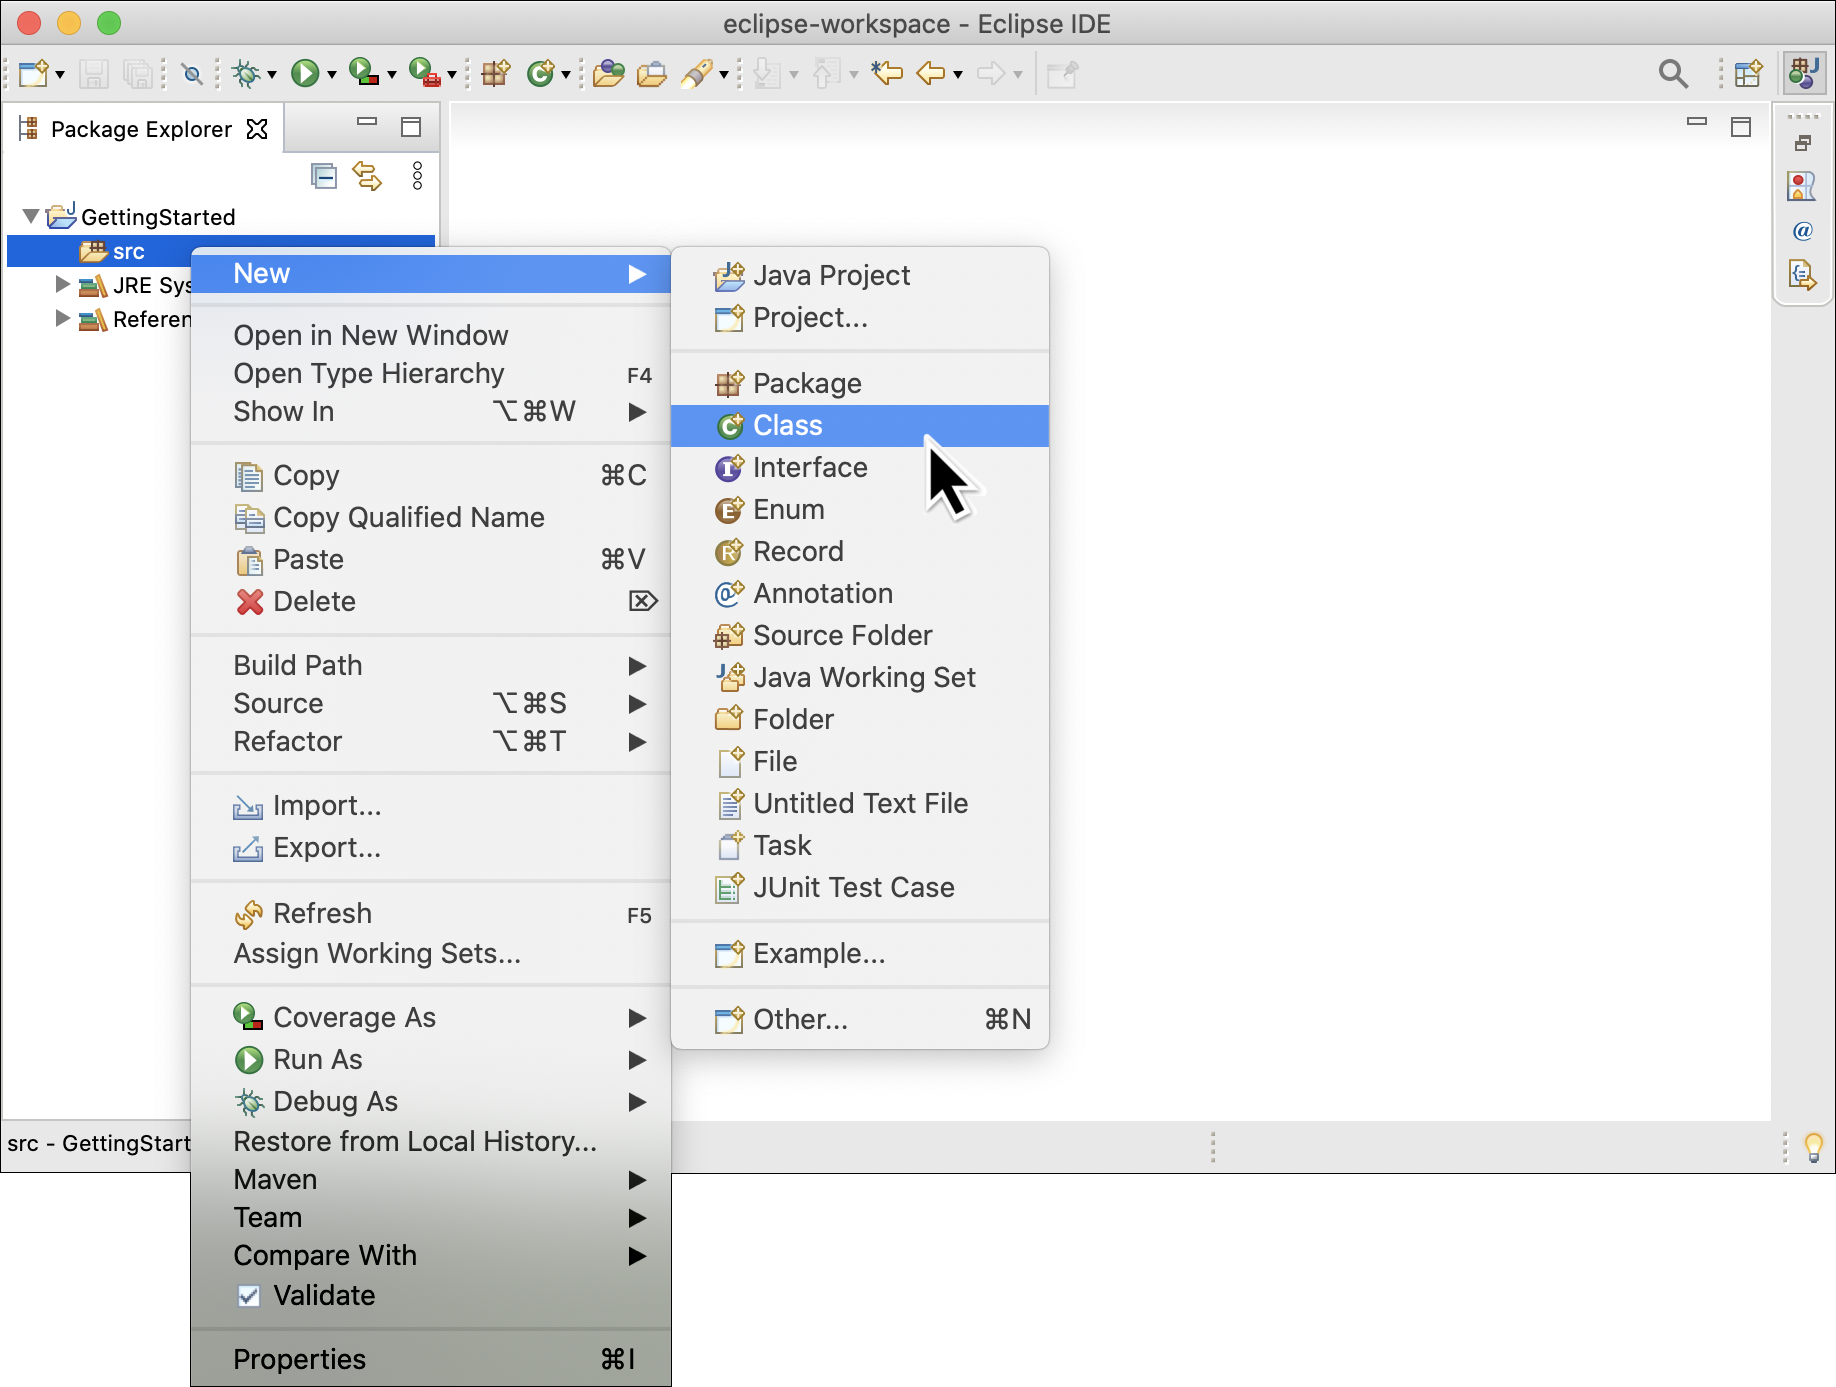
Right-click on your project click New > Class.

Step 9
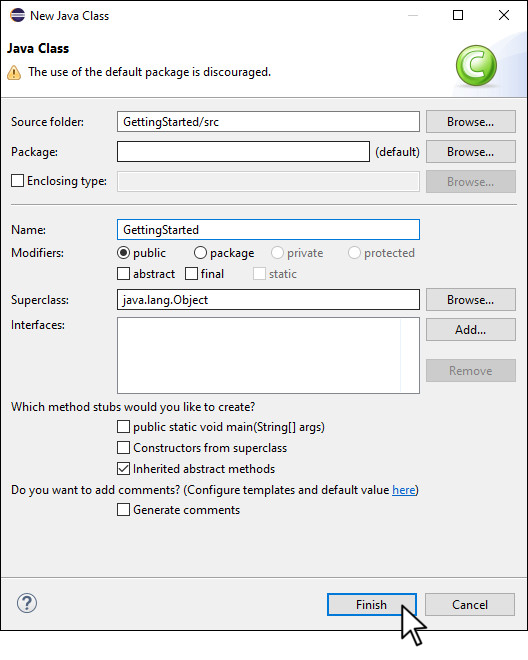
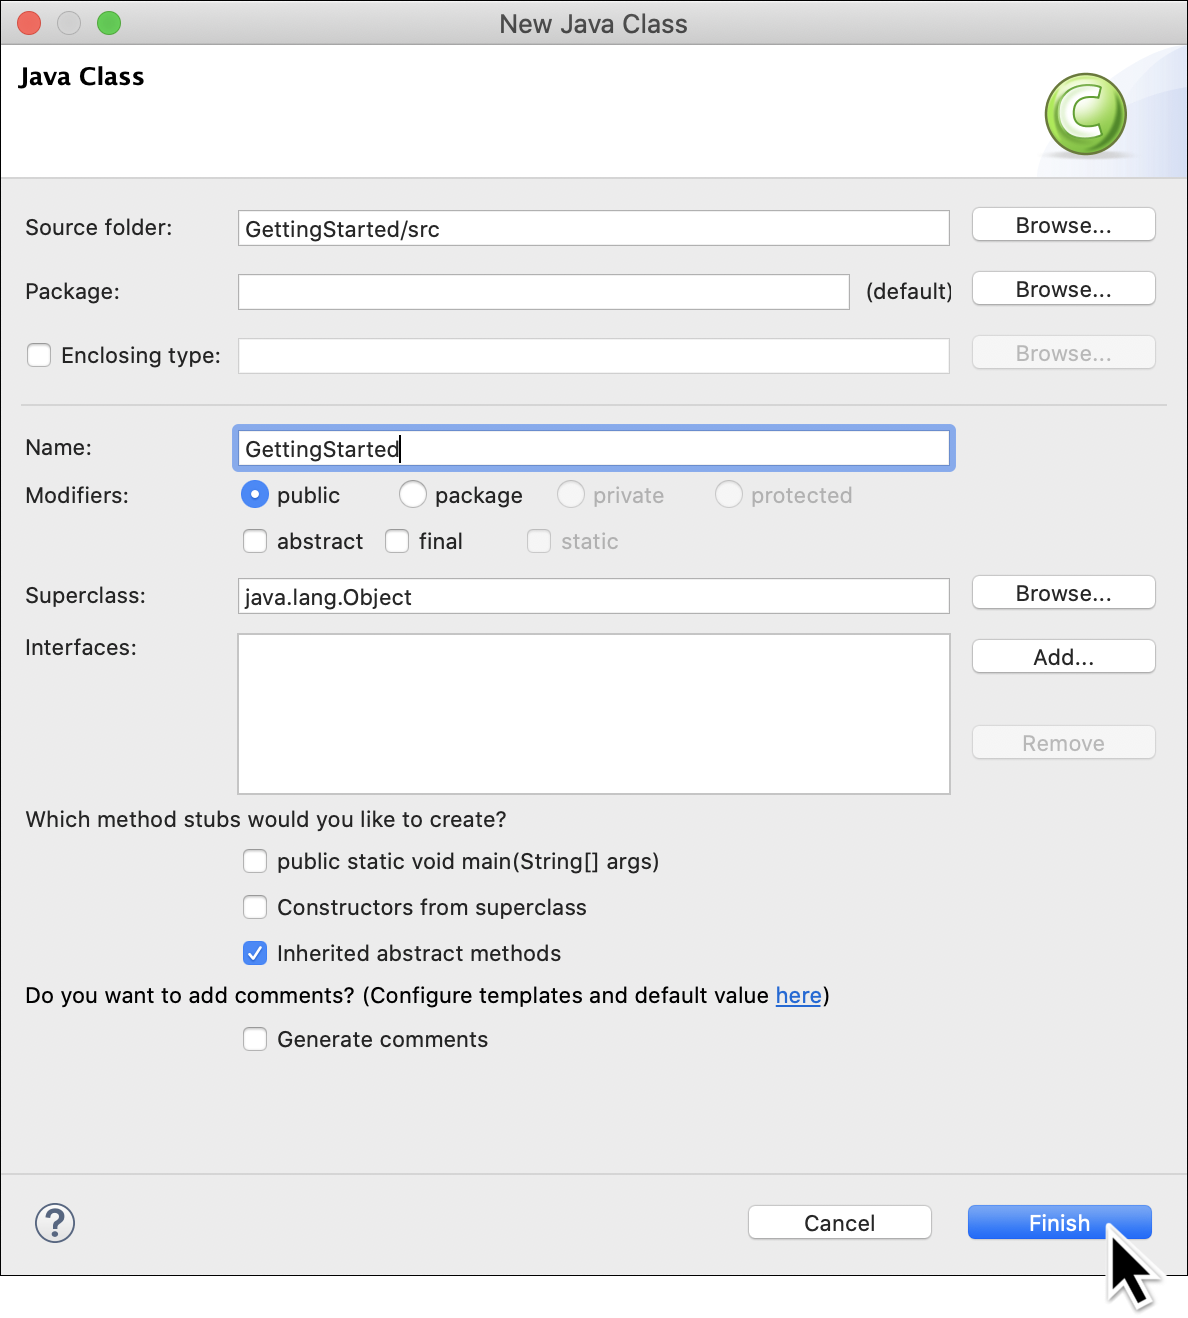
Name the class GettingStarted and press Finish.
Step 10
Transfer the other Phidget library files to your project.
Finished
You are now ready to write some code. Move on to the next step to blink an LED!
Eclipse (Video Instructions)
Download and extract the Phidget Java folder (you will need this to follow along with the video).
Eclipse: Step 1
Download and extract the Phidget Java folder (you will use this in step 5).
Step 2
Open Eclipse and select File > New > Java Project
Step 3
Name the project GettingStarted and click Next.
Step 4
Navigate to the Libraries tab and select Classpath. Next, click on Add External JARs... .

Step 5
Navigate to the phidget22.jar file you previously downloaded.
Step 6
Press Finish.
Step 7
When asked to create a module file, press Don't Create

Step 8
Right-click on your project and click New > Class.
Step 9
Name the class GettingStarted and press Finish.
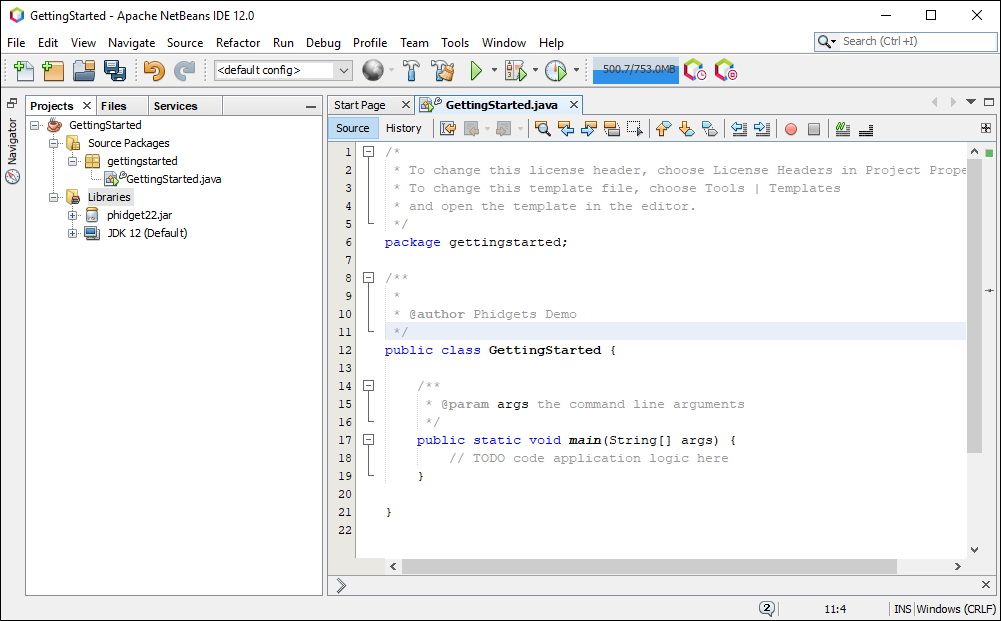
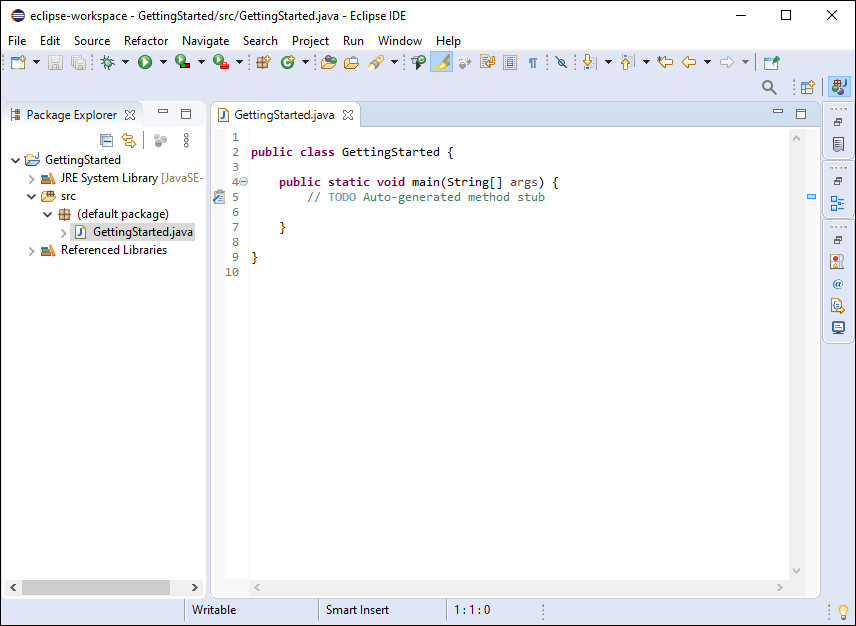
Step 10
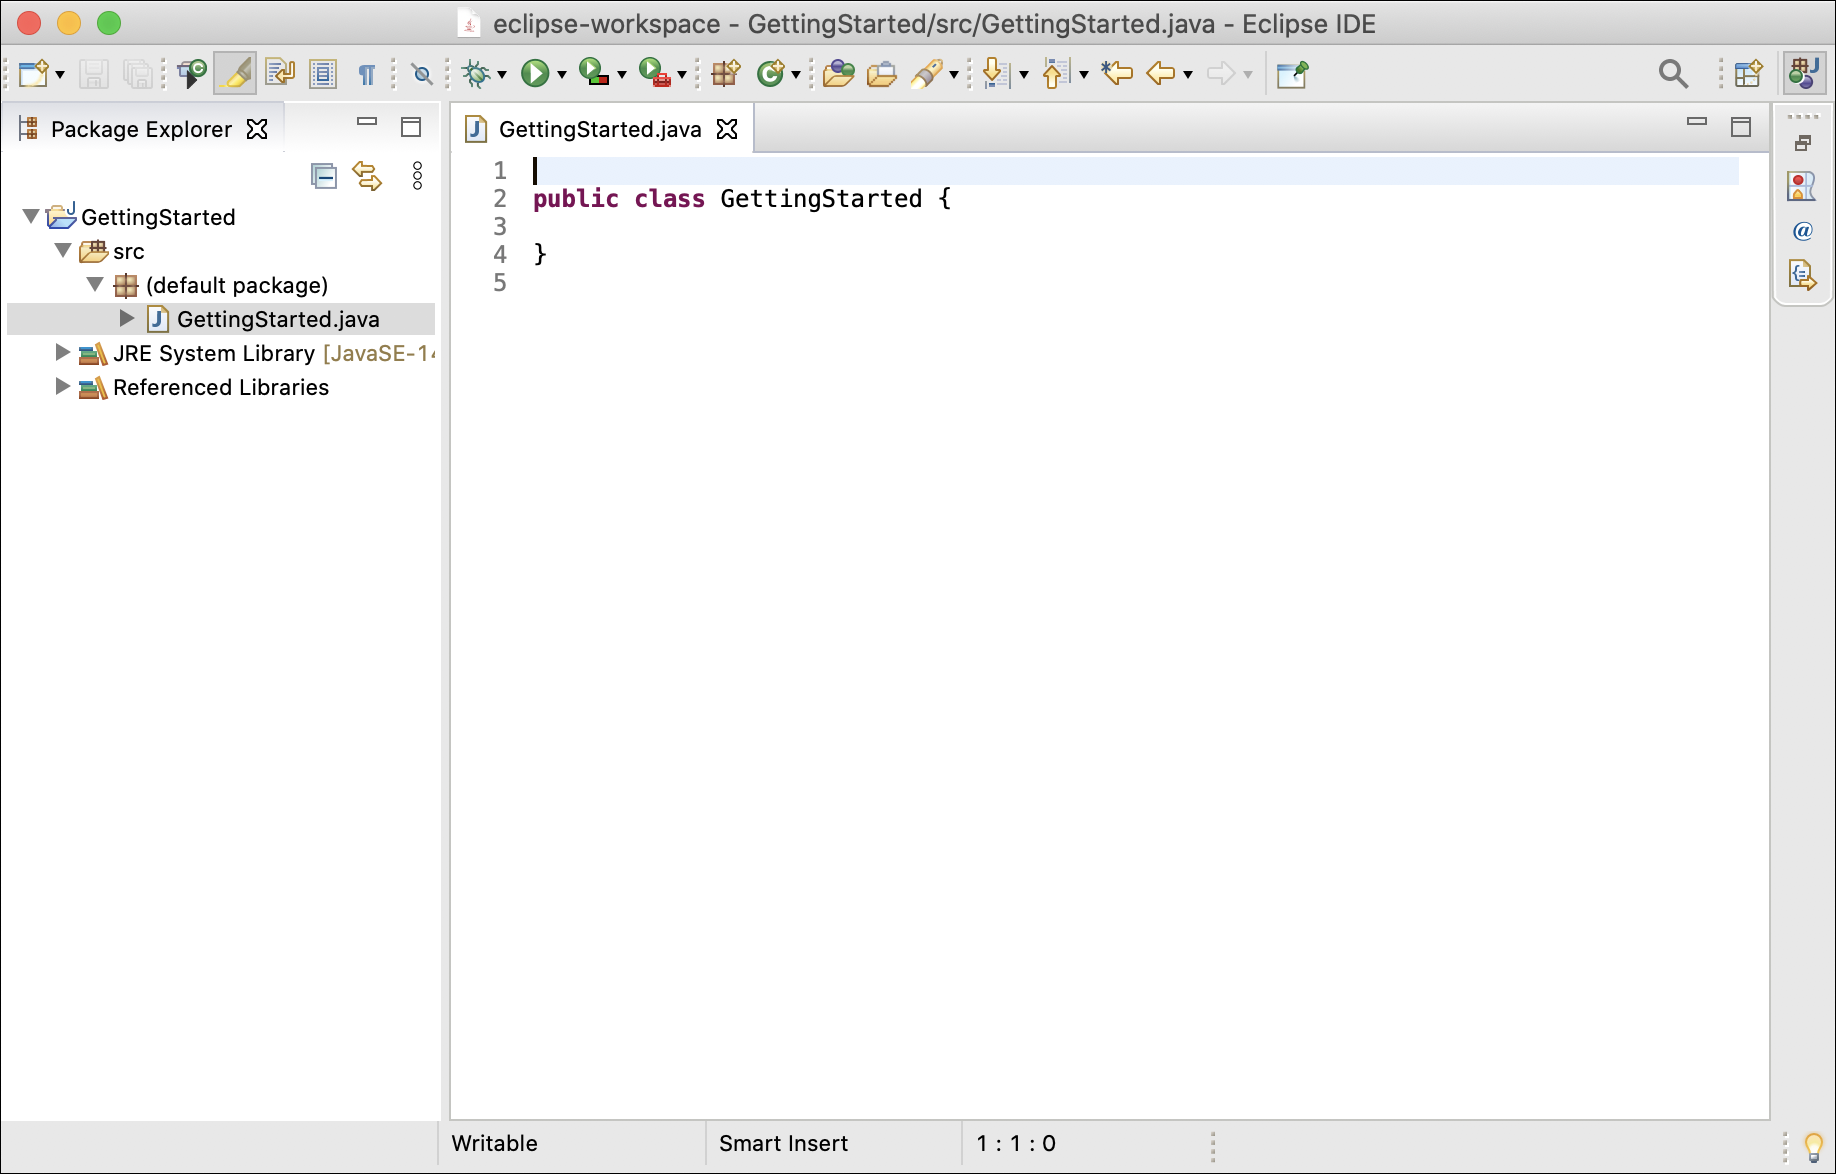
Your project should now look like this. Move on to the next step to blink an LED!
Eclipse (Video Instructions)
Download and extract the Phidget Java folder (you will need this to follow along with the video).
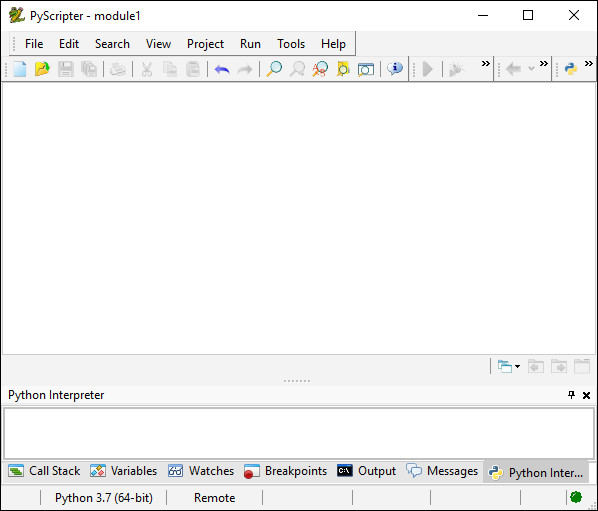
PyScripter: Step 1 (Text Instructions)
To start, open PyScripter.
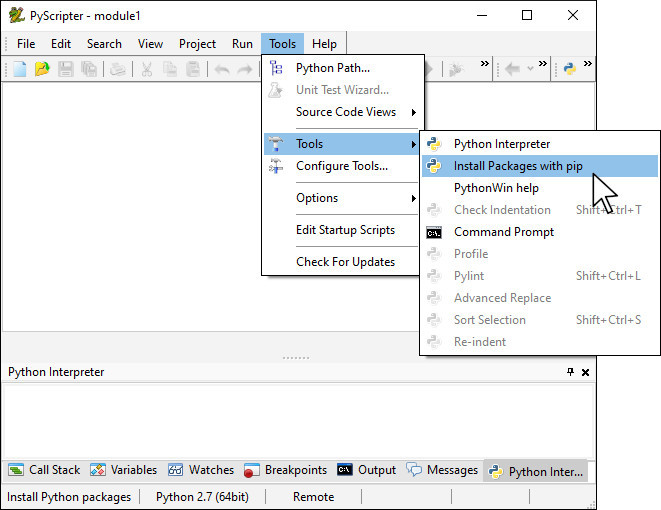
Step 2
Navigate to Tools > Tools > Install packages with pip.
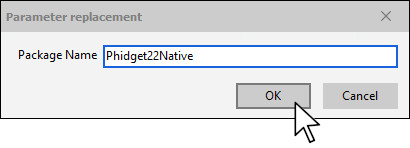
Step 3
Type in Phidget22Native and press enter.
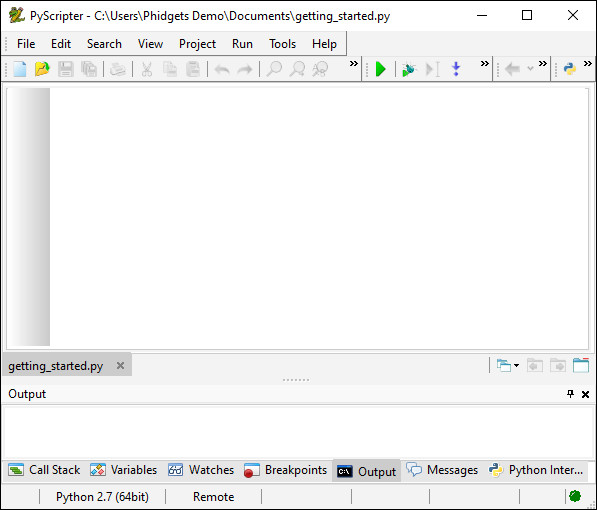
Step 4
Finally, save the file as getting_started.py in the location of your choice.
Finished
You are now ready to write some code. Move on to the next step to blink an LED!
PyScripter (Video Instructions)
Thonny: Step 1 (Text Instructions)
To start, open Thonny.
Step 2
Next, select Tools > Manage Packages.
Step 3
Search for Phidget22Native and press Install.
Step 4
Next, select File > New to create a new file.

Step 5
Save the file as getting_started.py.
Finished
You are now ready to write some code. Move on to the next step to blink an LED!
Thonny (Video Instructions)
Thonny: Step 1 (Text Instructions)
To start, open Thonny.
Step 2
Next, select Tools > Manage Packages.
Step 3
Search for Phidget22 and press Install.
Step 4
Next, select File > New to create a new file.
Step 5
Save the file as getting_started.py.
Finished
You are now ready to write some code. Move on to the next step to blink an LED!
Thonny (Video Instructions)
Pycharm: Step 1 (Text Instructions)
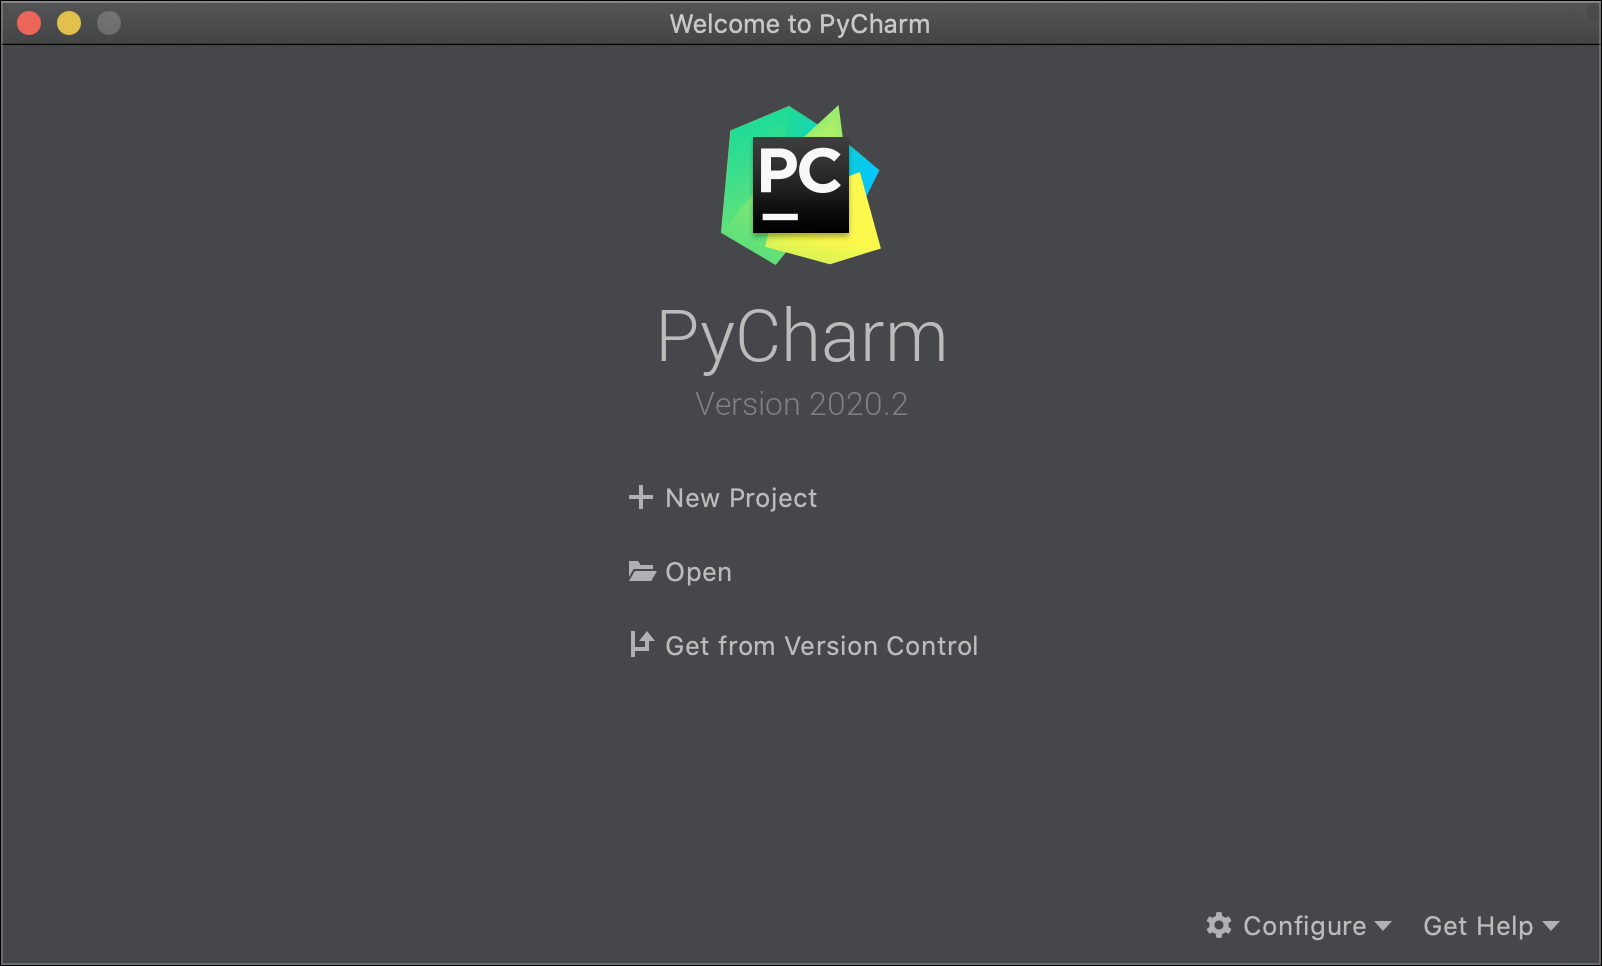
To start, open PyCharm and press Create New Project.

Step 2
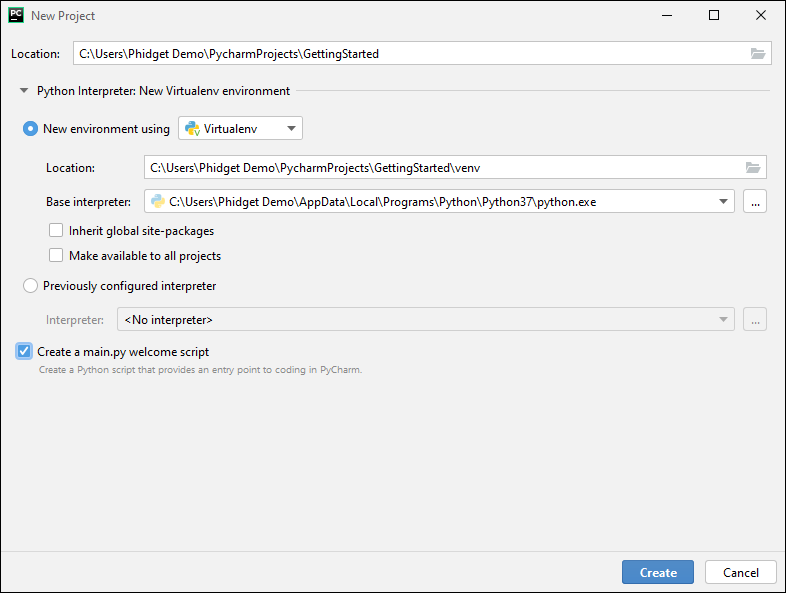
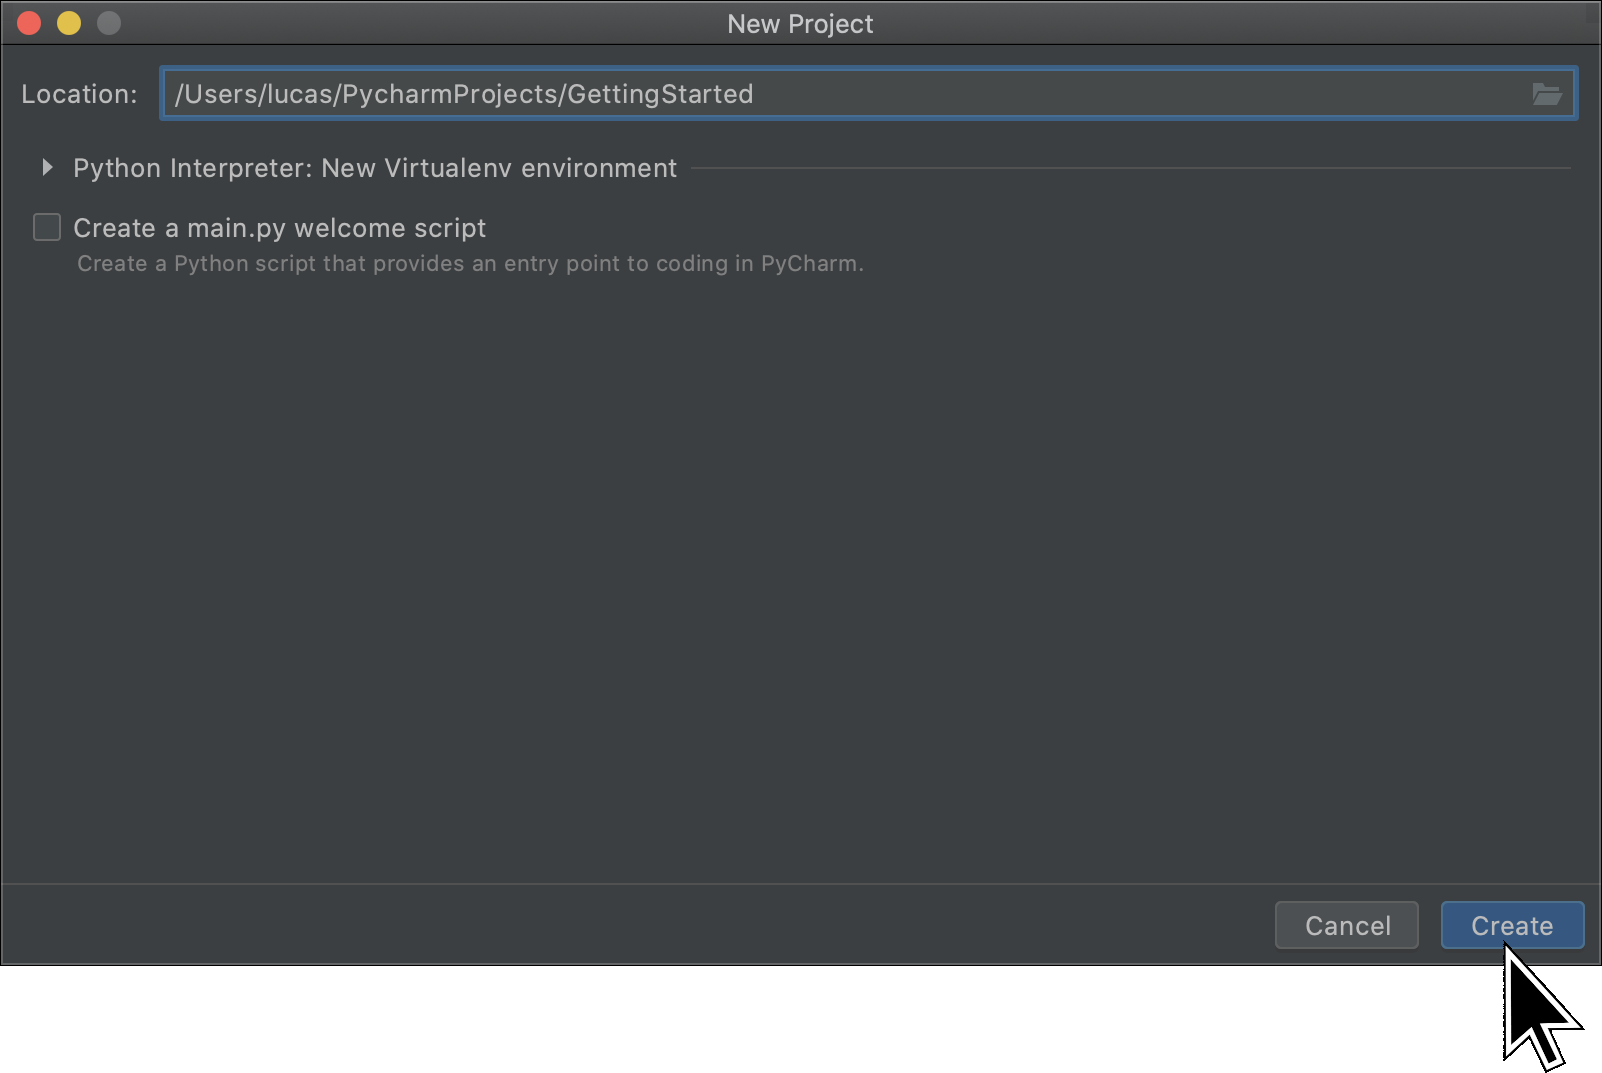
Name the project GettingStarted and check Create a main.py welcome script. Press Create to continue.
Step 3
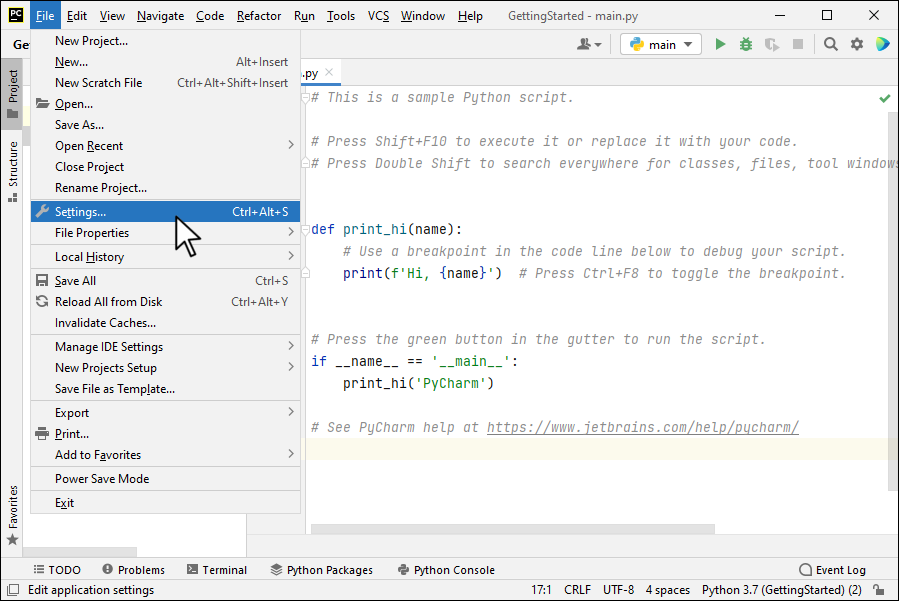
Next, click on File > Settings...
Step 4
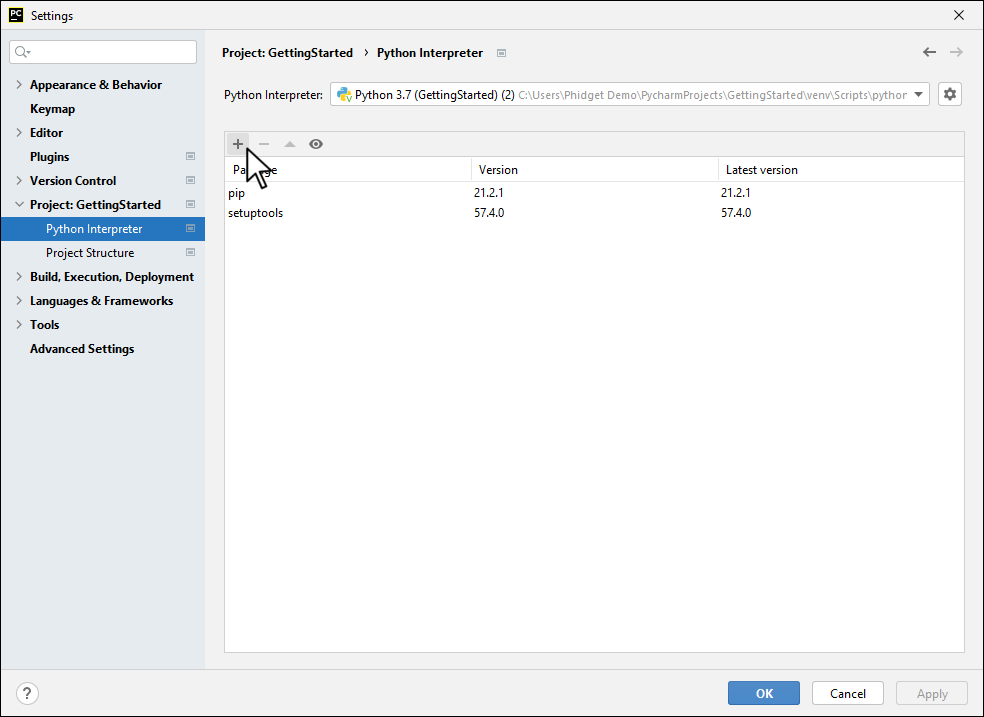
Navigate to Project > Python Interpreter on the left hand side. Once there, click on the + symbol in the upper left corner.
Step 5
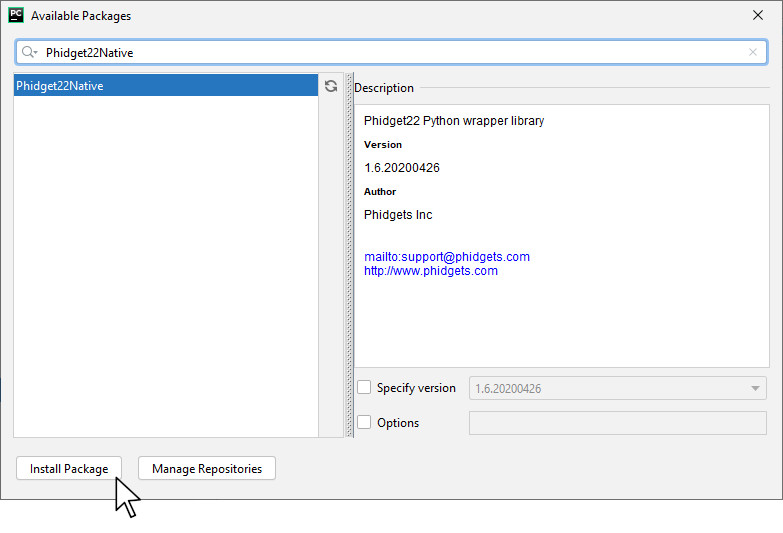
Search for Phidget22Native and press Install Package.
Step 6
After installing the package, remove all code from your main.py script.
Finished
You are now ready to write some code. Move on to the next step to blink an LED!
PyCharm (Video Instructions)
Pycharm: Step 1 (Text Instructions)
To start, open PyCharm and press New Project.
Step 2
Name the project GettingStarted and press Create.
Step 3
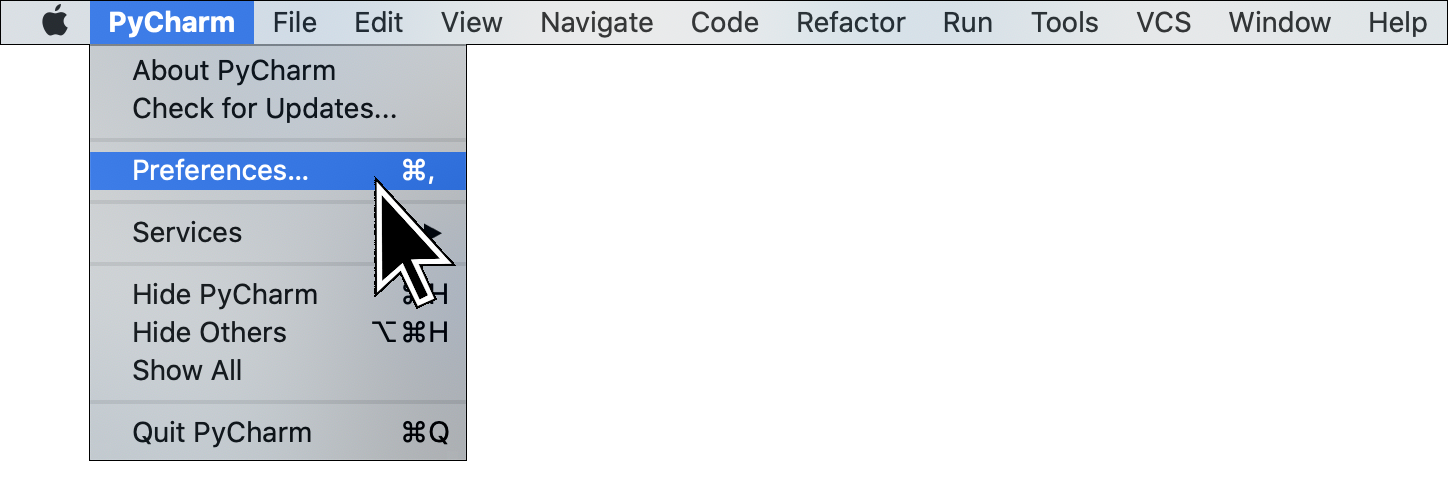
Next, navigate to PyCharm > Preferences.
Step 4
Navigate to Project > Python Interpreter on the left hand side. Once there, click on the + symbol in the bottom left corner.
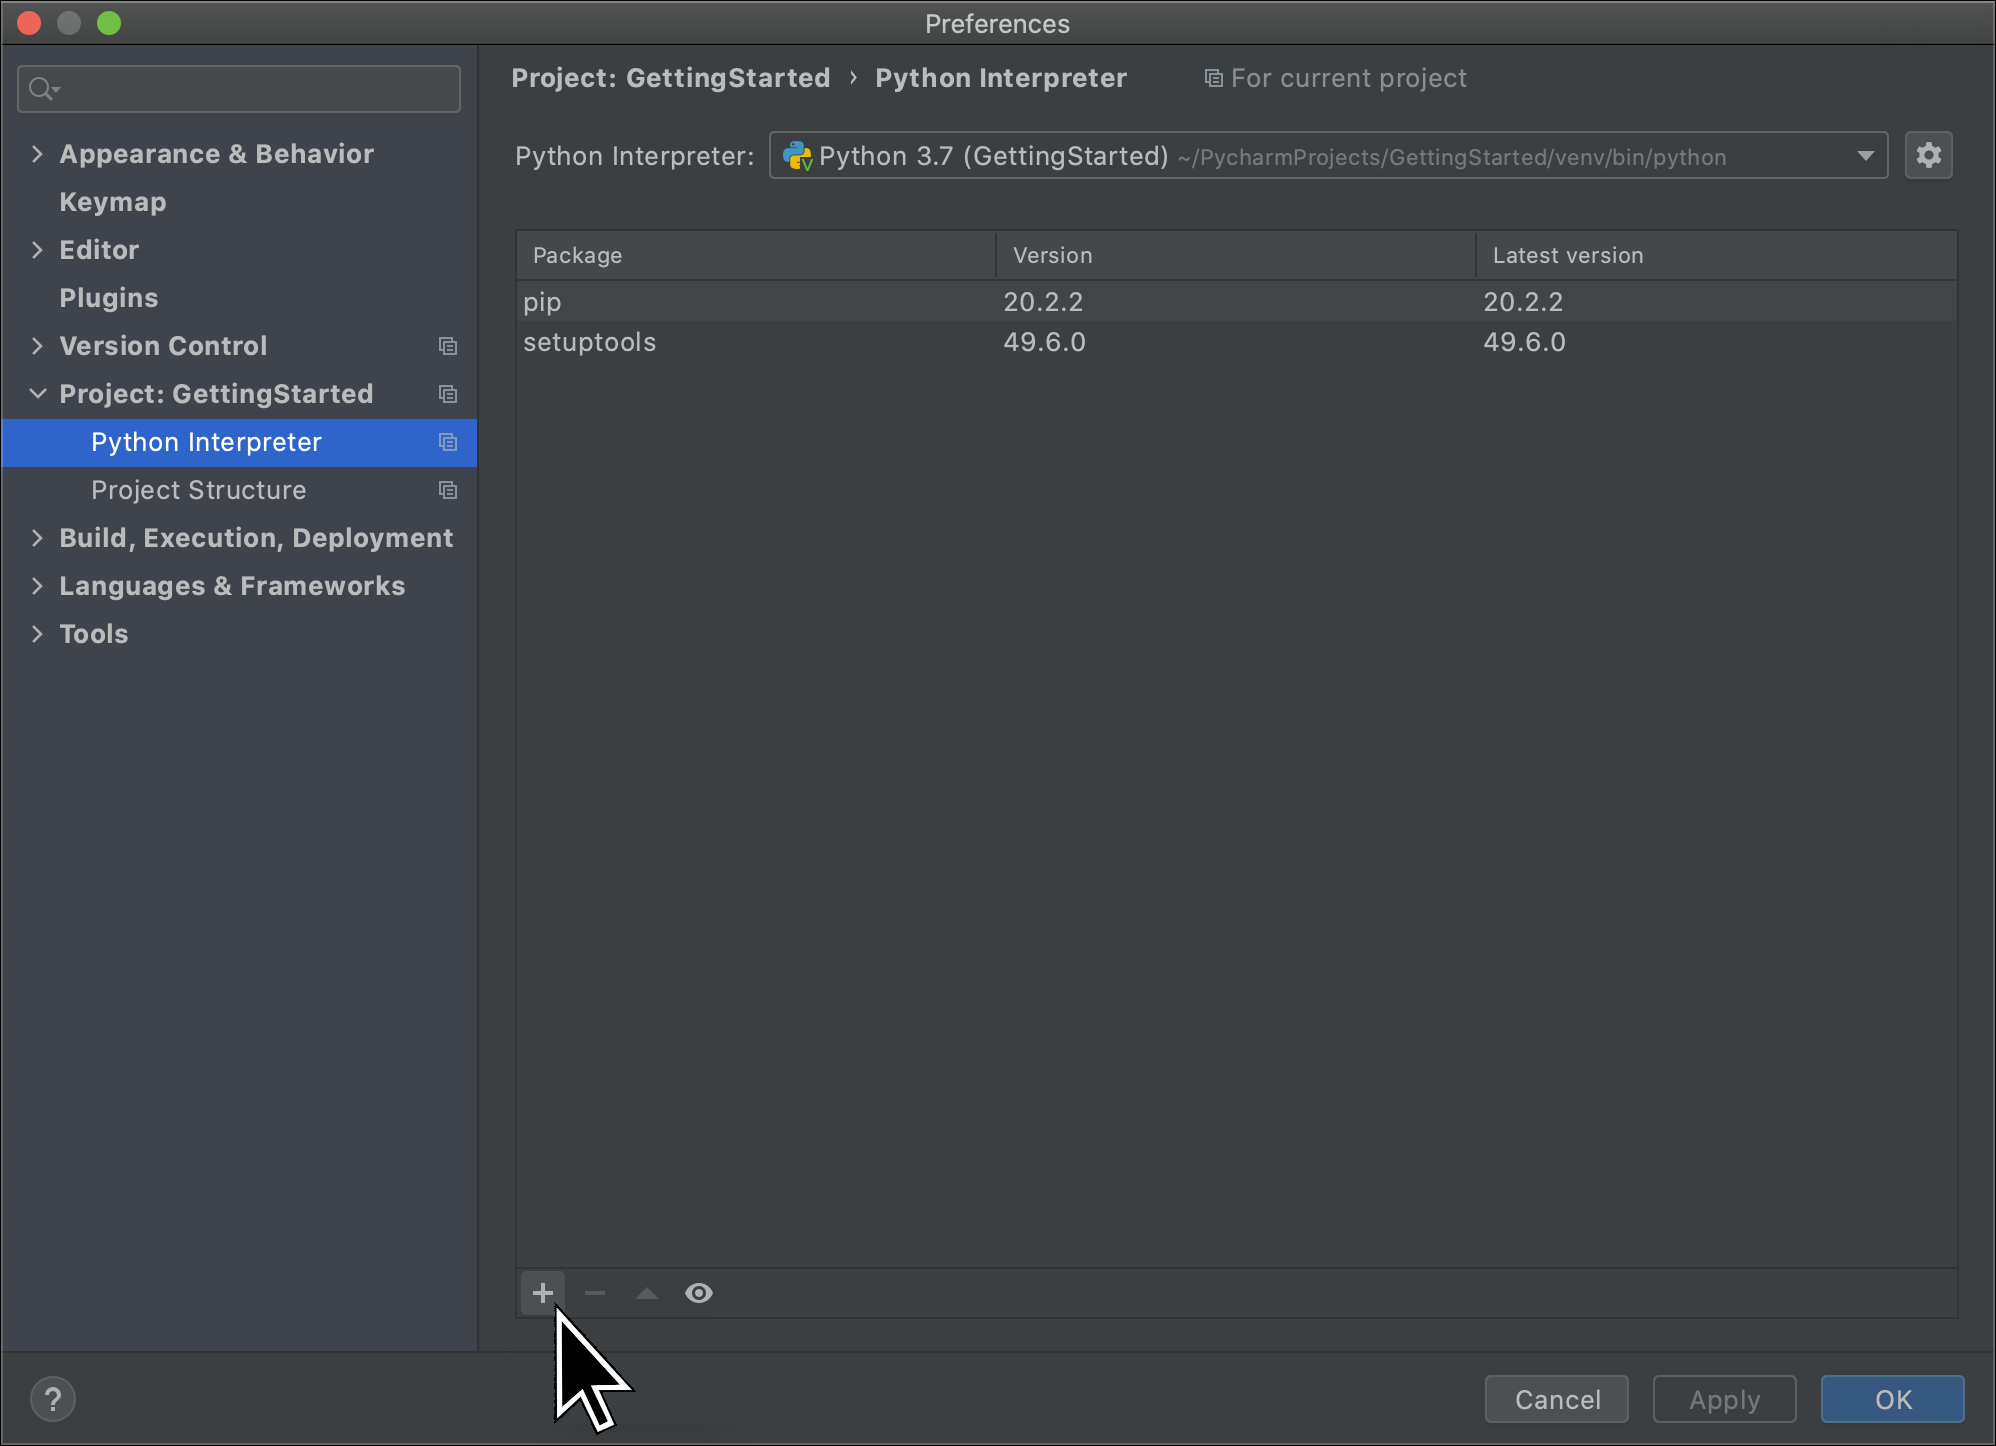
Step 5
Search for Phidget22 and press Install Package.

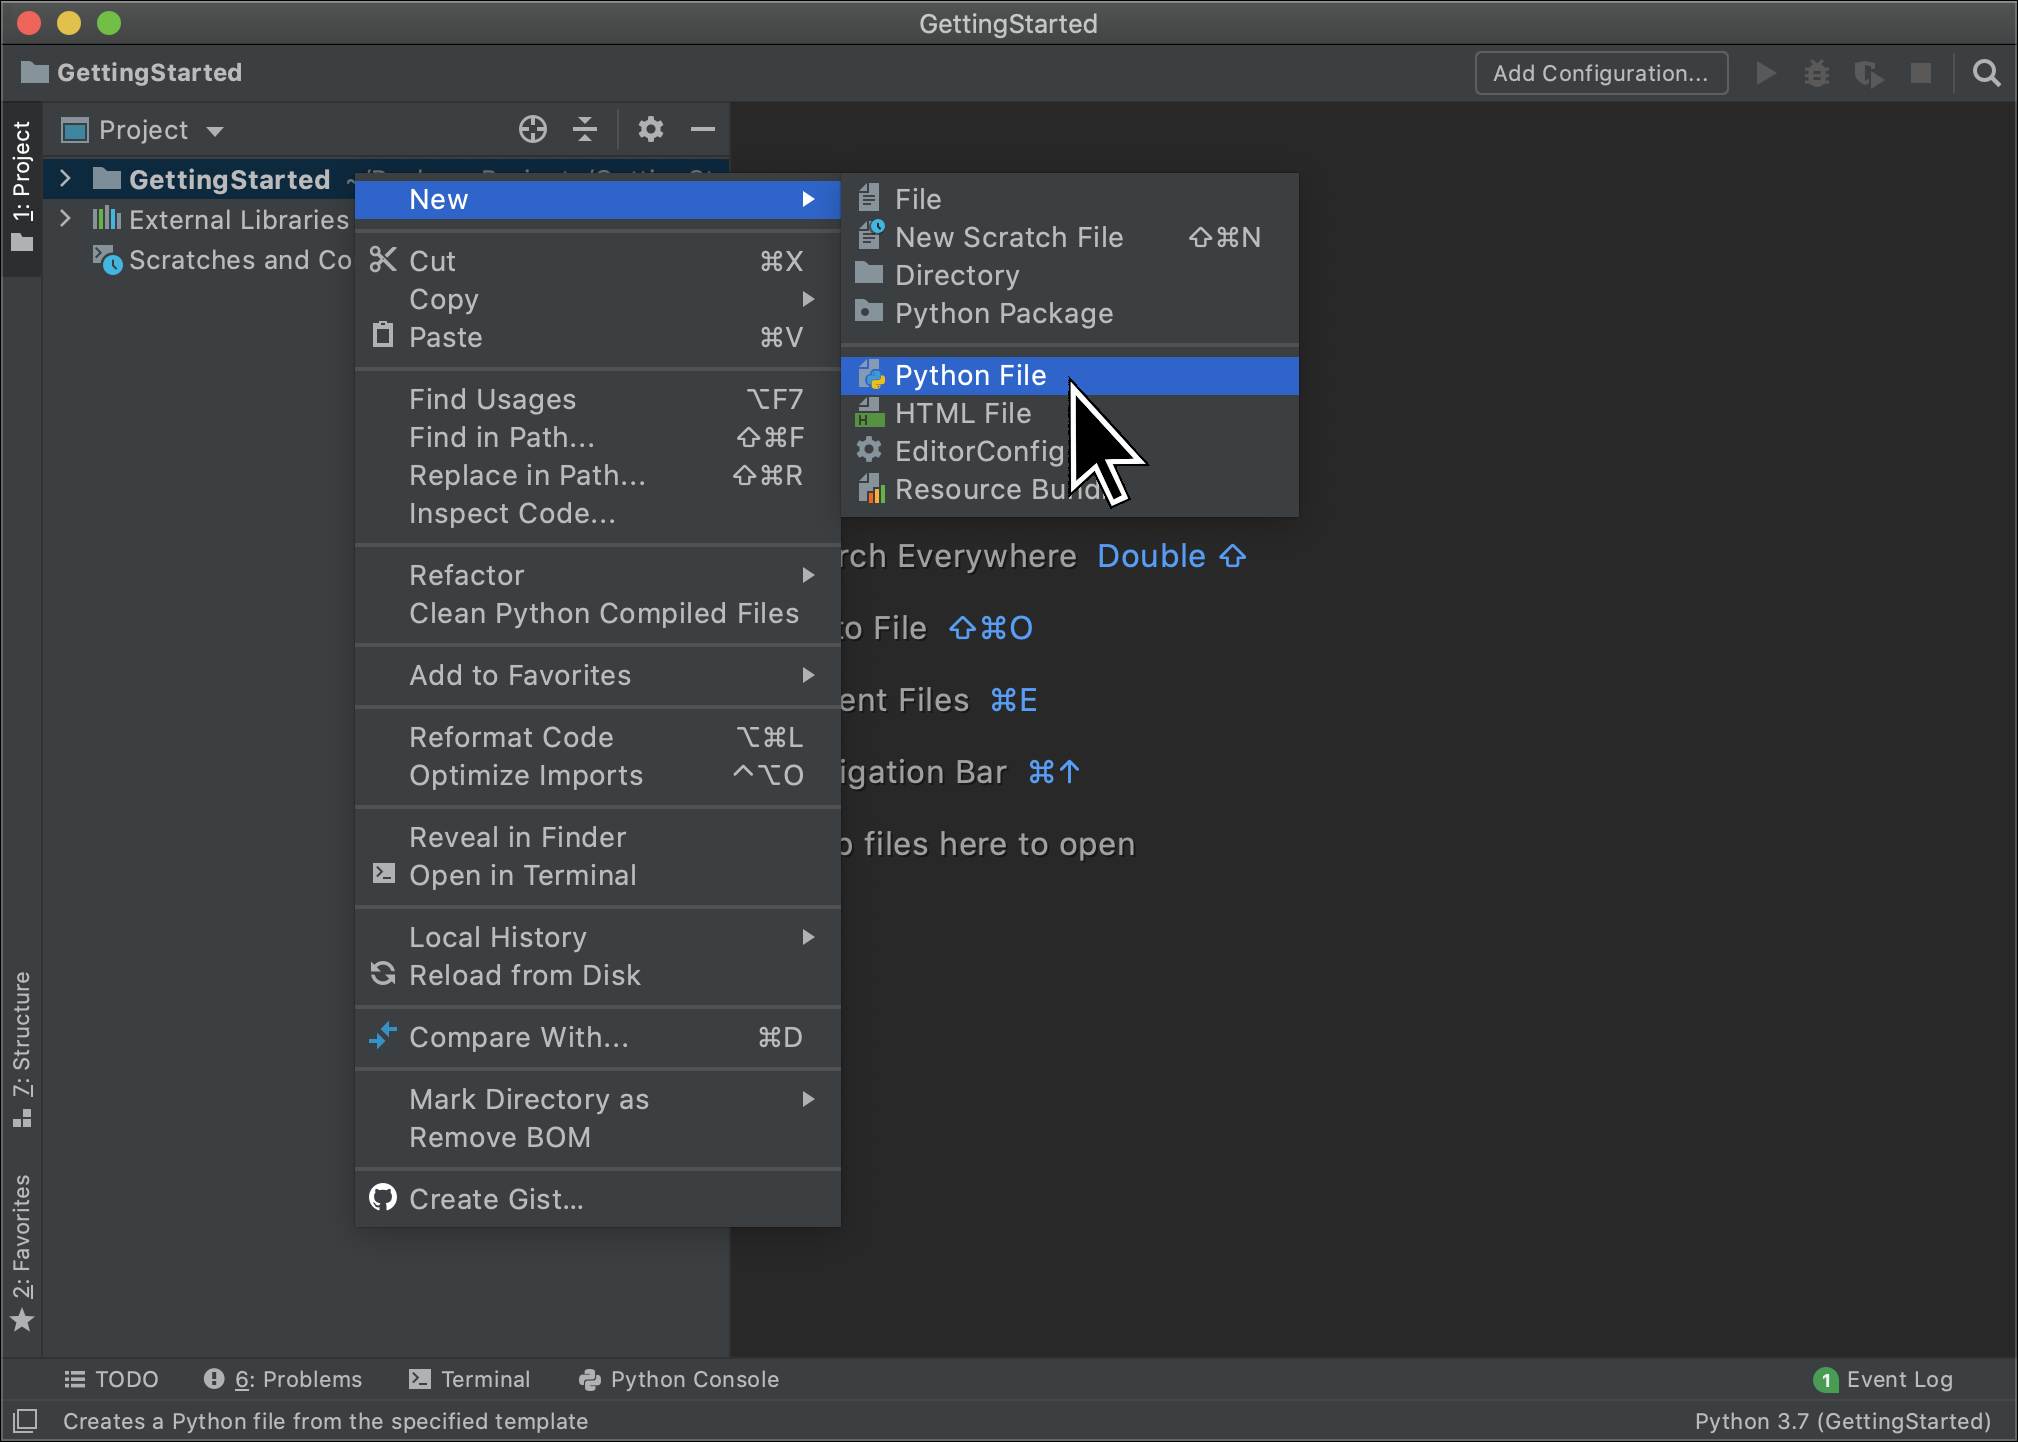
Step 6
After installing the package, right-click on your project and select New > Python File
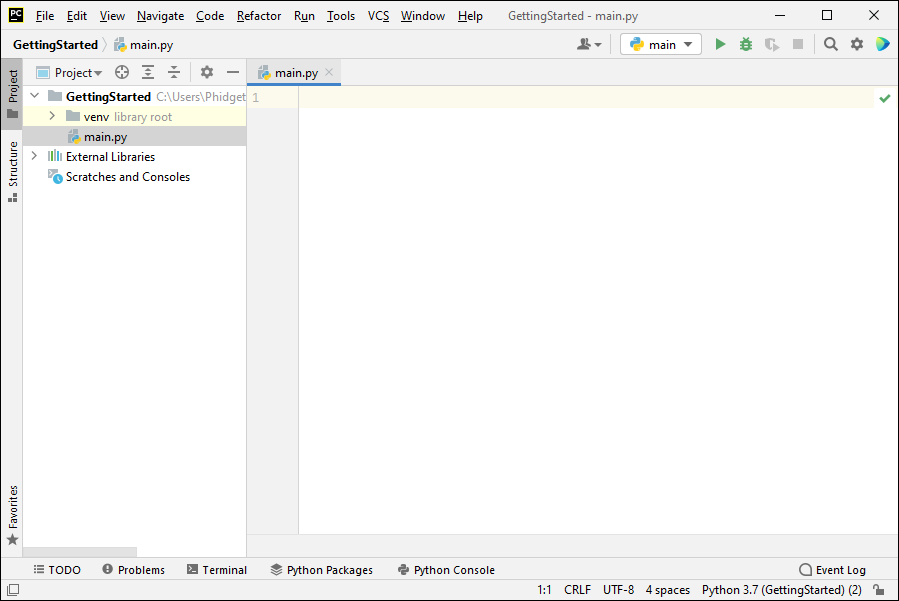
Step 7
Name the file getting_started. Your window should now look like this.
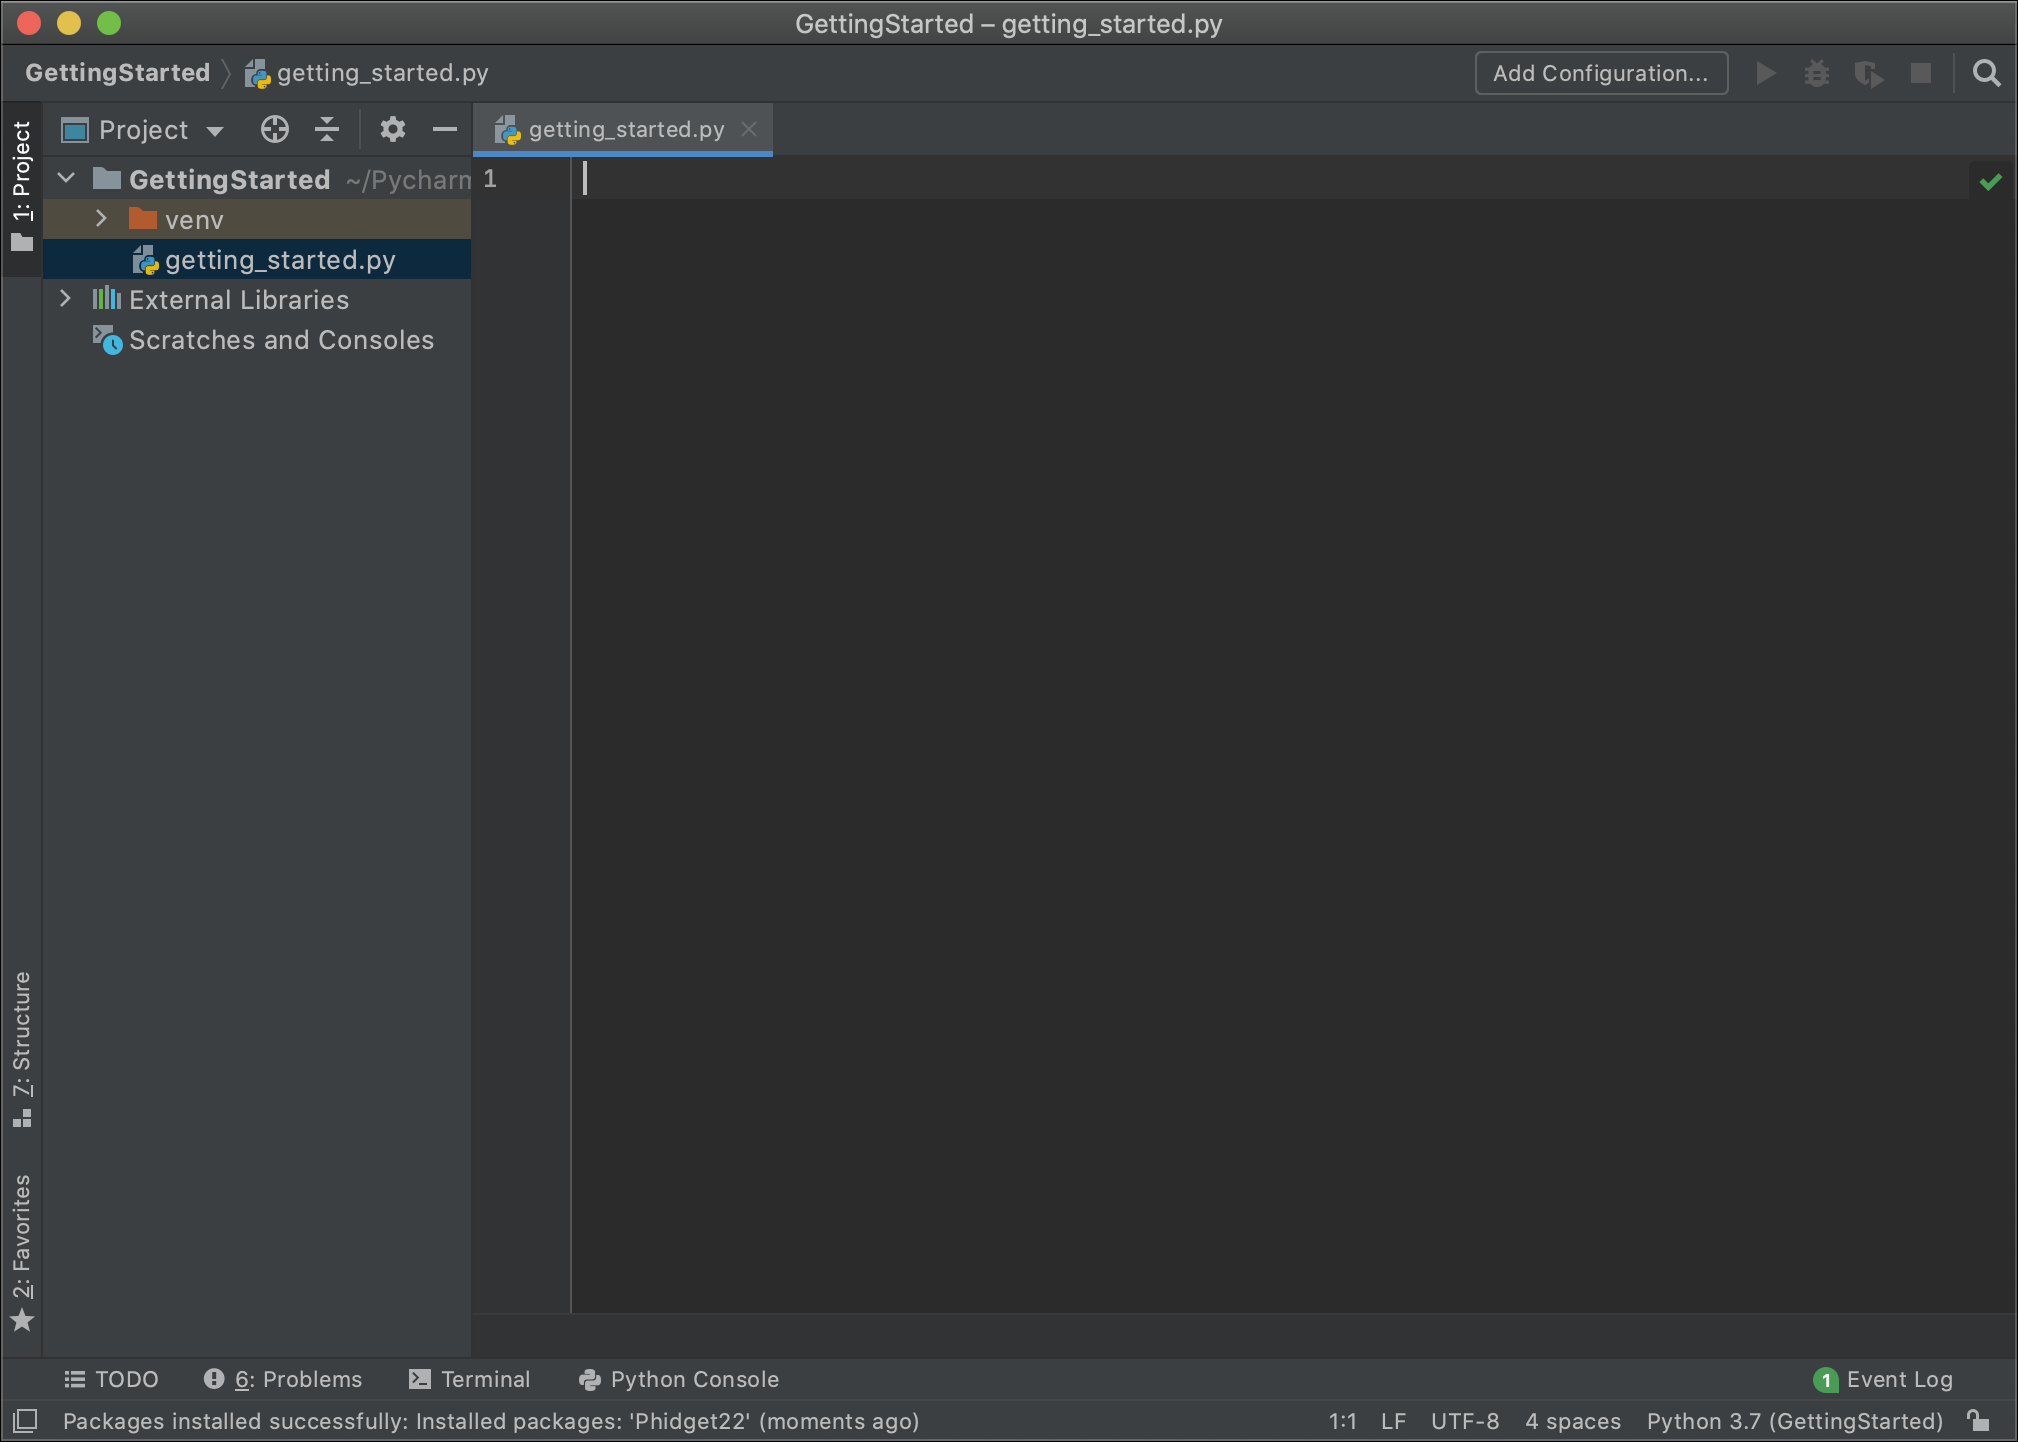
Finished
You are now ready to write some code. Move on to the next step to blink an LED!
PyCharm (Video Instructions)
Visual Studio: Step 1 (Text Instructions)
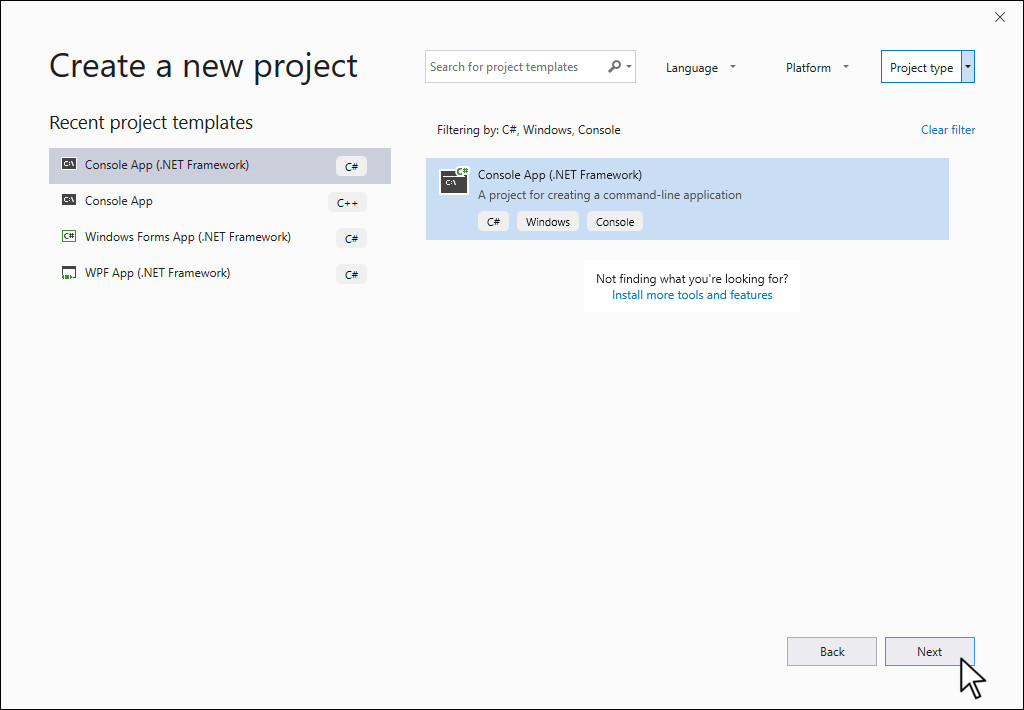
Open Visual Studio and create a new Console App (.NET Framework).
Step 2
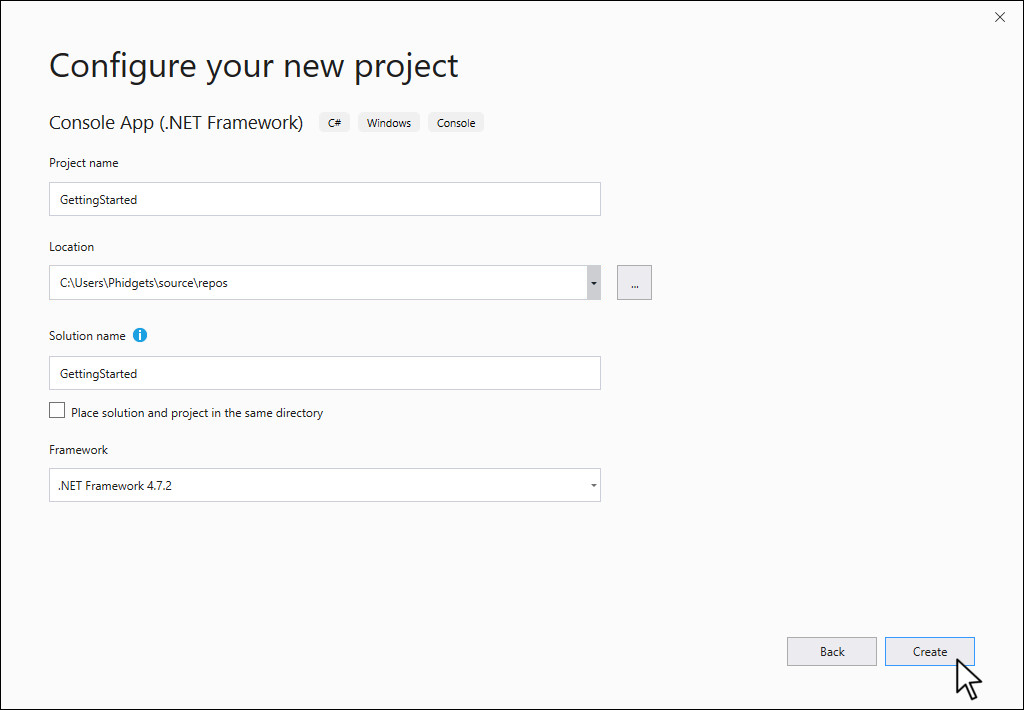
Name the project GettingStarted and place it in the location of your choice
Step 3
Right-click on your project and select Manage NuGet Packages…

Step 4
Click on the Browse button in the top left corner and enter Phidget22 in the search bar. Click on the package and install the latest version.

Finish
You are now ready to write some code. Move on to the next step to blink an LED!
Visual Studio (Video Instructions)
Xcode: Step 1 (Text Instructions)
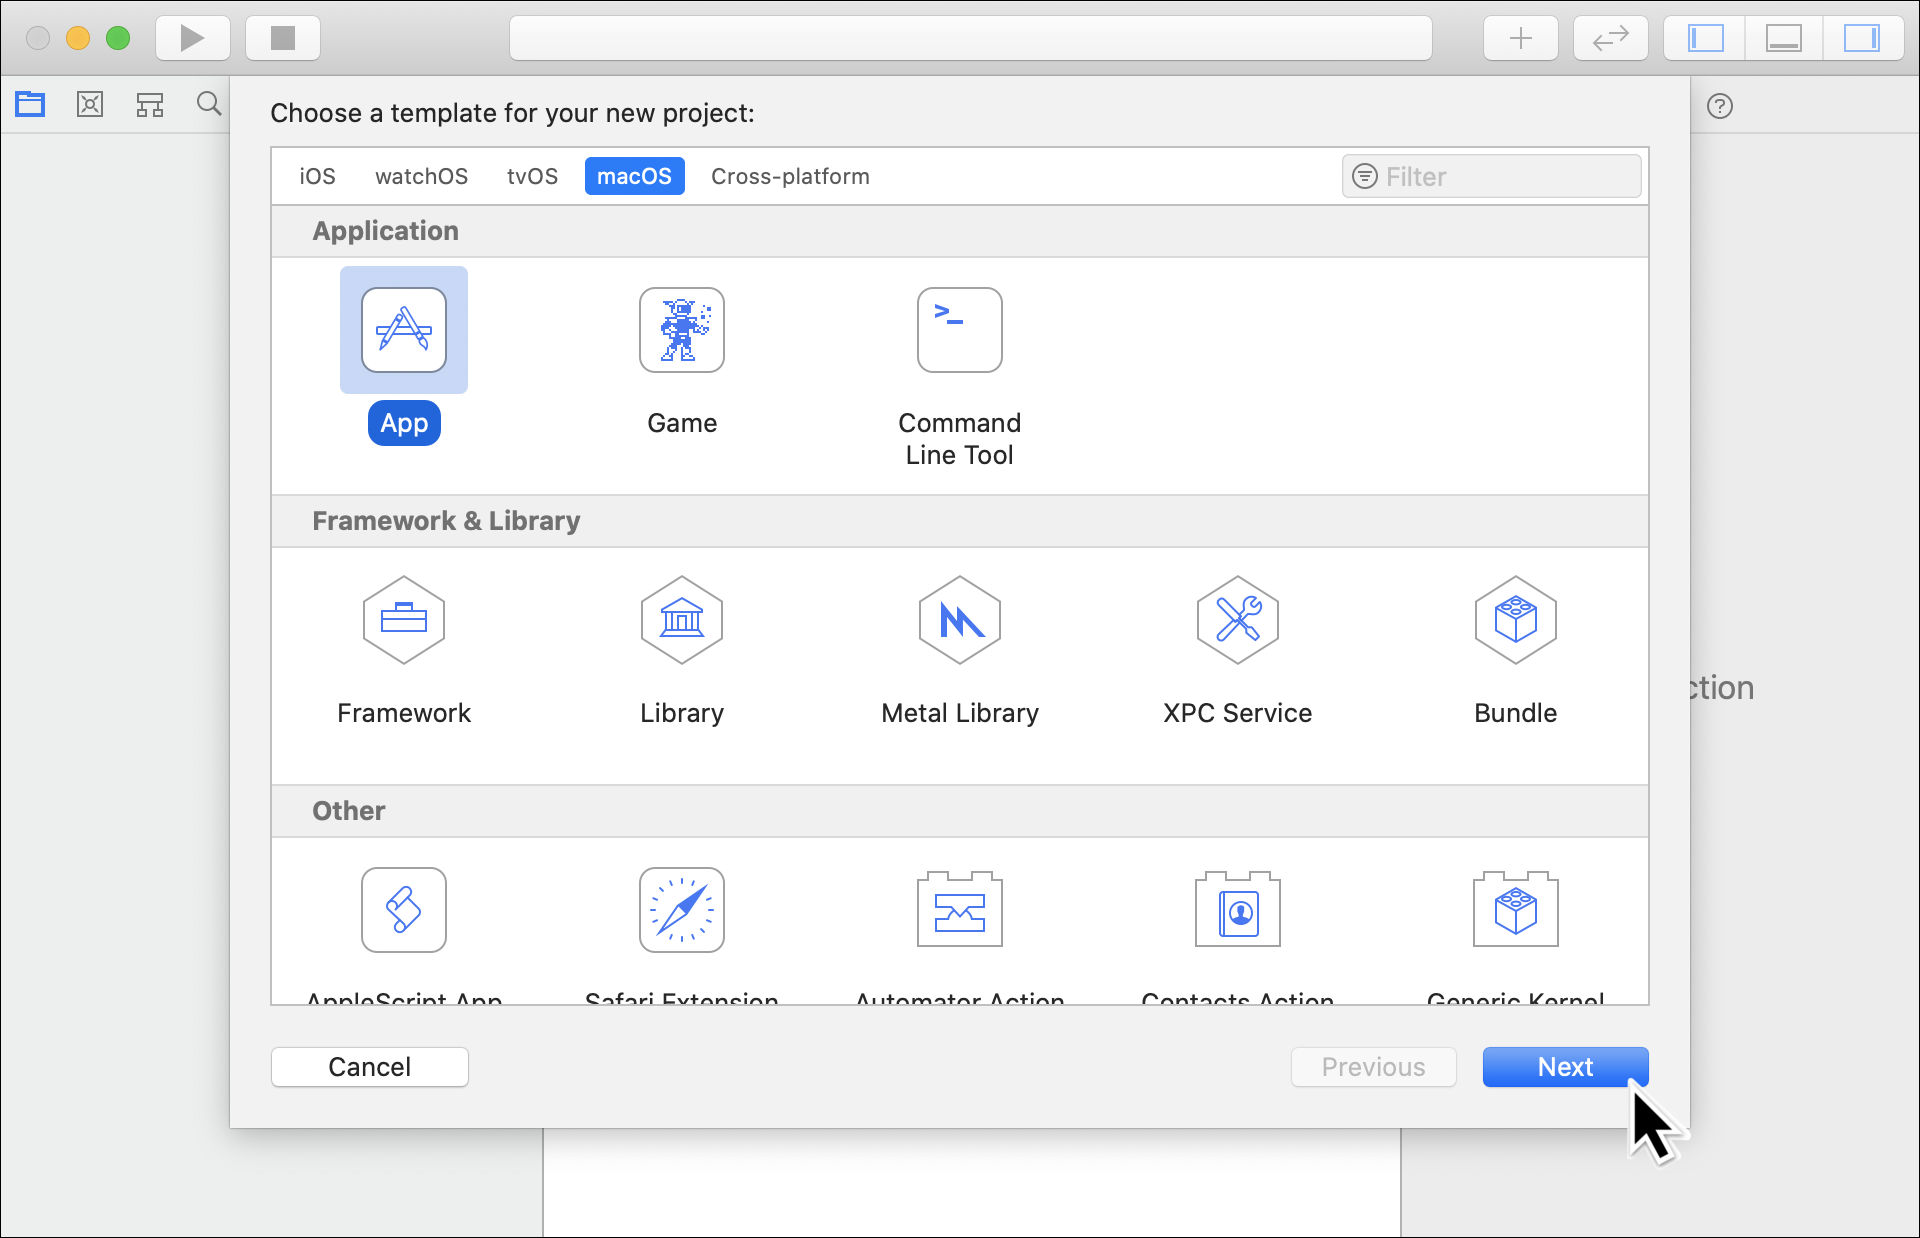
Open Xcode and create a new macOS application.
Step 2
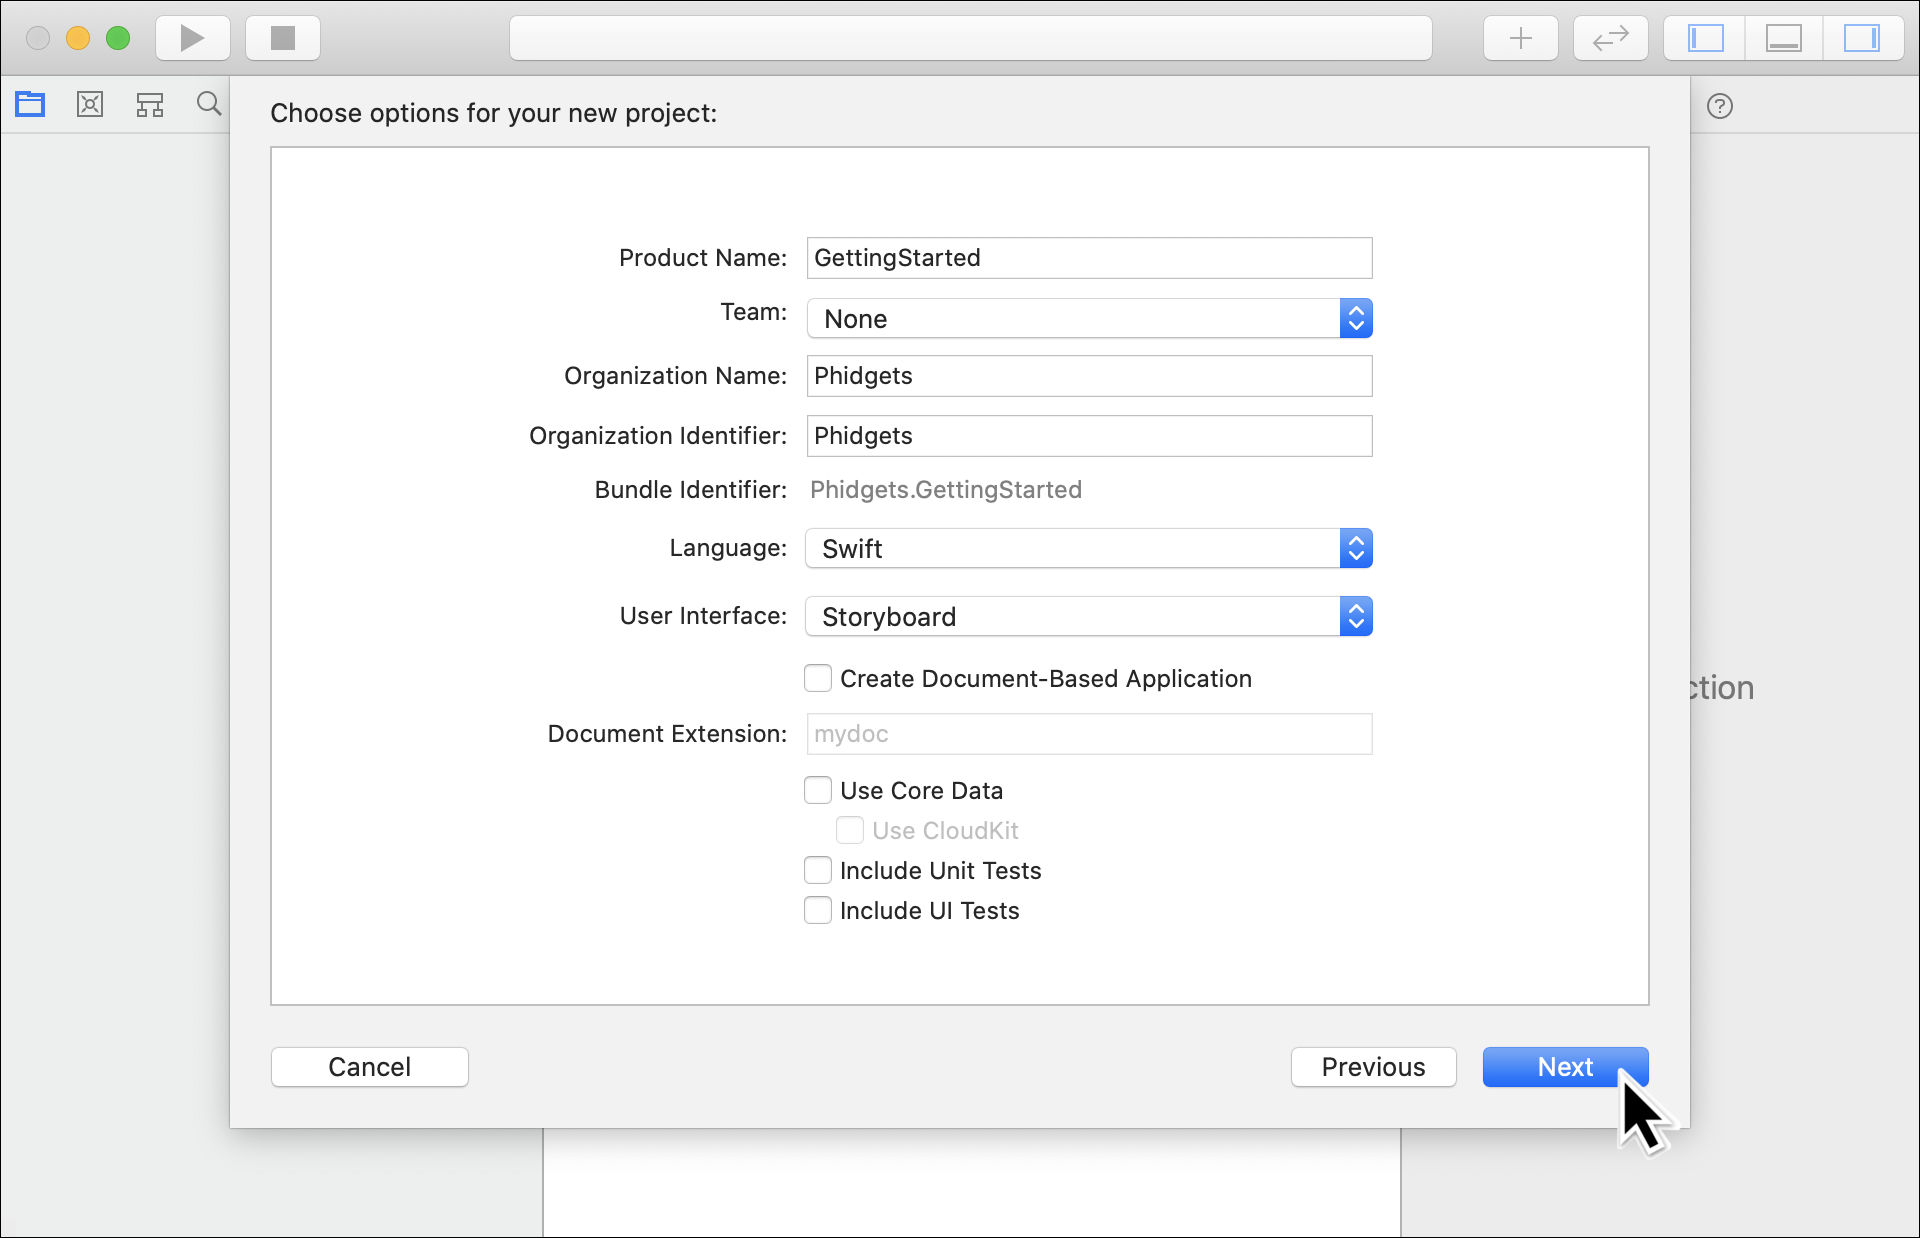
Name the project GettingStarted and select Storyboard from the User Interface option.
Note: you can use any user interface option with Phidgets, however, this tutorial uses Storyboard.
Step 3
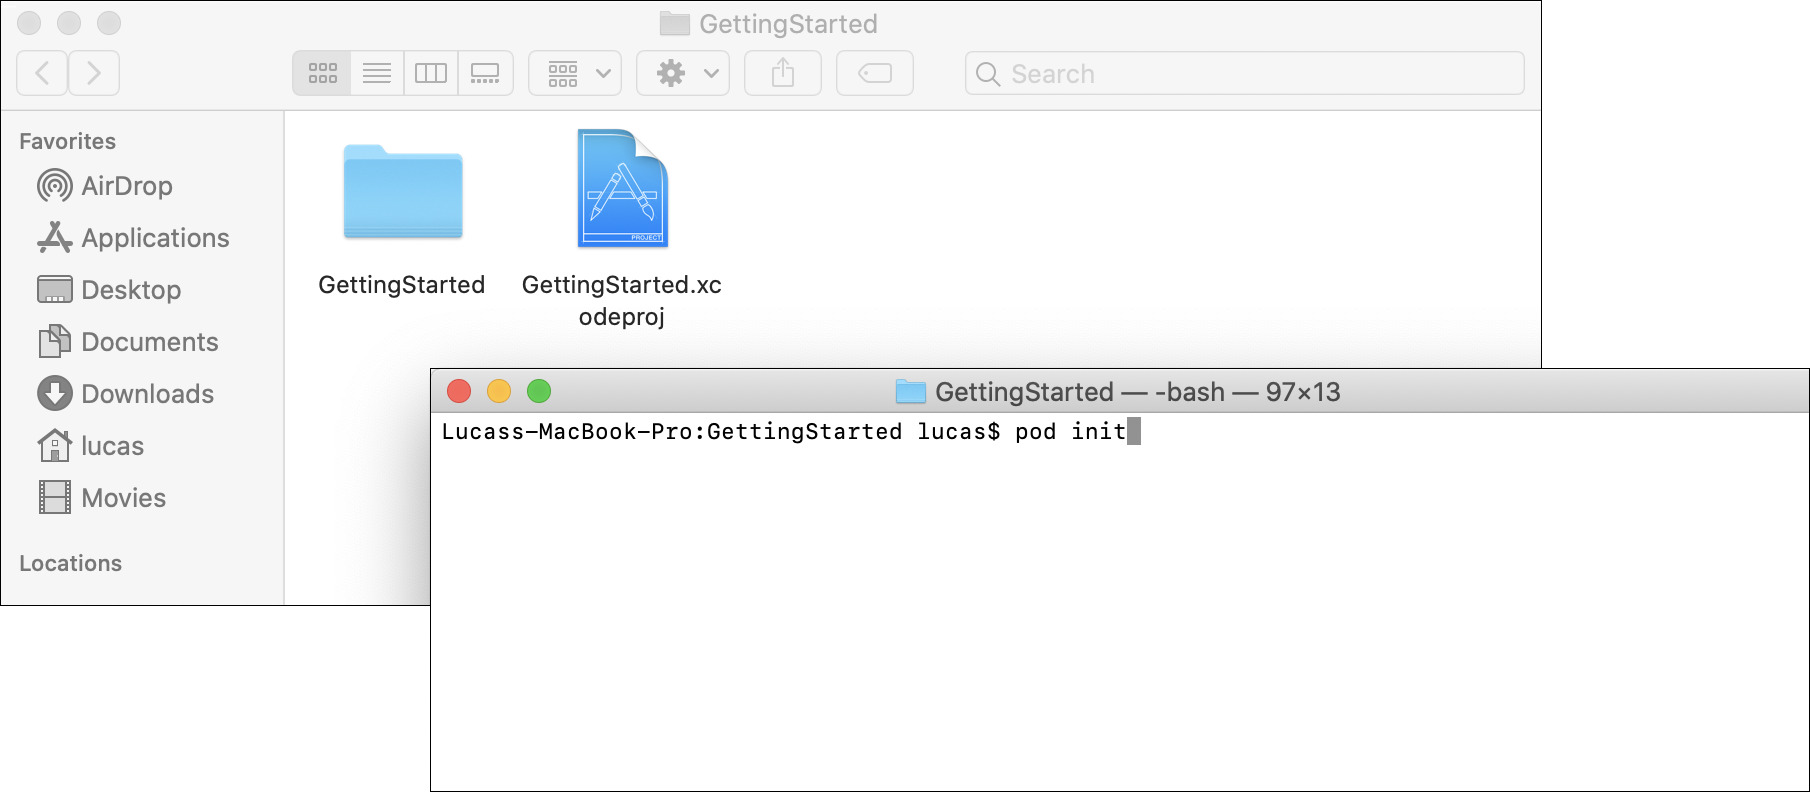
After the project is created, close the window and open a terminal at your project location. Enter the following into the terminal and press Enter.
pod init
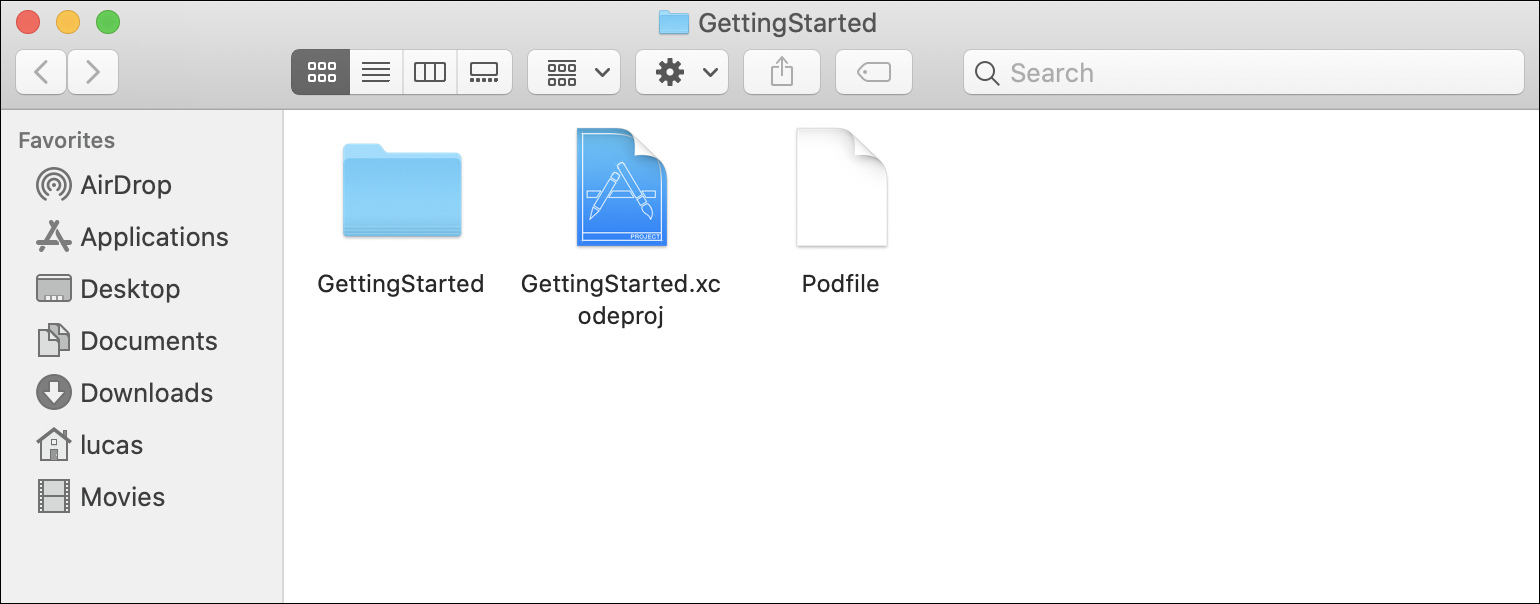
Step 4
After pod init runs, there will be a Podfile created in your project directory. Double-click on it to open it in a text editor.
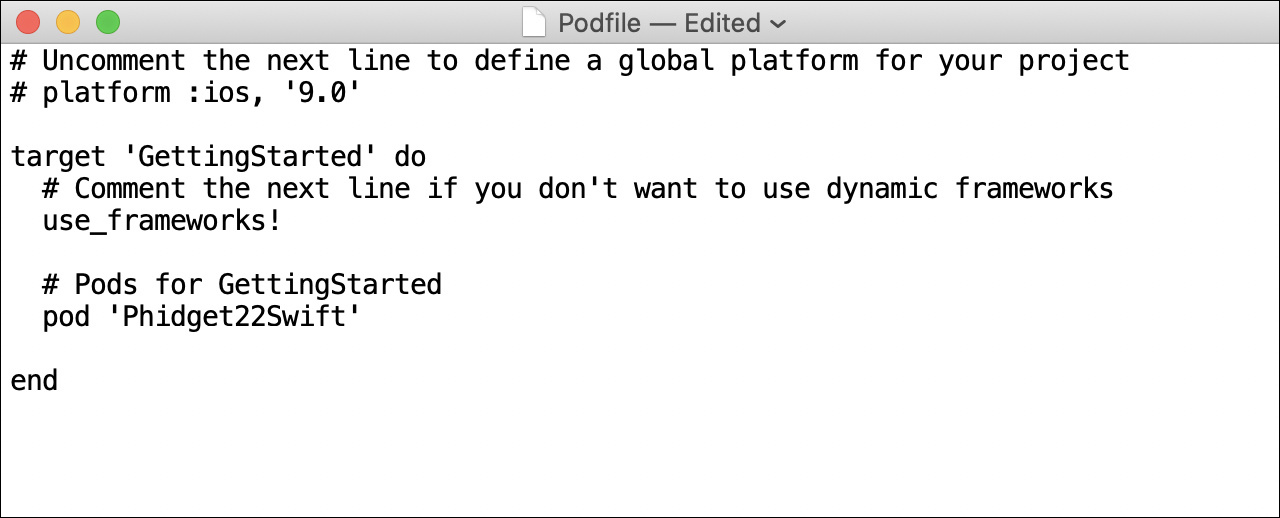
Step 5
Add the following line to the file:
pod 'Phidget22Swift'
Save the file and return to the terminal.
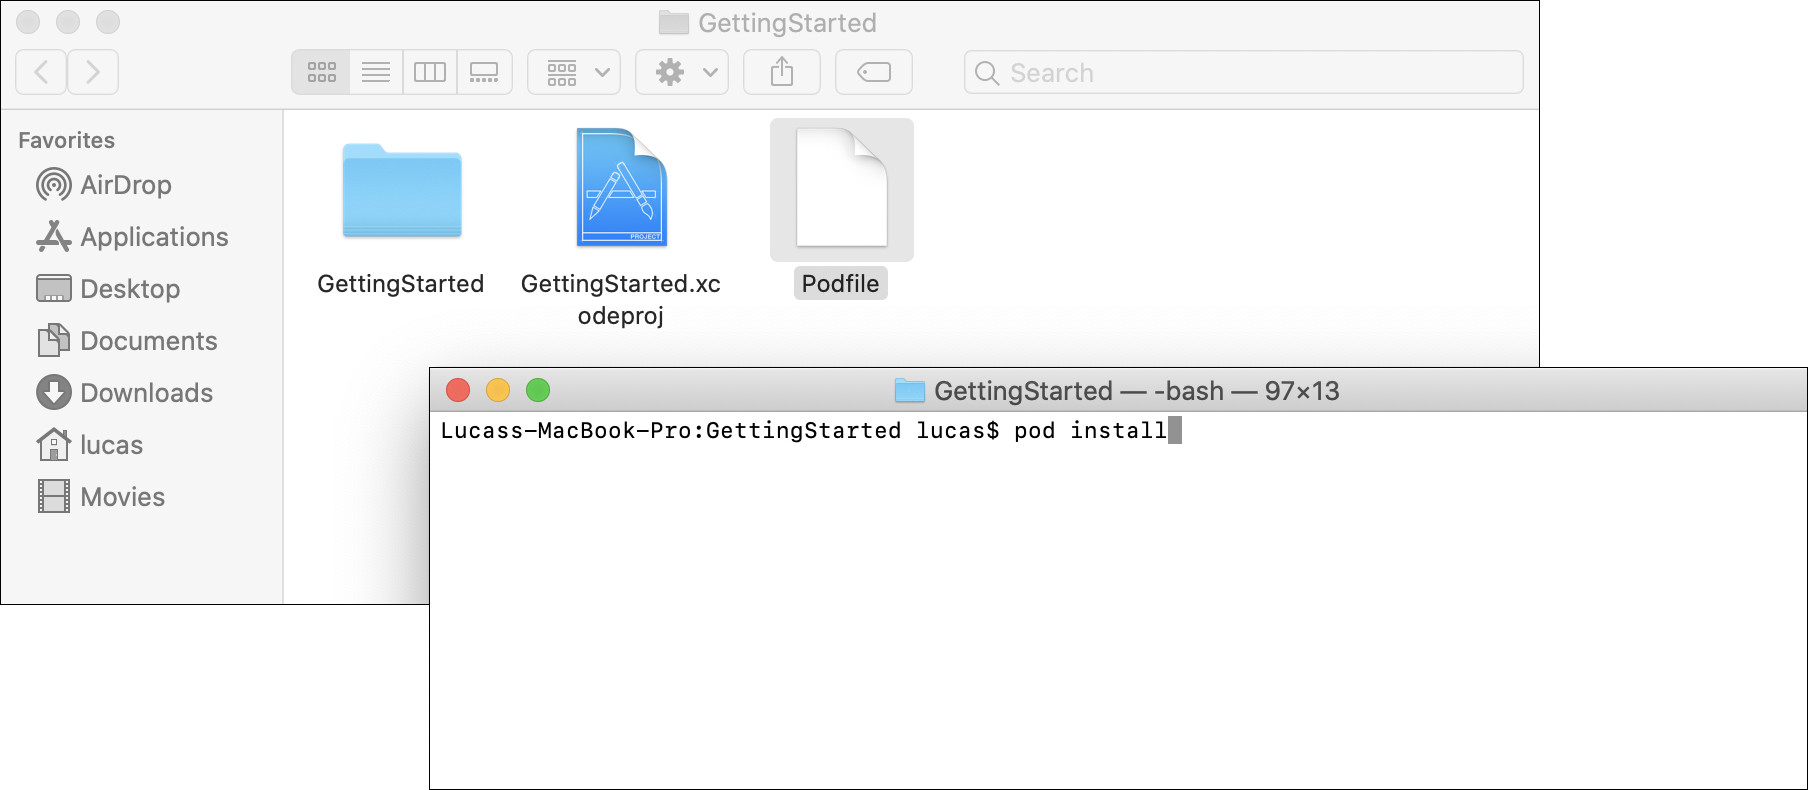
Step 6
Enter the following into the terminal and press Enter.
pod install
Step 7
After pod install runs, a .xcworkspace file will be generated. Double-click on the workspace file to launch your project.
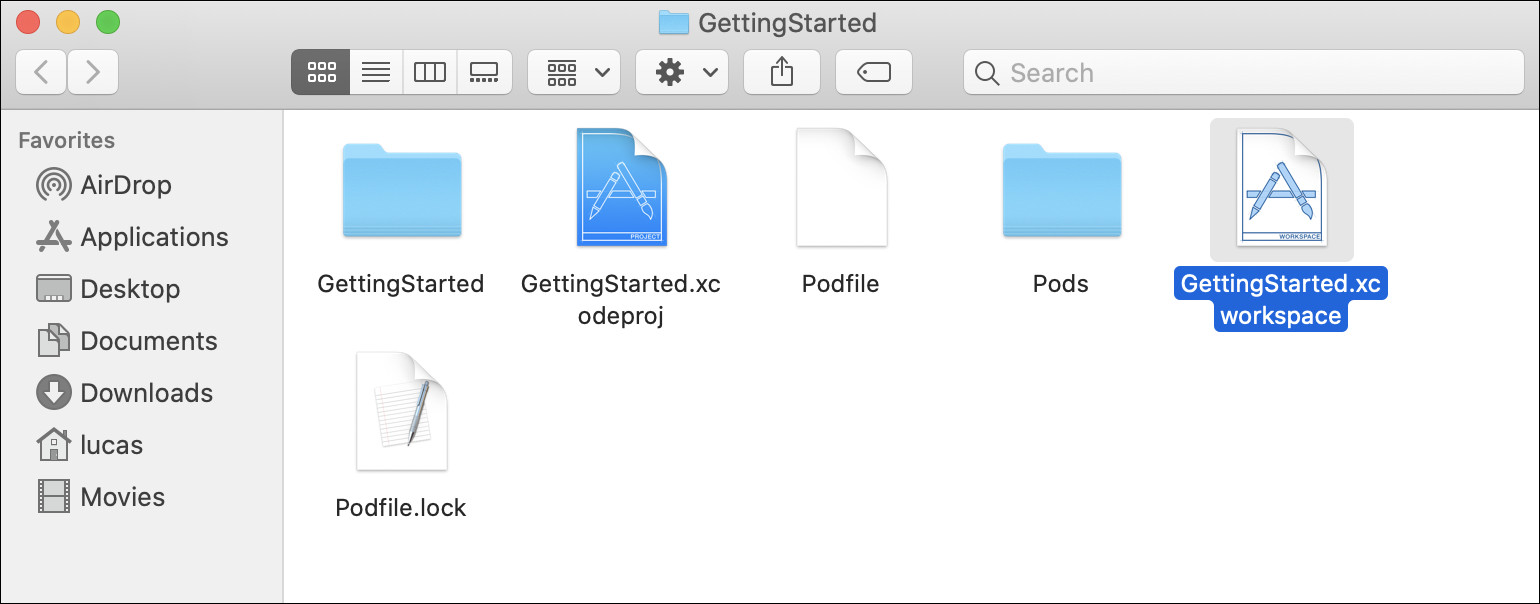
Step 8
Click on your project and navigate to Signing & Capabilities and then App Sandbox. Make sure USB is checked under the Hardware section.
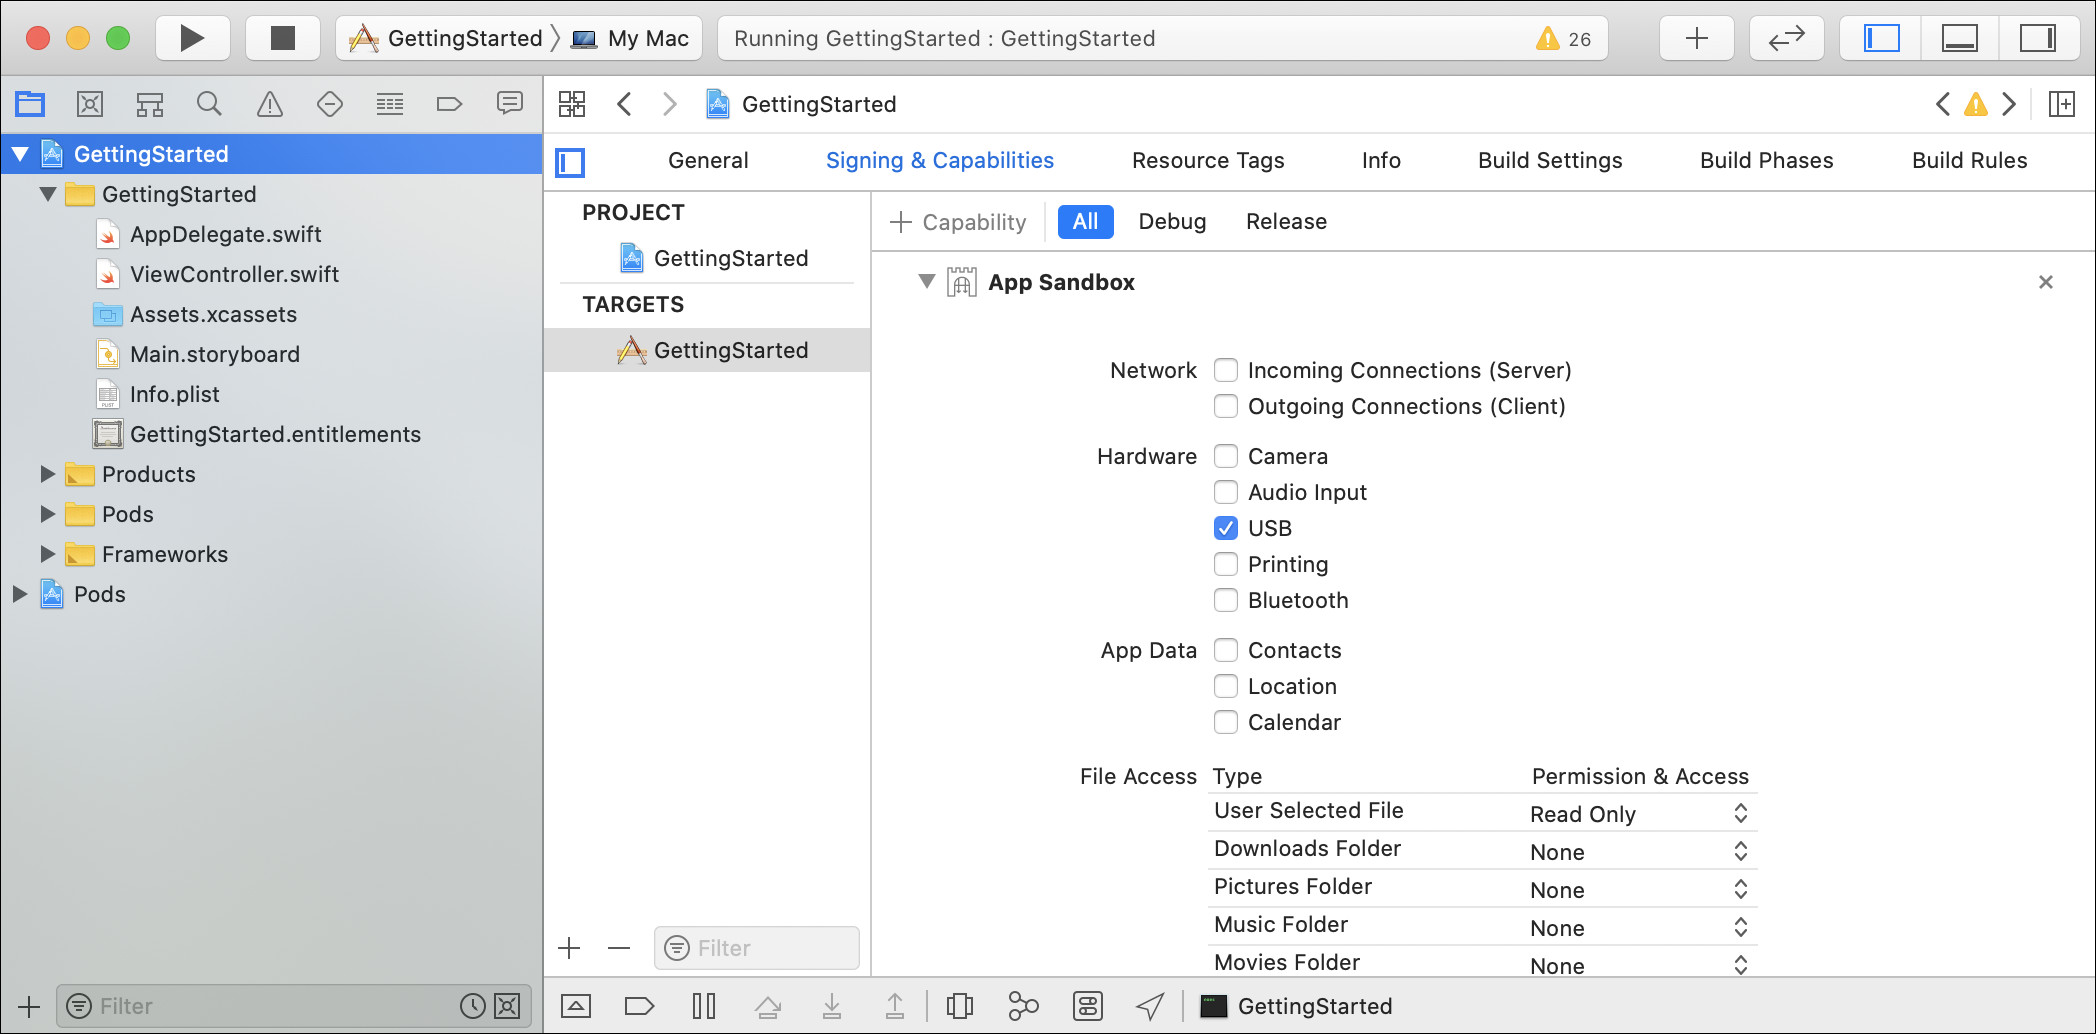
Step 9
When you're done, your workspace should look something like this. Move on to the next step and learn how to blink an LED!

Xcode (Video Instructions)
Troubleshoot
I can't install the Phidget22 package
- Make sure the spelling is exactly as shown above. There is also a Phidget22Native package but you should not install that package.
Still having issues?
Visit the Advanced Troubleshooting Page or contact us (education@phidgets.com).
Troubleshoot
I can't install the Phidget22Native package
Make sure the spelling is exactly as shown above. There is also a Phidget22 package but you should not install that package.
Python version 3.10 and below is currently supported for Phidget22Native. If you are using newer versions, you will see a version error. Downgrade your version of Python to continue.
I am using an older version of PyCharm
View our Archived Instructions
Still having issues?
Visit the Advanced Troubleshooting Page or contact us (education@phidgets.com).
Troubleshoot
Running pod install doesn't work.
- If you do not have cocoapods installed on your machine, open the terminal and enter the following command: sudo gem install cocoapods
- Make sure you have the spelling in your podfile correct. It should read pod 'Phidget22Swift'.
My workspace does has extra functions not shown in the screenshot above.
- There are often functions that are generated with a project/workspace. Not all of them need to be used and many can be removed without harm.
How do I get the newest version of the Phidgets library?
- Try running pod update followed by pod install to make sure you have the newest version.
Do I have to use Storyboards?
- No, you can use whatever user interface you'd like, however, the instructions on this tutorial use Storyboards.
Still having issues?
Visit the Advanced Troubleshooting Page or contact us (education@phidgets.com).
Troubleshoot
I can't use NuGet in my school.
- There are alternate instructions available. Please contact us education@phidgets.com for more information.
Do I have to use console applications?
- No, you can use a Windows form and many other types of projects with Phidgets. We are simply using using console applications as a basic introduction to Phidgets.
Still having issues?
Visit the Advanced Troubleshooting Page or contact us (education@phidgets.com).