Setup
Before you get started, make sure you have the following parts.
Note: you can use any hobby servo motor and any 8-30VDC power supply for this project.
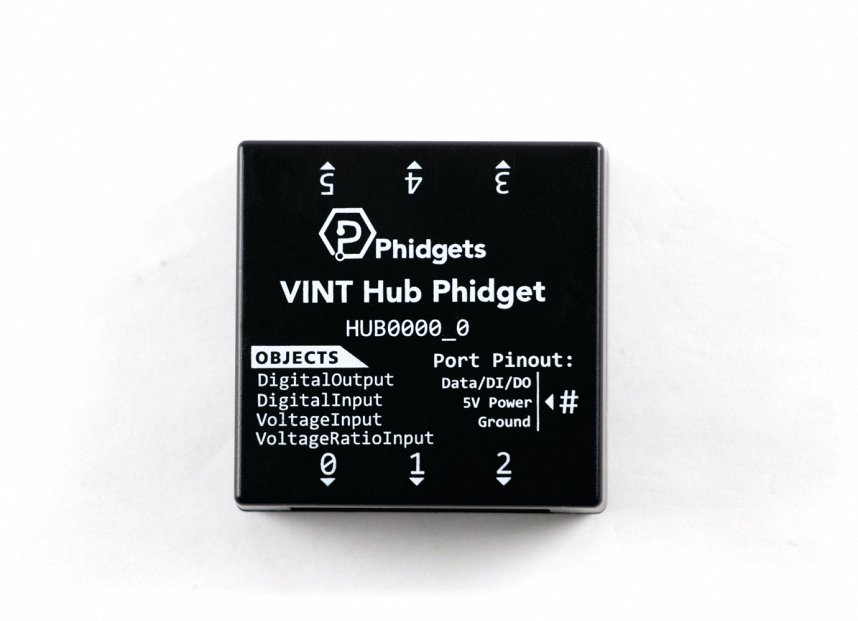
RC Servo Phidget

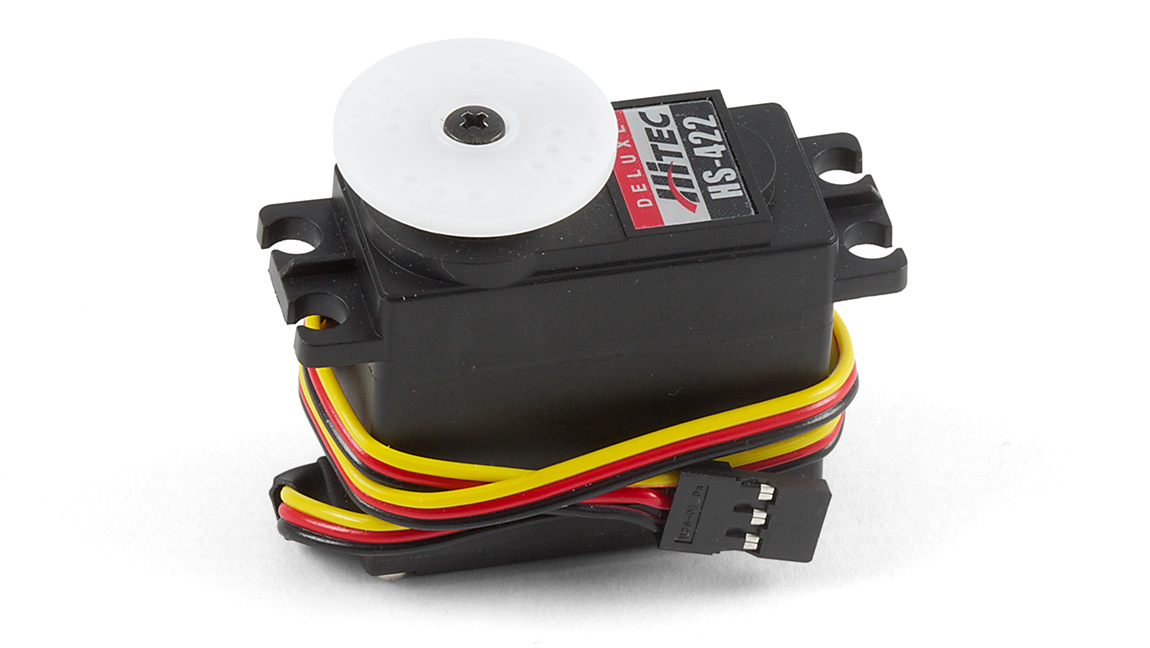
Servo Motor (2)
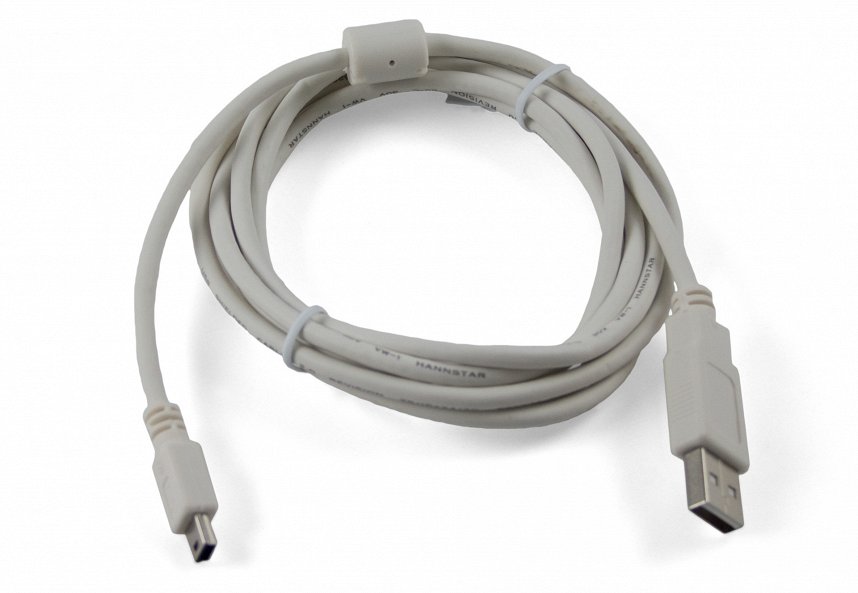
Power Supply


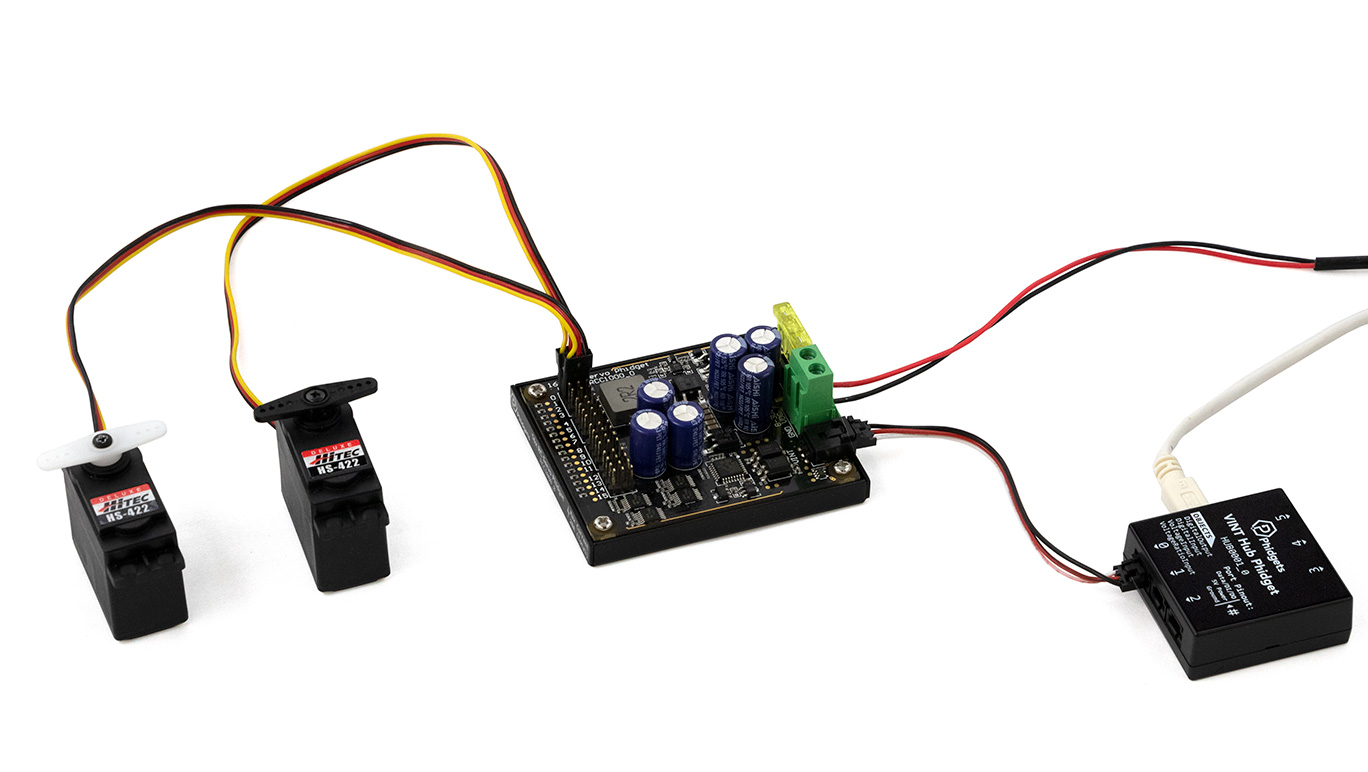
Connections
Make sure your servo motors are connected to input 0 and 1.
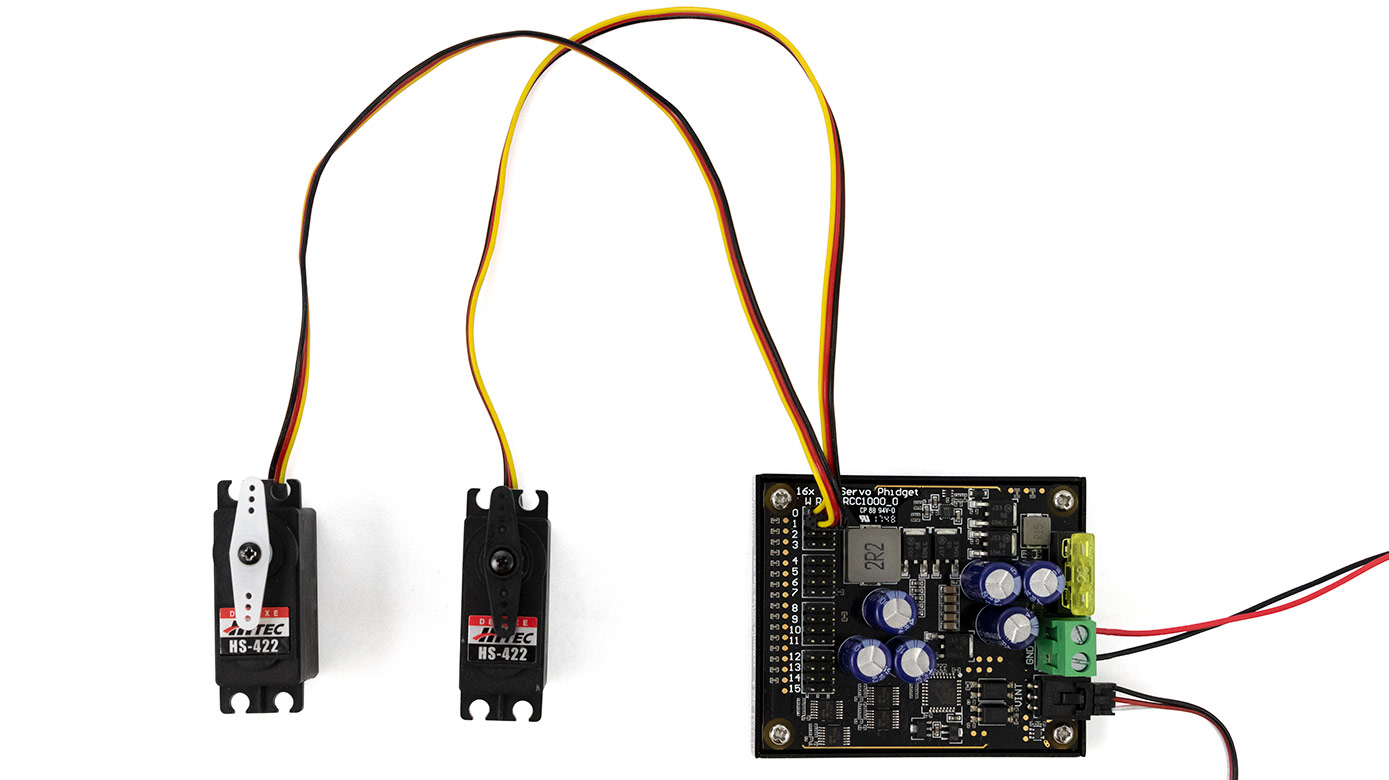
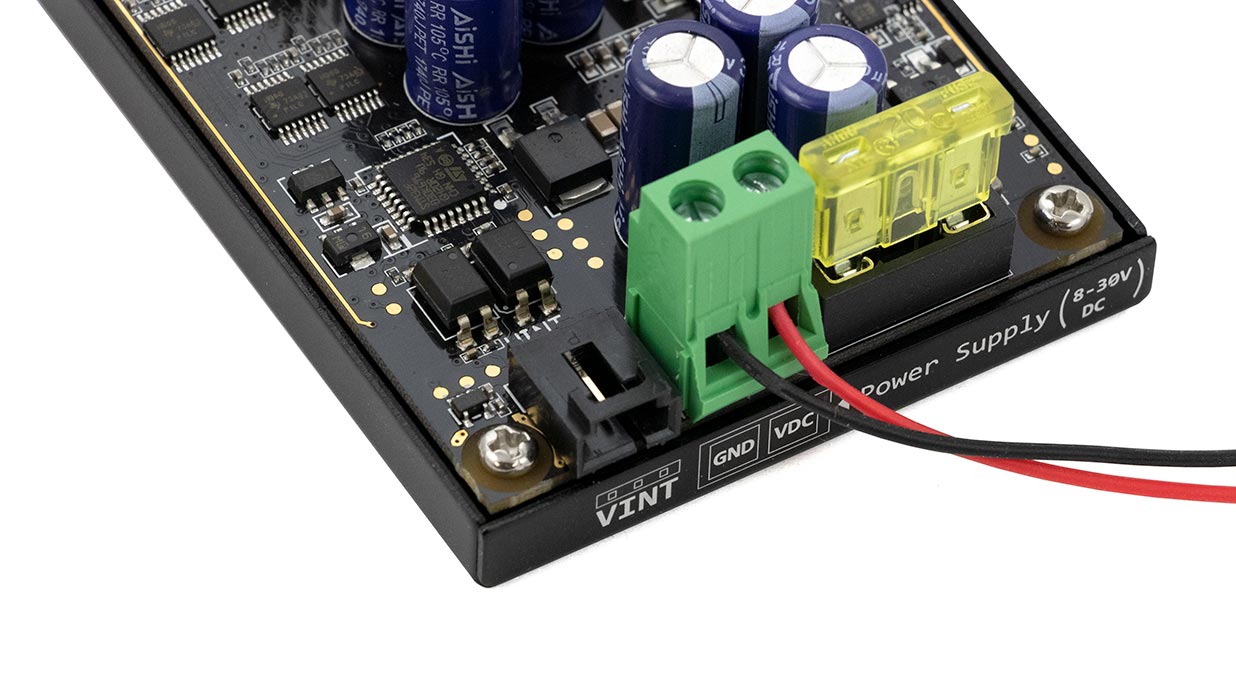
Connect the positive end of your power supply to VCC and the negative end to GND.
Write Code (Java)
Copy the code below into a new Java project. If you need a reminder of how to do this, revisit the Getting Started Course.
Not your programming language? Set your preferences so we can display relevant code examples
//Add Phidgets Libary
import com.phidget22.*;

public class Servo {
    public static void main(String[] args) throws Exception{
        //Create
        RCServo servoController0 = new RCServo();
        RCServo servoController1 = new RCServo();

        //Address | The RC Servo Phidget can control up to 16 servos at once. Use the channel property to determine which servo you want to control.
        servoController0.setChannel(0);
        servoController1.setChannel(1);

        //Open
        servoController0.open(1000);
        servoController1.open(1000);

        //Set a target position for each motor | By default, this is between 0 and 180
        servoController0.setTargetPosition(90);
        servoController1.setTargetPosition(90);

        //Engage each channel | This allows your motor to move towards the target position
        servoController0.setEngaged(true);
        servoController1.setEngaged(true);

        Thread.sleep(1000);
    }
}
package servo;

//Add Phidgets Libary
import com.phidget22.*;

public class Servo {
    public static void main(String[] args) throws Exception{
        //Create
        RCServo servoController0 = new RCServo();
        RCServo servoController1 = new RCServo();

        //Address | The RC Servo Phidget can control up to 16 servos at once. Use the channel property to determine which servo you want to control.
        servoController0.setChannel(0);
        servoController1.setChannel(1);

        //Open
        servoController0.open(1000);
        servoController1.open(1000);

        //Set a target position for each motor | By default, this is between 0 and 180
        servoController0.setTargetPosition(90);
        servoController1.setTargetPosition(90);

        //Engage each channel | This allows your motor to move towards the target position
        servoController0.setEngaged(true);
        servoController1.setEngaged(true);

        Thread.sleep(1000);
    }
}
//Add Phidgets Library
import com.phidget22.*;

//Define
RCServo servoController0;
RCServo servoController1;

void setup(){
  try{

    //Create
    servoController0 = new RCServo();
    servoController1 = new RCServo();

    //Address | The RC Servo Phidget can control up to 16 servos at once. Use the channel property to determine which servo you want to control.
    servoController1.setChannel(0);
    servoController1.setChannel(1);

    //Open
    servoController0.open(1000);
    servoController1.open(1000);

  }catch(Exception e){
    e.printStackTrace();
  }
}

void draw(){
  try{

    //Set a target position for each motor | By default, this is between 0 and 180
    servoController0.setTargetPosition(90);
    servoController1.setTargetPosition(90);

    //Engage each channel | This allows your motor to move towards the target position
    servoController0.setEngaged(true);
    servoController1.setEngaged(true);

    delay(1000);
    print("Program Ending");
    exit();

  }catch(Exception e){
    e.printStackTrace();
  }
}
Write Code (Python)
Copy the code below into a new Python project. If you need a reminder of how to do this, revisit the Getting Started Course.
Not your programming language? Set your preferences so we can display relevant code examples
#Add Phidgets Library
from Phidget22.Phidget import *
from Phidget22.Devices.RCServo import *
#Required for sleep statement
import time

#Create
servoController0 = RCServo()
servoController1 = RCServo()

#Address | The RC Servo Phidget can control up to 16 servos at once. Use the channel property to determine which servo you want to control.
servoController0.setChannel(0)
servoController1.setChannel(1)

#Open
servoController0.openWaitForAttachment(1000)
servoController1.openWaitForAttachment(1000)

#Set a target position for each motor | By default, this is between 0 and 180
servoController0.setTargetPosition(90)
servoController1.setTargetPosition(90)

#Engage each channel | This allows your motor to move towards the target position
servoController0.setEngaged(True)
servoController1.setEngaged(True)

time.sleep(1)
Write Code (C#)
Copy the code below into a new C# project. If you need a reminder of how to do this, revisit the Getting Started Course.
Not your programming language? Set your preferences so we can display relevant code examples
//Add Phidgets Library
using Phidget22;

namespace Servo
{
    internal class Program
    {
        static void Main(string[] args)
        {
            //Create
            RCServo servoController0 = new RCServo();
            RCServo servoController1 = new RCServo();

            //Address | The RC Servo Phidget can control up to 16 servos at once. Use the channel property to determine which servo you want to control.
            servoController0.Channel = 0;
            servoController1.Channel = 1;

            //Open
            servoController0.Open(1000);
            servoController1.Open(1000);

            //Set a target position for each motor | By default, this is between 0 and 180
            servoController0.TargetPosition = 90;
            servoController1.TargetPosition = 90;

            //Engage each channel | This allows your motor to move towards the target position
            servoController0.Engaged = true;
            servoController1.Engaged = true;

            System.Threading.Thread.Sleep(1000);
        }
    }
}
Write Code (Swift)
Copy the code below into a new Swift project. If you need a reminder of how to do this, revisit the Getting Started Course.
Not your programming language? Set your preferences so we can display relevant code examples
Code not available.
Run Your Program
You will see both servo motors move to 90°.
Code Review
When using multiple servos, make sure you are setting the Channel property correctly. The channel will correspond to the input numbers (0-15) on your Phidget.
Practice
- Modify your code to move your servos to 180°.
- Move your servo motors to inputs 14 and 15. Try modifying your code to move the motors.
- Create a list or array that holds 3 target positions (0°, 90°, 180°). Create a loop that moves each motor to a new position every 2 seconds.