Setup
Before getting started, make sure you have the following parts.

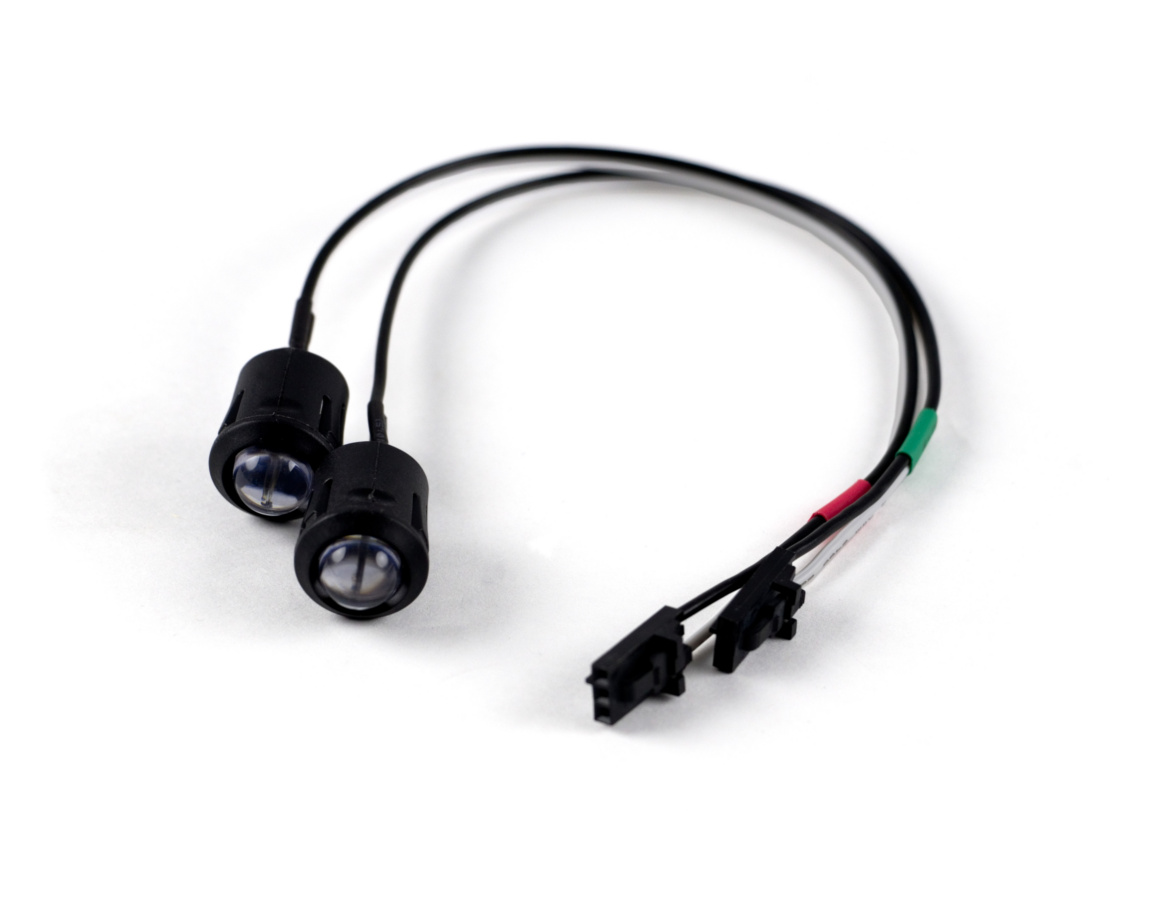
LEDs

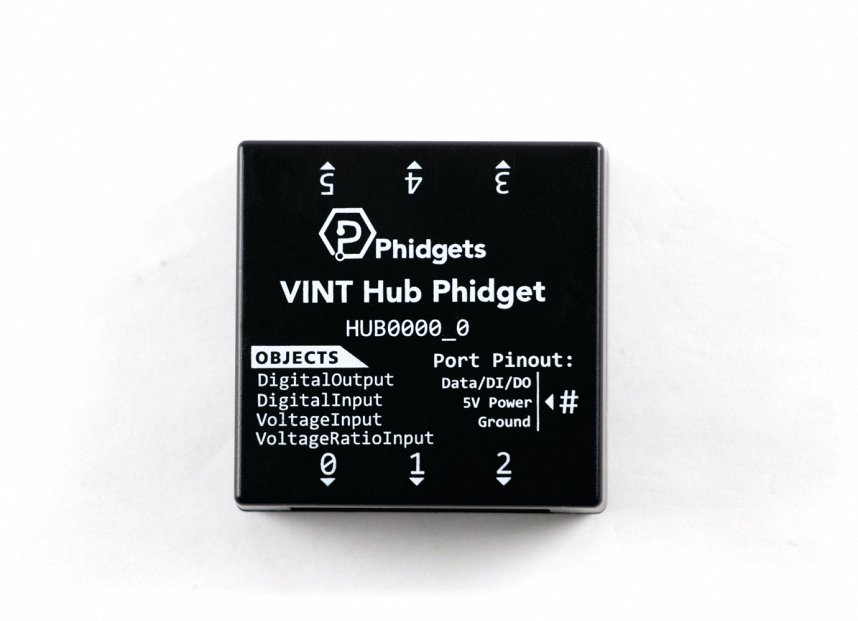
VINT hub
Assemble
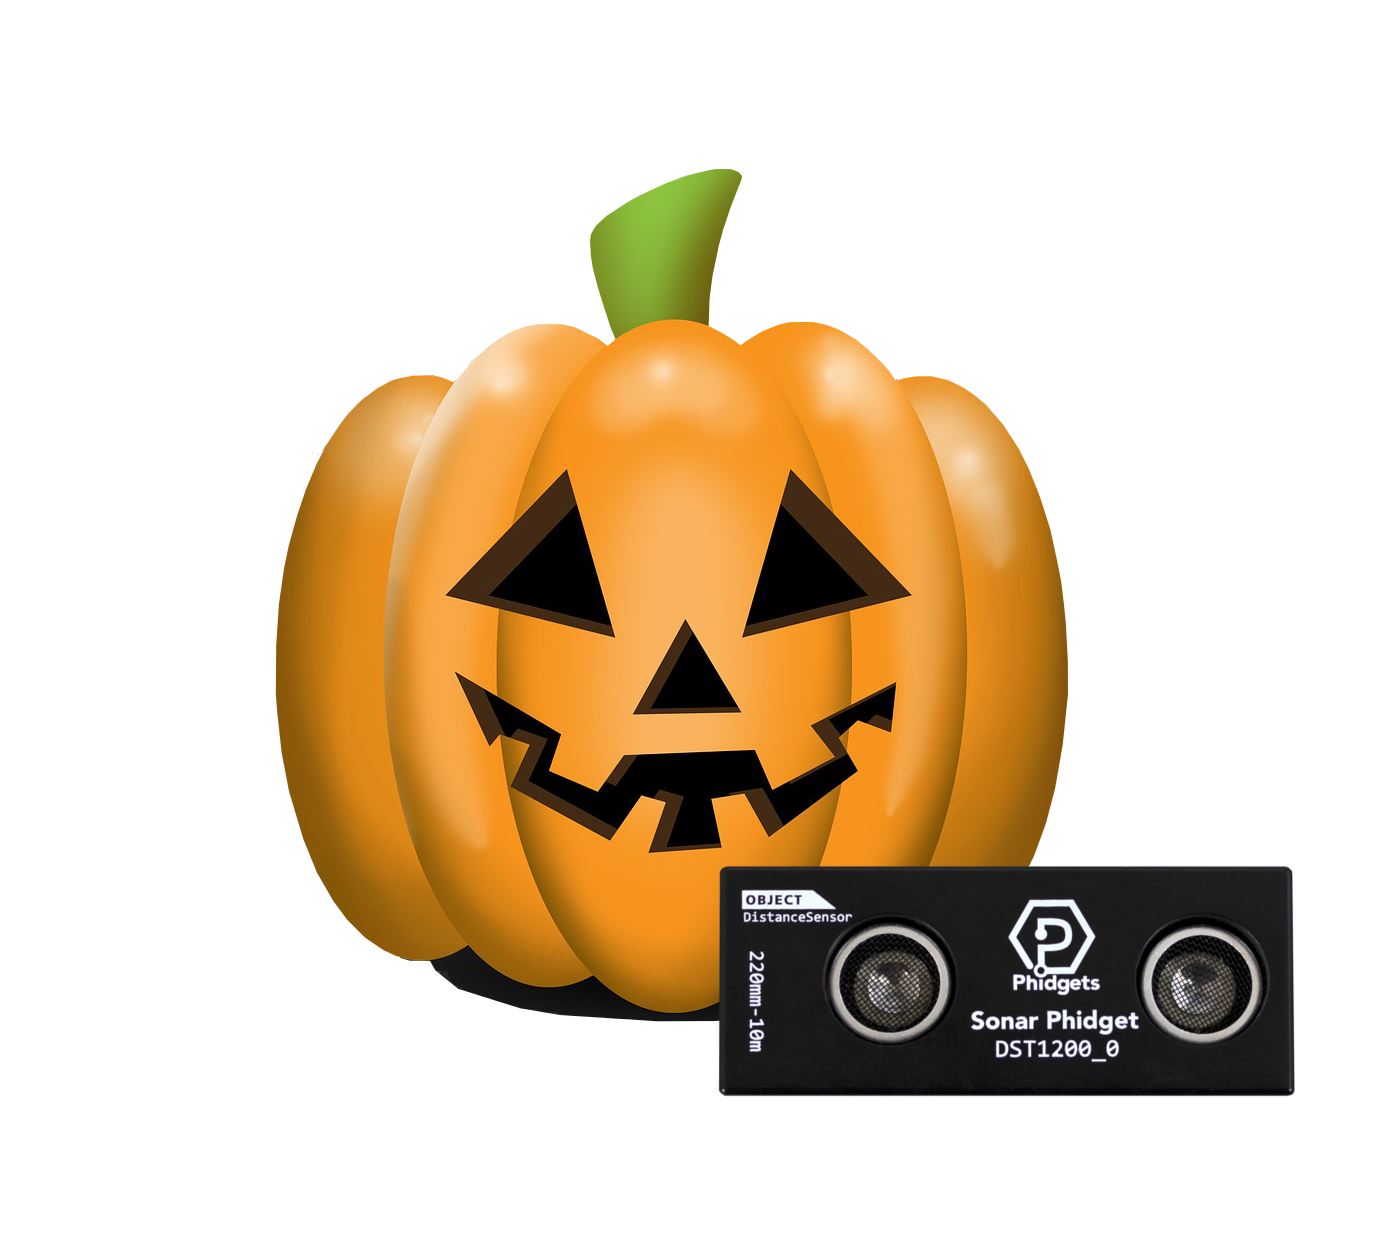
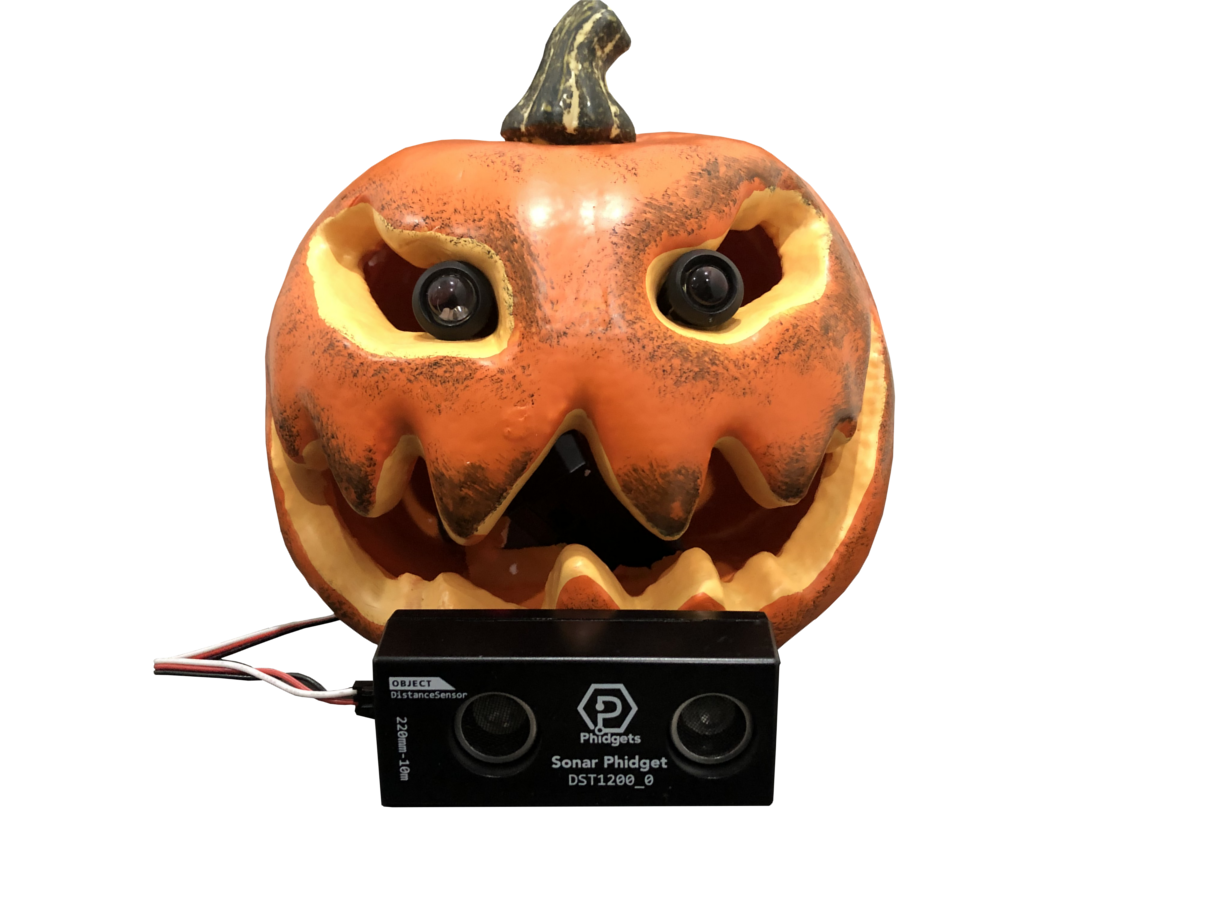
Attach your Sonar Phidget and your LEDs to your VINT Hub. Orient them on or in your decoration in a way that makes sense. Here, we have placed two red LEDs on the eyes of the jack-o'-lantern and have the VINT Hub hidden inside. The sonar will be placed somewhere nearby to detect movement.
Write code (Java)
Copy the code below into a new Java project. If you need a reminder of how to do this, revisit the Getting Started Course. Insert the code below.
Not your programming language? Set your preferences so we can display relevant code examples
//Add Phidgets Library
import com.phidget22.*;

public class HalloweenScare {
    public static void main(String[] args) throws Exception {

        //Create
        DistanceSensor distanceSensor = new DistanceSensor();
        DigitalOutput leftEye = new DigitalOutput();
        DigitalOutput rightEye = new DigitalOutput();

        //Address
        leftEye.setHubPort(0);
        leftEye.setIsHubPortDevice(true);

        rightEye.setHubPort(1);
        rightEye.setIsHubPortDevice(true);

        //Open
        distanceSensor.open(1000);
        leftEye.open(1000);
        rightEye.open(1000);

        //Use your Phidgets
        while (true) {
            System.out.println("Distance: " + distanceSensor.getDistance() + " mm");
            leftEye.setState(true);
            rightEye.setState(true);
            Thread.sleep(150);
        }
    }
}
package halloweenscare;

//Add Phidgets Library
import com.phidget22.*;

public class HalloweenScare {
    public static void main(String[] args) throws Exception {

        //Create
        DistanceSensor distanceSensor = new DistanceSensor();
        DigitalOutput leftEye = new DigitalOutput();
        DigitalOutput rightEye = new DigitalOutput();

        //Address
        leftEye.setHubPort(0);
        leftEye.setIsHubPortDevice(true);

        rightEye.setHubPort(1);
        rightEye.setIsHubPortDevice(true);

        //Open
        distanceSensor.open(1000);
        leftEye.open(1000);
        rightEye.open(1000);

        //Use your Phidgets
        while (true) {
            System.out.println("Distance: " + distanceSensor.getDistance() + " mm");
            leftEye.setState(true);
            rightEye.setState(true);
            Thread.sleep(150);
        }
    }
}
Write code (Python)
Copy the code below into a new Python project. If you need a reminder of how to do this, revisit the Getting Started Course. Insert the code below.
Not your programming language? Set your preferences so we can display relevant code examples
#Add Phidgets Library
from Phidget22.Phidget import *
from Phidget22.Devices.DistanceSensor import *
from Phidget22.Devices.DigitalOutput import *
#Required for sleep statement
import time

#Create
distanceSensor = DistanceSensor()
leftEye = DigitalOutput()
rightEye = DigitalOutput()

#Address
leftEye.setHubPort(0)
leftEye.setIsHubPortDevice(True)

rightEye.setHubPort(1)
rightEye.setIsHubPortDevice(True)

#Open
distanceSensor.openWaitForAttachment(1000)
leftEye.openWaitForAttachment(1000)
rightEye.openWaitForAttachment(1000)

#Use your Phidgets
while (True):
    print("Distance: " + str(distanceSensor.getDistance()) + " mm")
    leftEye.setState(True)
    rightEye.setState(True)
    time.sleep(0.15)
Write code (C#)
Copy the code below into a new C# project. If you need a reminder of how to do this, revisit the Getting Started Course. Insert the code below.
Not your programming language? Set your preferences so we can display relevant code examples
Coming Soon!
Write code (Swift)
Copy the code below into a new Swift project. If you need a reminder of how to do this, revisit the Getting Started Course. Insert the code below.
Not your programming language? Set your preferences so we can display relevant code examples
Coming Soon!
Try running your program. You will see the distance to the closest object and the LEDs turn on.
Practice
- Choose a distance to monitor -- maybe it is the width of a doorway -- and modify your code to turn on the LEDs when an object is detected. Test the distance you set so that you are happy with the alerts. It should look something like this
- Modify your code so you use DutyCycle to increase the intensity of the LEDs as someone approaches. (Hint: use the LED Brightness Advanced Lesson for help).