Setup
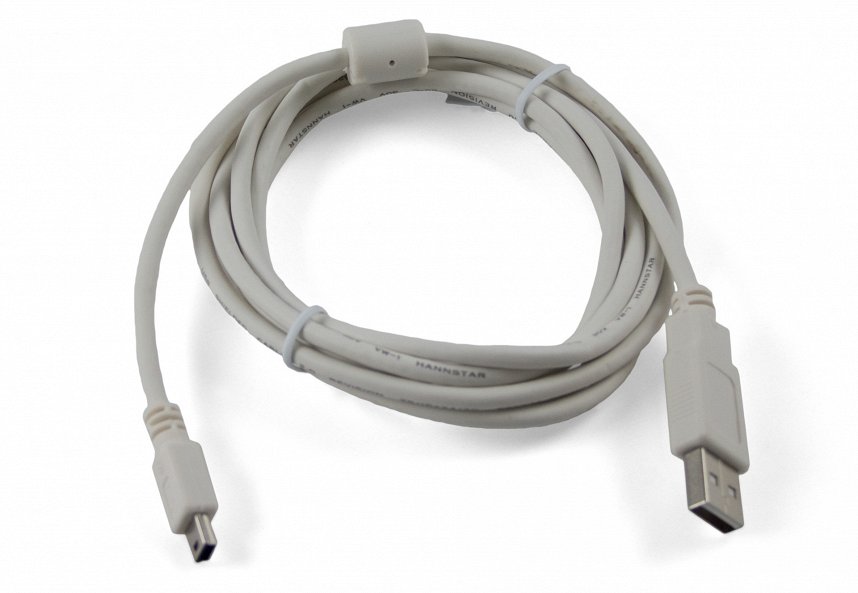
Before getting started, make sure you have the following parts.
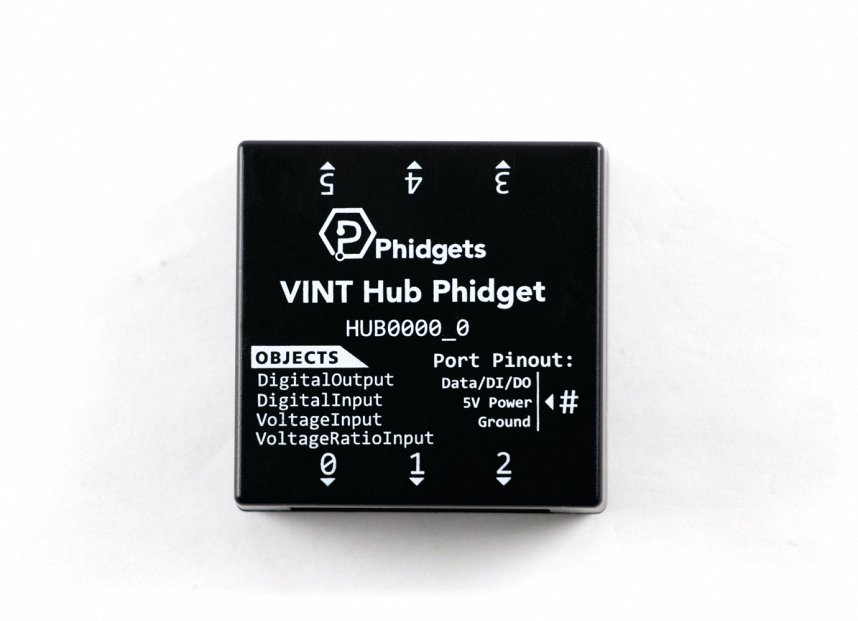
VINT Hub

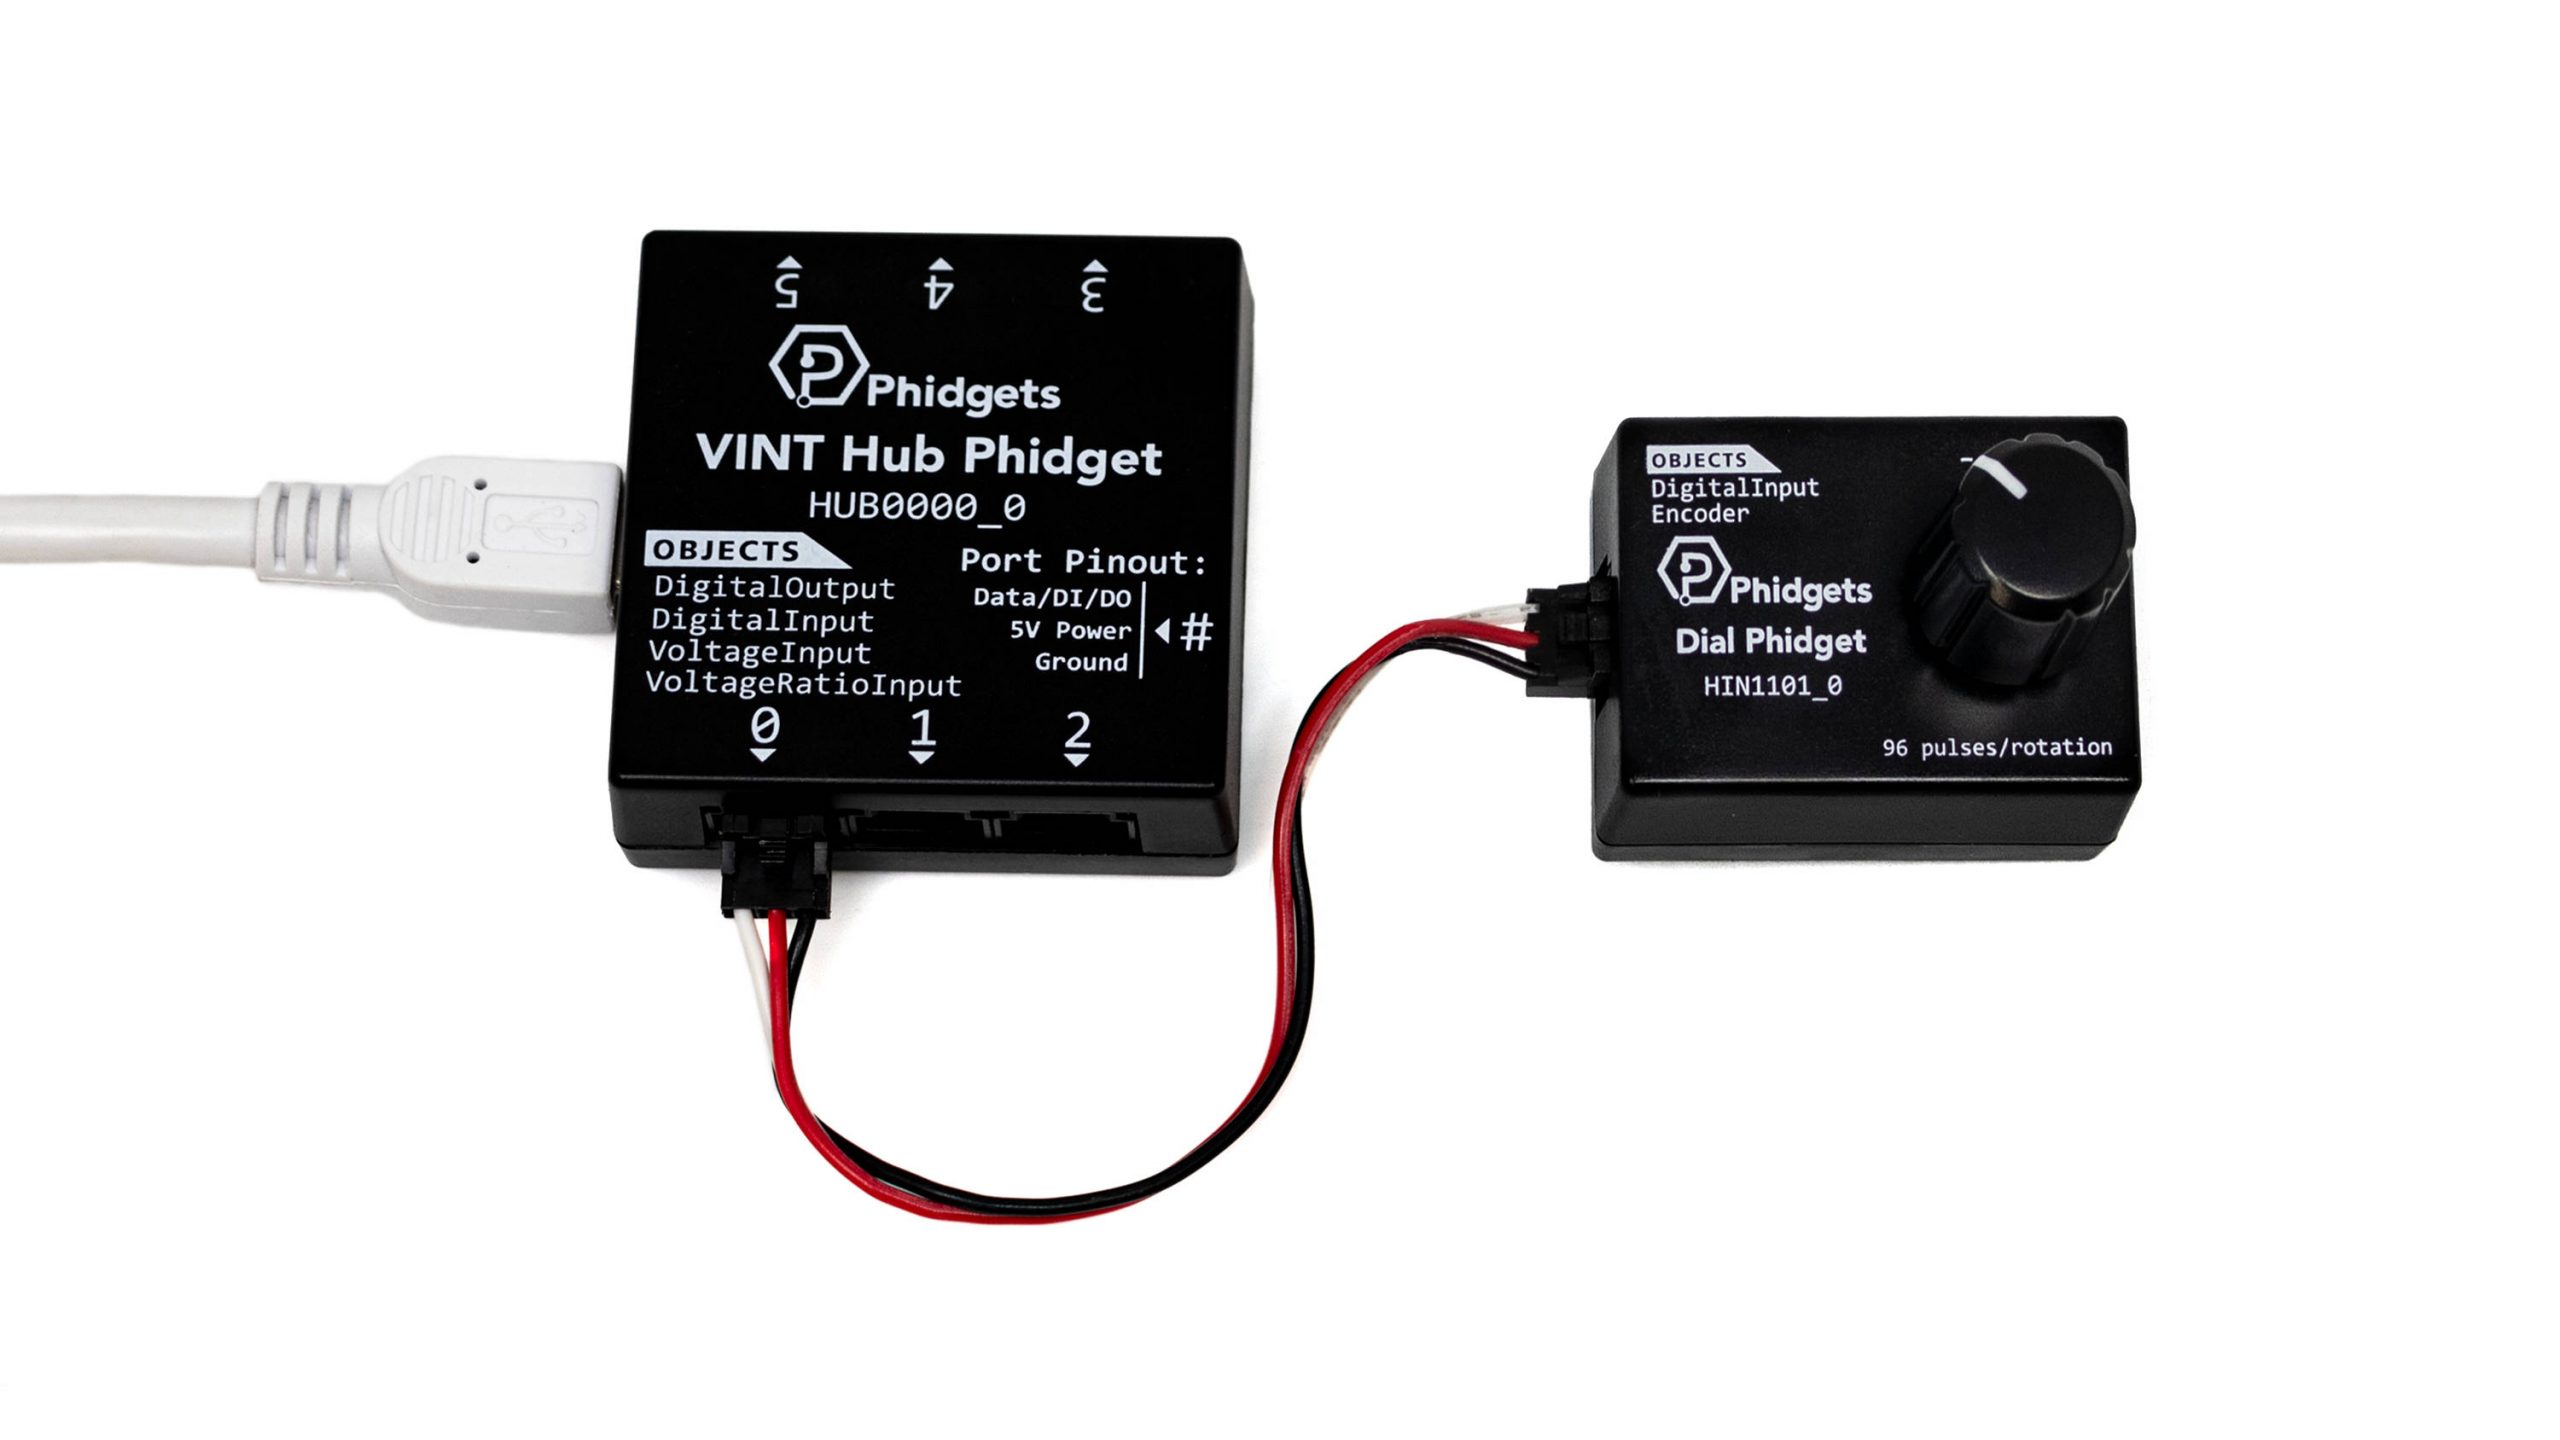
Step 1
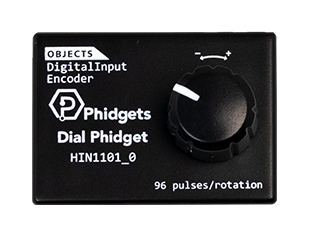
Attach the Dial Phidget to your computer.
Write Code
Copy the code below into a new Processing project. If you need a reminder of how to do this, revisit the Getting Started Course.
//Add Phidgets Library
import com.phidget22.*;

//Define Phidgets
Encoder dial;
DigitalInput button;

//Define variables used in program
double positionChange = 0; //allows data from event to be used in draw()
boolean horizontal = true; //tracks if line should be drawn horizontally or vertically
float xpos, ypos; //tracks position of line
float pxpos, pypos; //tracks previous position for line drawing

void setup(){
  size(600,400);

  xpos = width/2; //start in center
  ypos = height/2;
  pxpos = xpos;
  pypos = ypos;

  try{
    //Create
    dial = new Encoder();
    button = new DigitalInput();

    //Events
    button.addStateChangeListener(new DigitalInputStateChangeListener() {
      public void onStateChange(DigitalInputStateChangeEvent e) {
        if(e.getState()){
          horizontal = !horizontal; //flip
        }
      }
    });

    dial.addPositionChangeListener(new EncoderPositionChangeListener() {
        public void onPositionChange(EncoderPositionChangeEvent e) {
          positionChange = e.getPositionChange();
        }
      });


    //Open
    dial.open(1000);
    button.open(1000);

    //Set Data Interval to minimum for faster updates from dial
    dial.setDataInterval(dial.getMinDataInterval());

  }catch(Exception e){
    e.printStackTrace();
  }
}

void draw(){

  if(positionChange != 0){ //if position change is 0, dial has not moved

    if(positionChange > 0){ //dial has moved in a positive direction
      if(horizontal){
        xpos += 5;
      }
      else{
        ypos += 5;
      }
    }
    else{ //dial has moved in a negative direction
      if(horizontal){
        xpos -= 5;
      }
      else{
        ypos -= 5;
      }
    }
  }

  line(xpos, ypos, pxpos, pypos);
  pypos = ypos;
  pxpos = xpos;

  delay(20); //matches minimum data interval from dial
}
Run your program. Spin the dial to draw and press the center button to switch directions.
Data Interval
If you haven’t already, make sure to check out the Advanced Lesson on Data Interval to understand the code.
Events
If you haven’t already, make sure to check out the Advanced Lesson on Events to understand the code.
Practice
- Try commenting out the Data Interval lines and run the program. What do you notice? Why does this occur?
- Modify your code to clear the screen when a button from your Getting Started Kit is pressed. If you have an Accelerometer Phidget, use this instead and have users shake the Phidget to clear the screen.
- Currently, users can “draw” off of the screen. Modify your code to prevent this.