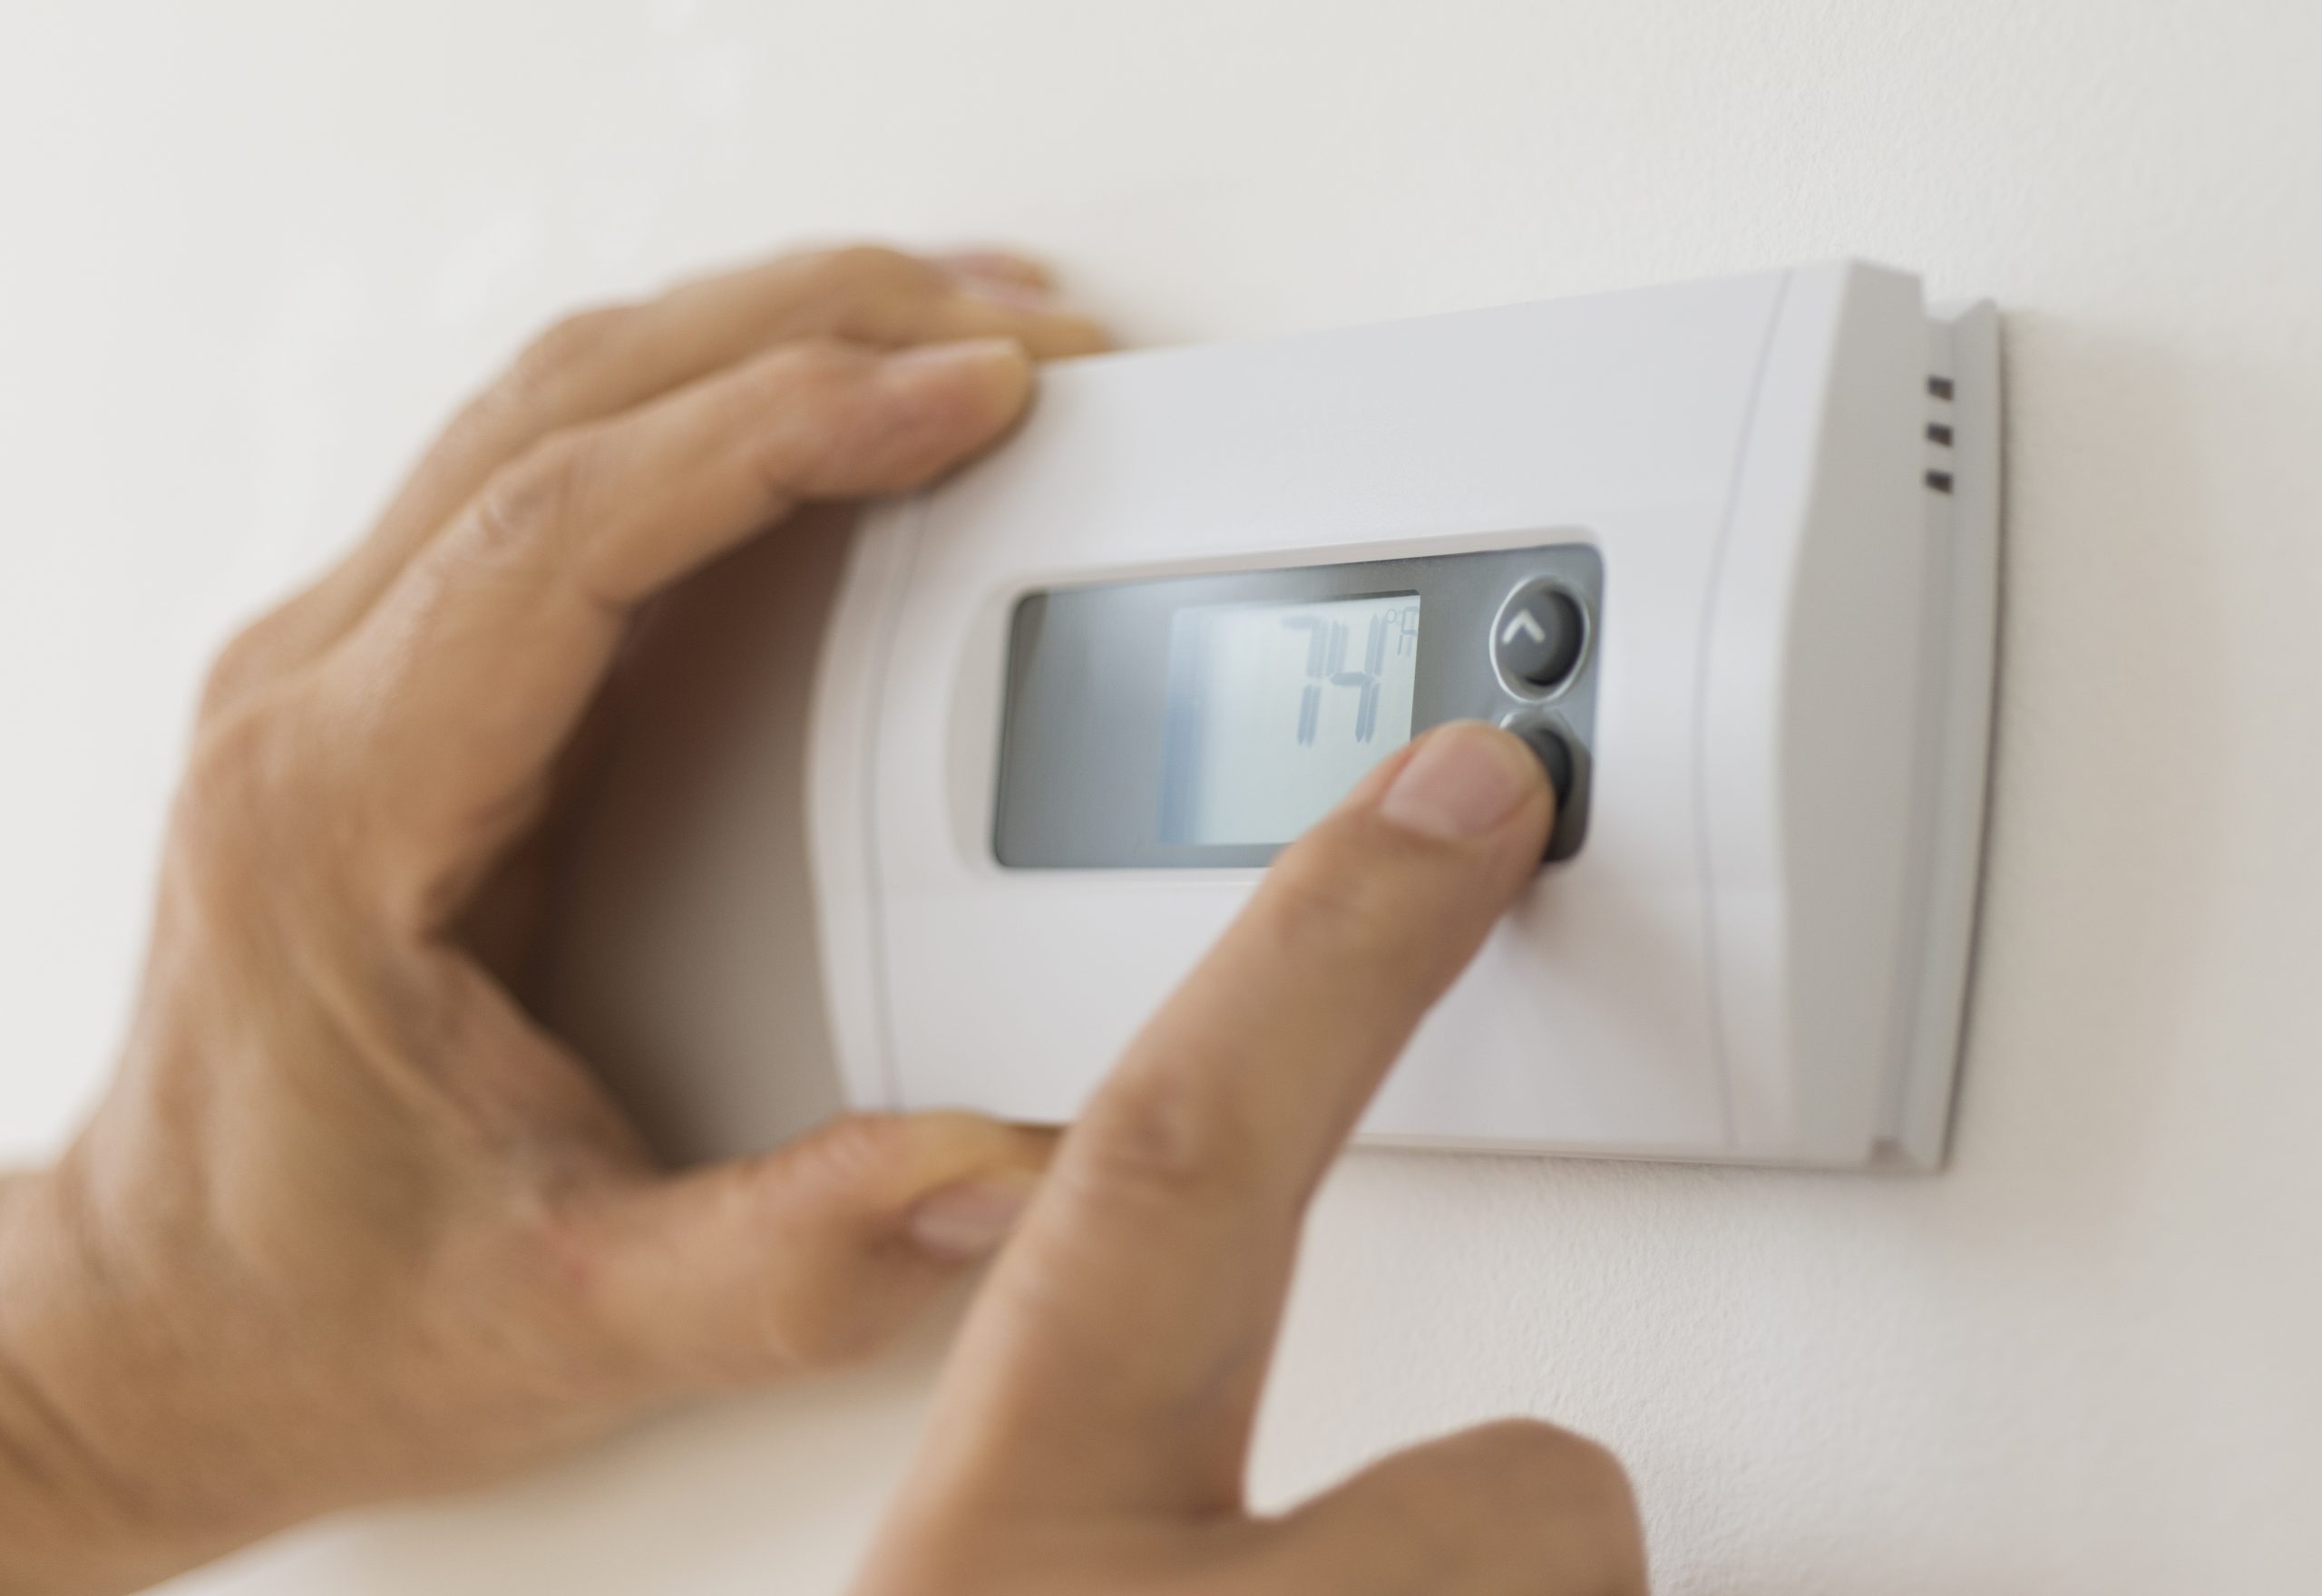
Build a thermostat
A Thermostat is used to regulate temperature in a building/room. It turns the heat on when it senses the room is too cold and turns the heat off when it senses the room has reached the desired temperature.
In this project, your challenge is to create a simulated thermostat using your Humidity Phidget, push buttons and LEDs.
- When using a thermostat, there is a set temperature. This is the temperature that the user sets. In your program, this should start at 21˚C or 70˚F.
- Every time the user presses the green button, increase the set temperature by 1˚.
- Every time the user presses the red button, decrease the set temperature by 1˚.
- Print the current temperature and set temperature to the screen every 10 seconds.
- If the current temperature is within 2˚ of the set temperature, turn on the green LED.
- If the current temperature is not within 2˚ of the set temperature, turn on the red LED.
Build a thermostat
A Thermostat is used to regulate temperature in a building/room. It turns the heat on when it senses the room is too cold and turns the heat off when it senses the room has reached the desired temperature.
In this project, your challenge is to create a simulated thermostat using your Humidity Phidget, push buttons and LEDs.
- When using a thermostat, there is a set temperature. This is the temperature that the user sets. In your program, this should start at 21˚C or 70˚F.
- Every time the user presses the green button, increase the set temperature by 1˚.
- Every time the user presses the red button, decrease the set temperature by 1˚.
- Create two labels to display the current and set temperature.
- If the current temperature is within 2˚ of the set temperature, turn on the green LED.
- If the current temperature is not within 2˚ of the set temperature, turn on the red LED.

Troubleshoot
- Make sure everything is plugged in properly and your VINT Hub is connected to your computer
- Check to make sure you are connected to the correct Hub Port on your VINT Hub. In this case your Red LED should be connected to Hub Port 1.
- The LED flash is quick, make sure you are looking the the Getting Started Kit when you run your program.
If these do not solve your issue visit the Advanced Troubleshooting Page.


