Read Temperature
In this lesson, you’ll learn how to write a program that gets data from a temperature sensor!
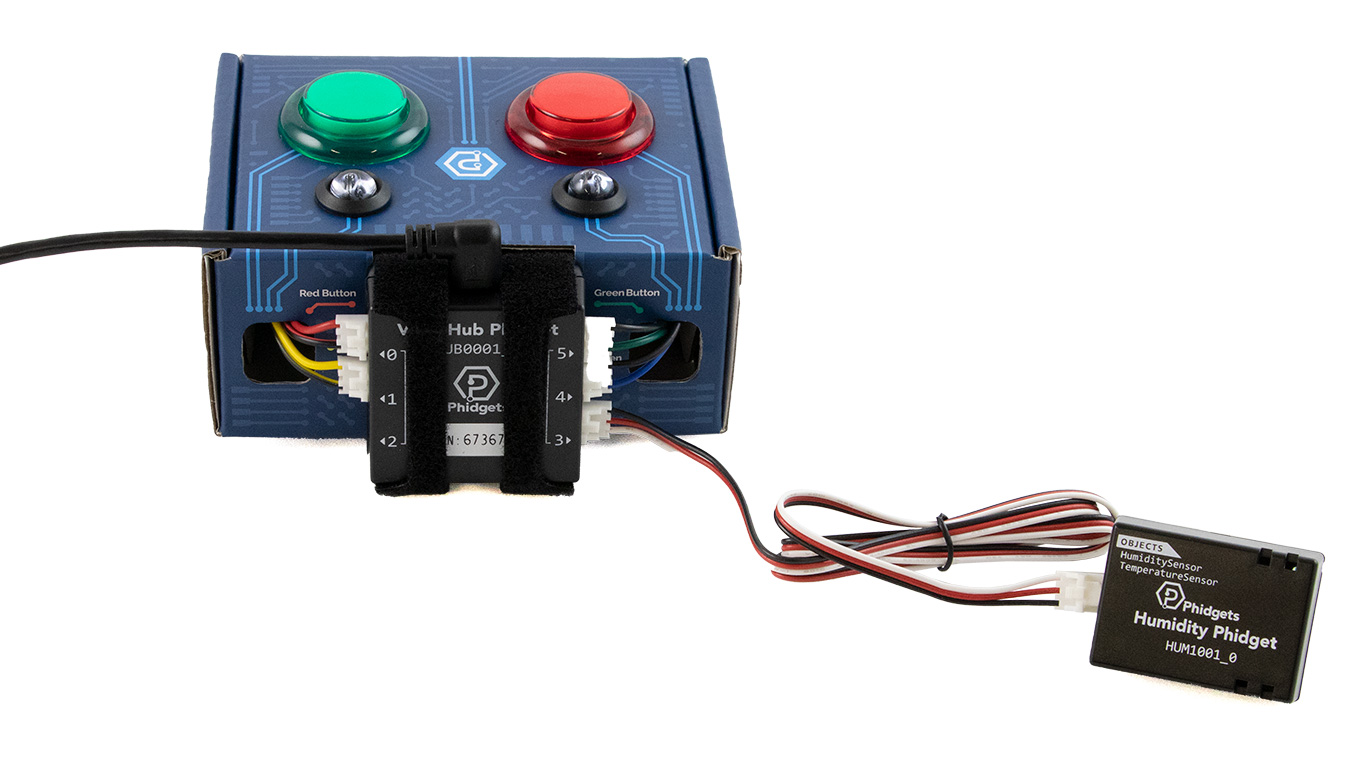
Connect Sensor
Connect your Humidity Phidget to port 3.
Write Code (Java)
Copy the code below into the project you created. If you don't have a project or forgot how to create one, revisit the Configure section.
Not your programming language? Set your preferences so we can display relevant code examples
Write Code (Python)
Copy the code below into the project you created. If you don't have a project or forgot how to create one, revisit the Configure section.
Not your programming language? Set your preferences so we can display relevant code examples
Write Code (C#)
Copy the code below into the project you created. If you don't have a project or forgot how to create one, revisit the Configure section.
Not your programming language? Set your preferences so we can display relevant code examples
Write Code (Swift)
Create a label in your window and copy the code below into the project you created. If you don't have a project or forgot how to create one, revisit the Configure section.
Not your programming language? Set your preferences so we can display relevant code examples
Create a label
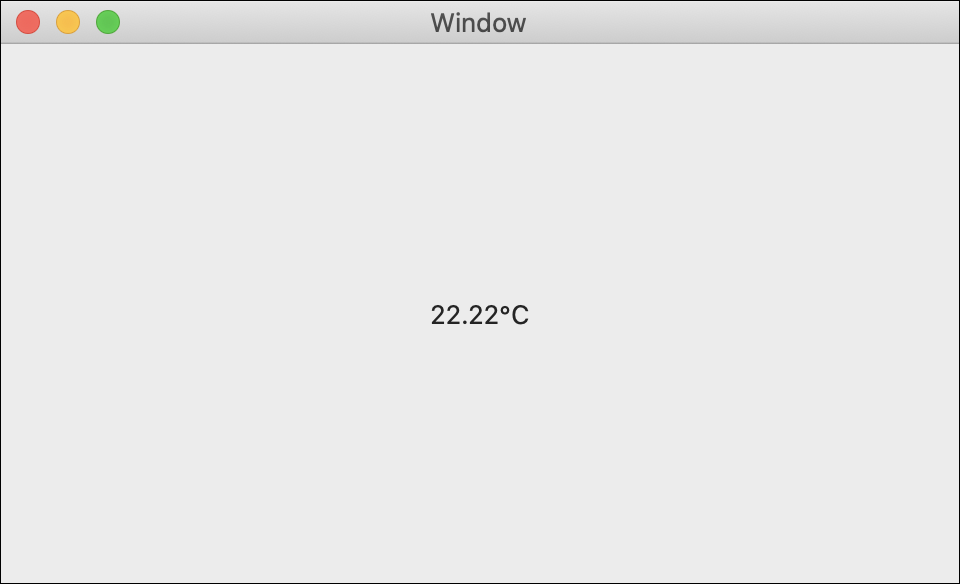
Run Your Program
You will see the temperature displayed in degrees Celsius.
What about Addressing the Phidget?
The Humidity Phidget is a Smart Phidget. Smart Phidgets communicate to the VINT Hub and relay some basic information like what they are and where they are connected. In your previous lessons, you had to set the HubPort and the IsHubPortDevice property. With a Smart Phidget, you don't have to worry about setting those.
Practice
- Convert temperature data from degrees Celsius to degrees Fahrenheit. Hint: °F = (°C × 1.8) + 32
Troubleshoot
I am getting a "Timed Out" exception.
- Make sure the USB cable from your VINT Hub to your computer is attached properly.
- Make the Phidget cable (the black, red and white one) is connected to your VINT Hub and to your Humidity Phidget properly).
- Make sure no other program is running that uses Phidgets. If a Phidget is already in use in another program, it will be busy and won't respond to this one.
Still having issues?
Visit the Advanced Troubleshooting Page or contact us (education@phidgets.com).