Reminder
The information that is shown below is also available as part of the Getting Started Kit tutorial. Visit the Getting Started Kit tutorial and select the Raspberry Pi as your operating system.
Video
Prefer to learn by watching? This project is also available as a video.
Setup
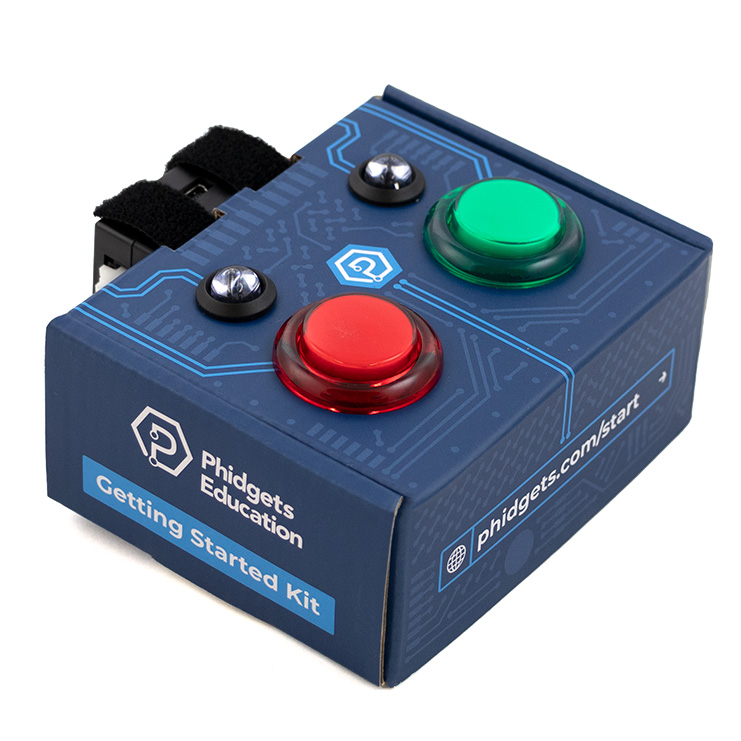
Before getting started, make sure you have the following parts.
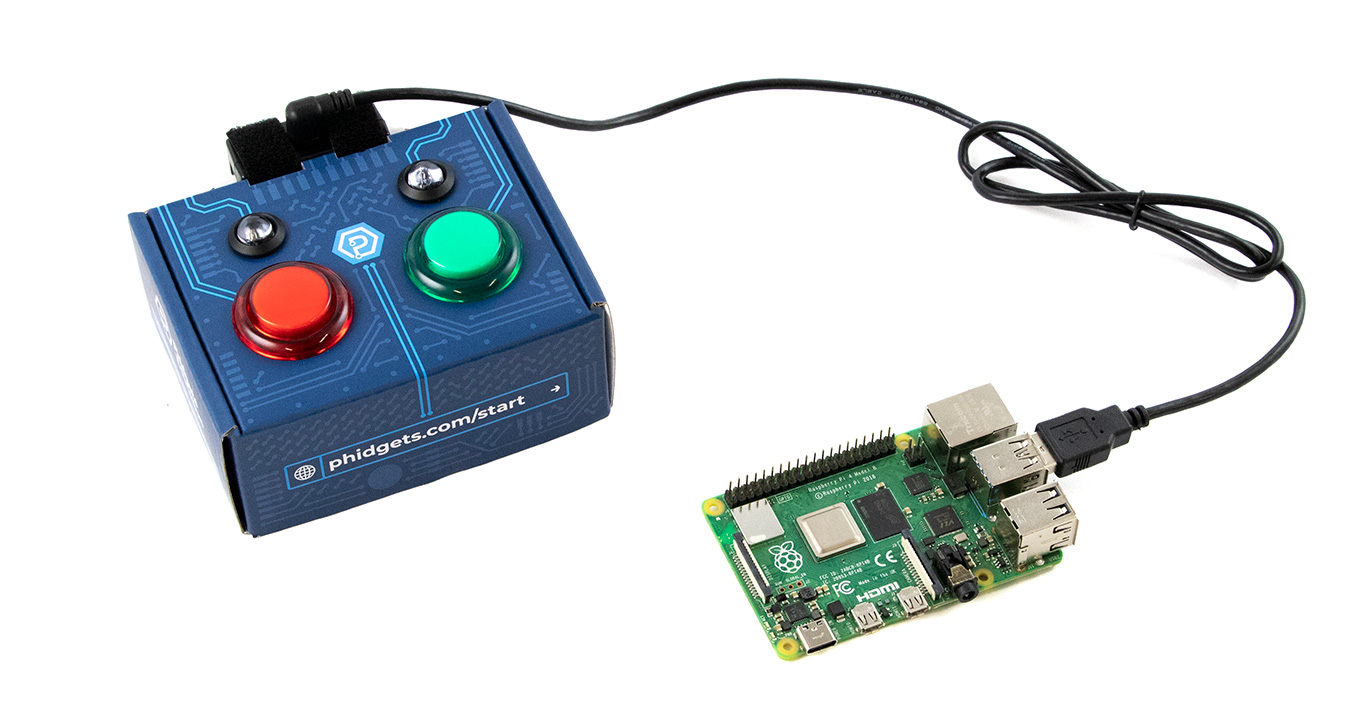
Connect Phidgets
Simply connect your Getting Started Kit (or any other Phidgets) to your Raspberry Pi.
Install Phidget Libraries
(Raspberry Pi Model 2 and above)
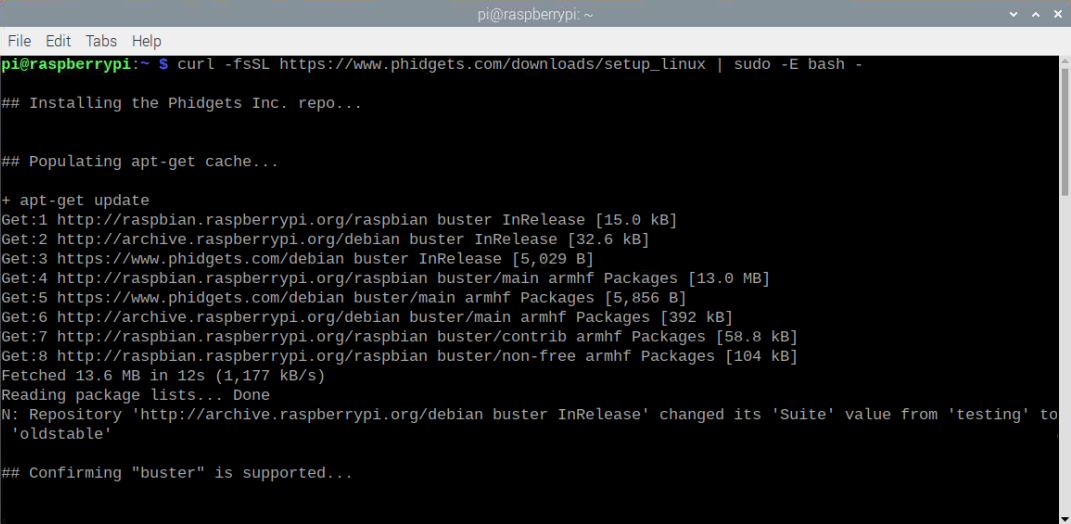
Open the Terminal and enter the following commands.
curl -fsSL https://www.phidgets.com/downloads/setup_linux | sudo -E bash -
sudo apt-get install -y libphidget22
Your terminal will look something like this:
Using a Different Model?
If you are using a Raspberry Pi Zero, Raspberry Pi 1, or any other linux machine, follow these instructions:
1. Install libusb:
apt-get install libusb-1.0-0-dev
2. Download libphidget22 onto your device. Extract the file using the following command:
tar -xf archive.tar.gz
3. Enter the following command:
./configure --prefix=/usr && make && sudo make install
4. Install Python libraries using pip. If you don’t already have pip installed, enter the following command:
sudo apt install python3-pip
Add the Phidgets python library:
sudo pip3 install Phidget22
Configure Python
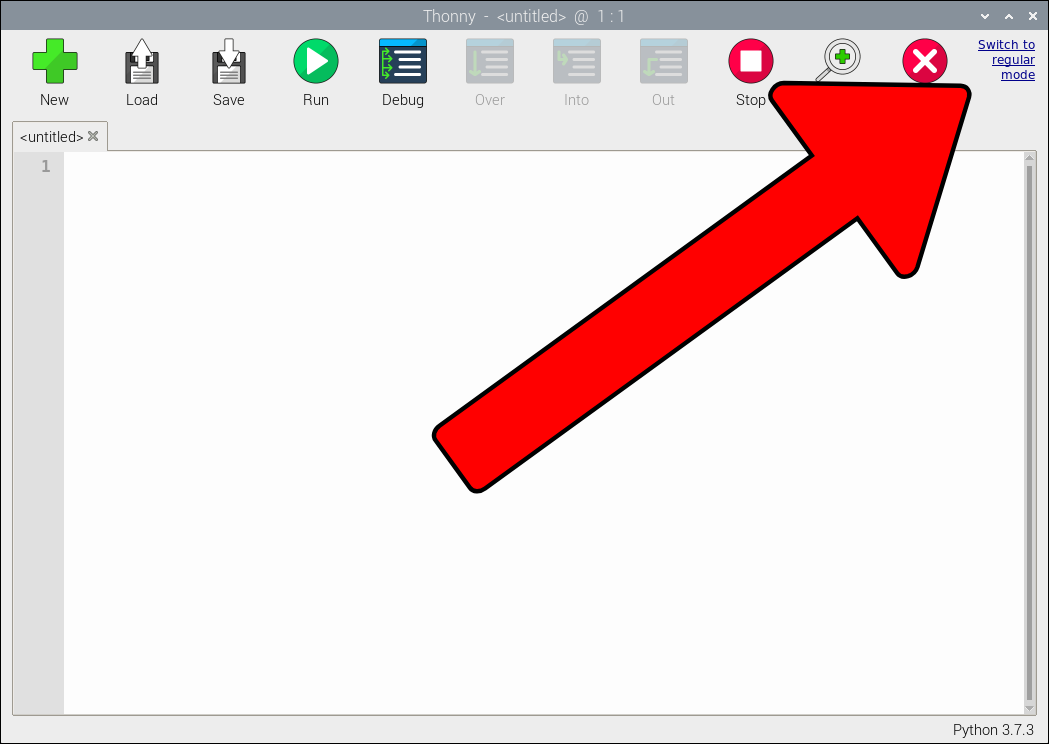
To start, open Thonny.

Thonny defaults to a simple mode on the Raspberry Pi. Click on Switch to regular mode if you have not previously.
Step 2
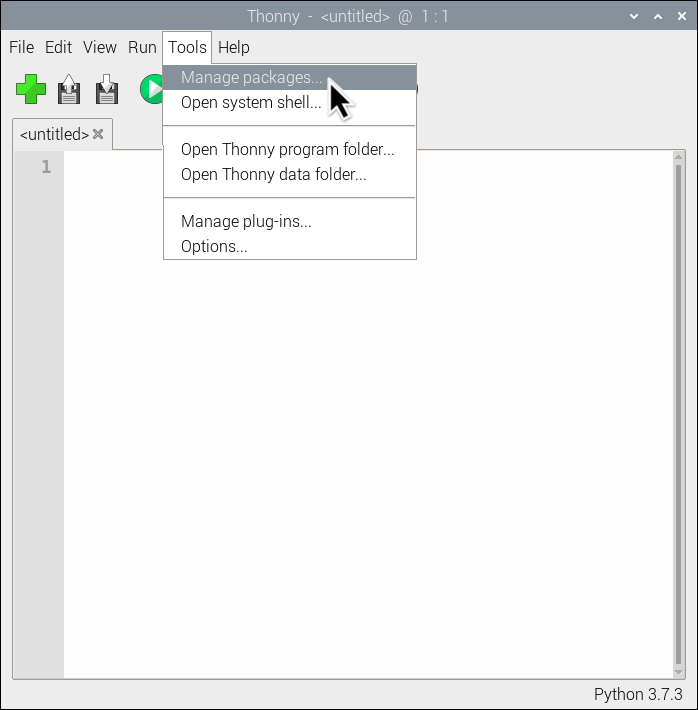
Next, select Tools > Manage Packages.
Step 3
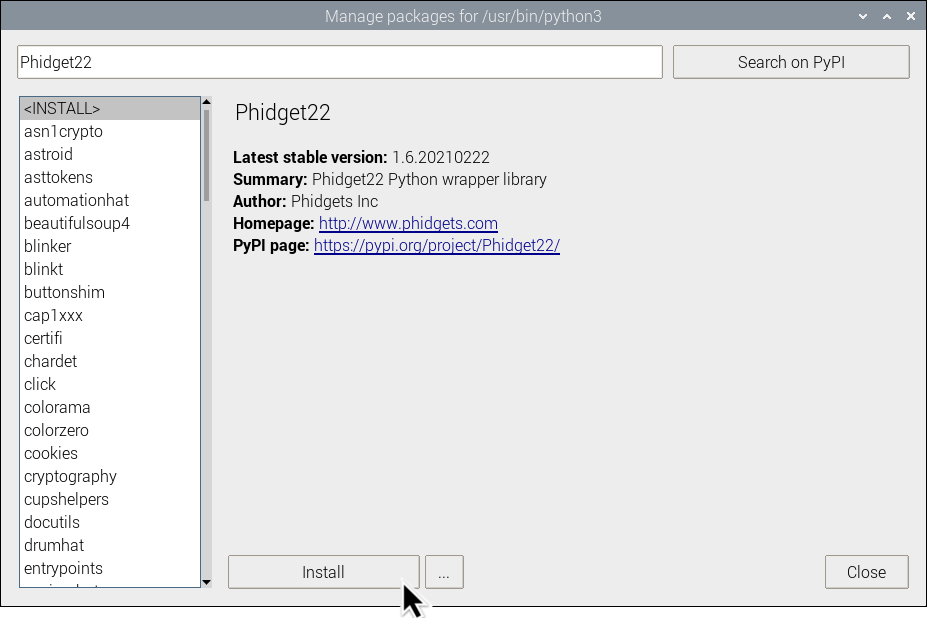
Search for Phidget22 and press Install.
Step 4
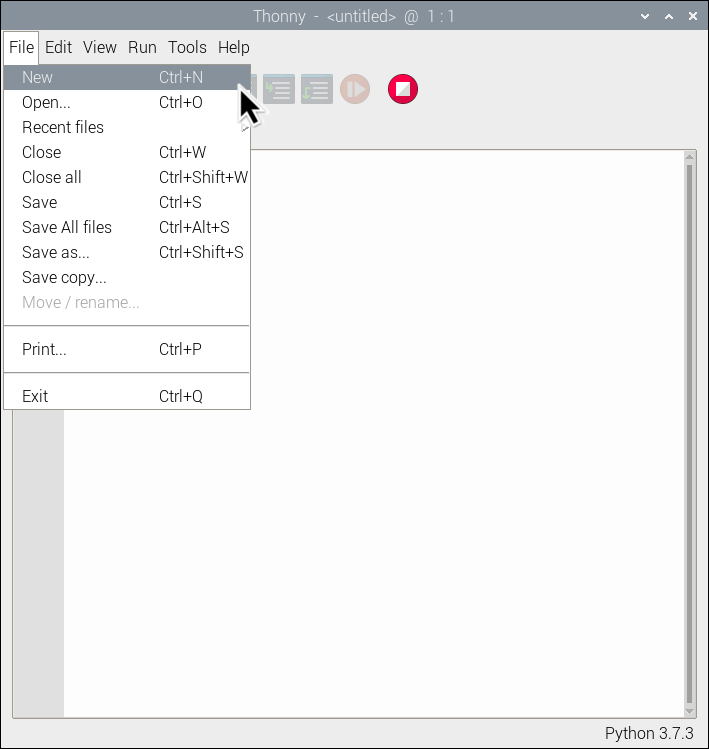
Select File > New to create a new file.
Write Code
Copy the code below into your new Python project.
#Add Phidgets Library | You used Python's package manager to install the Phidget libraries on your computer. The import statements below give your program access to that code.
from Phidget22.Phidget import *
from Phidget22.Devices.DigitalOutput import *
#Required for sleep statement
import time

#Create | Here you've created a DigitalOutput object for your LED. An object represents how you interact with your device. DigitalOutput is a class from the Phidgets library that's used to provide a voltage to things like LEDs.
redLED = DigitalOutput()

#Address | This tells your program where to find the device you want to work with. Your LED is connected to port 1 and your code reflects that. IsHubPortDevice must be set if you are not using a Smart Phidget (more on this later).
redLED.setHubPort(1)
redLED.setIsHubPortDevice(True)

#Open | Open establishes a connection between your object and your physical Phidget. You provide a timeout value of 1000 to give the program 1000 milliseconds (1 second) to locate your Phidget. If your Phidget can't be found, an exception occurs.
redLED.openWaitForAttachment(1000)

#Use your Phidgets | Here is where you can have some fun and use your Phidgets! You can turn your LED on/off by setting the state to true/false. The sleep command keeps your LED on by letting 1 second pass before turning the LED off.
while(True):
    redLED.setState(True)
    time.sleep(1)
    redLED.setState(False)
    time.sleep(1)
Run your code. You will see the red LED on your Getting Started Kit blink.