Prerequisites
- This project assumes you have a basic understanding of GUIs with Java. If you do not, we recommend reviewing a tutorial from such as Designing a Swing GUI in NetBeans IDE or Window Builder with Eclipse IDE.
- This project assumes you have completed the Getting Started Kit Advanced Lessons on events and error handling.
NetBeans and Eclipse
This project is only available for Java with NetBeans and Java with Eclipse. Set your language so we can display relevant code examples
Setup
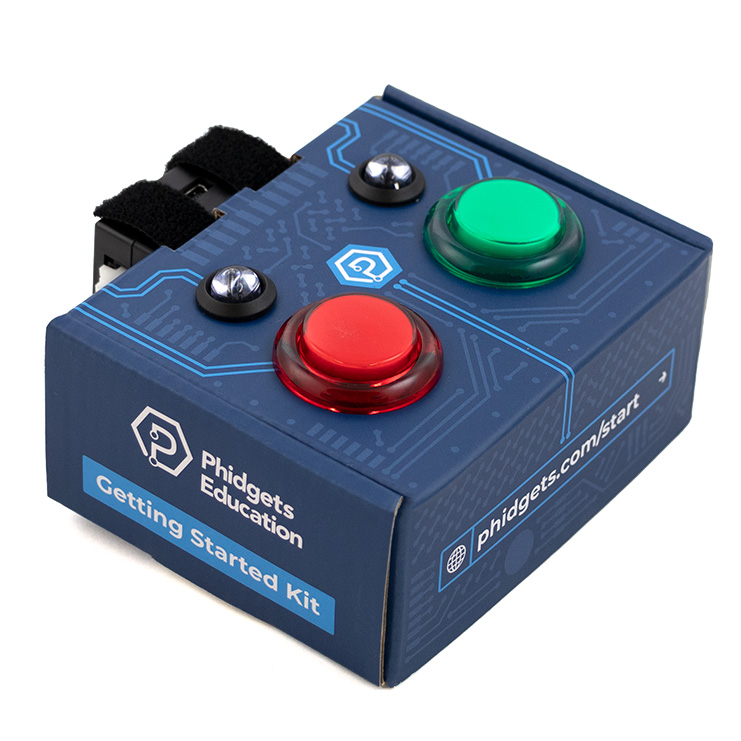
All you need for this project is the Getting Started Kit.
Create Project (NetBeans)
Download Java Folder
Before starting, download and extract the Phidget Java Folder (you will use this in step 3)
Step 1
Open NetBeans and select File > New Project to create a new Java Application.

Step 2
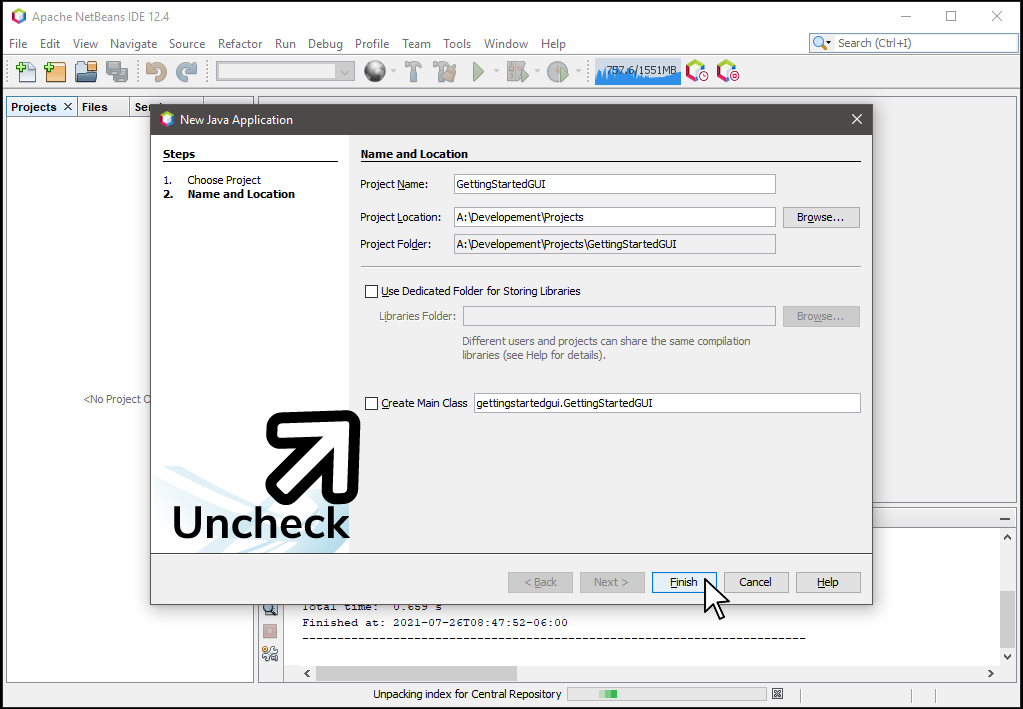
Name the project GettingStartedGUI and place it in the location of your choice. Make sure to uncheck Create Main Class and then press Finish.
Step 3
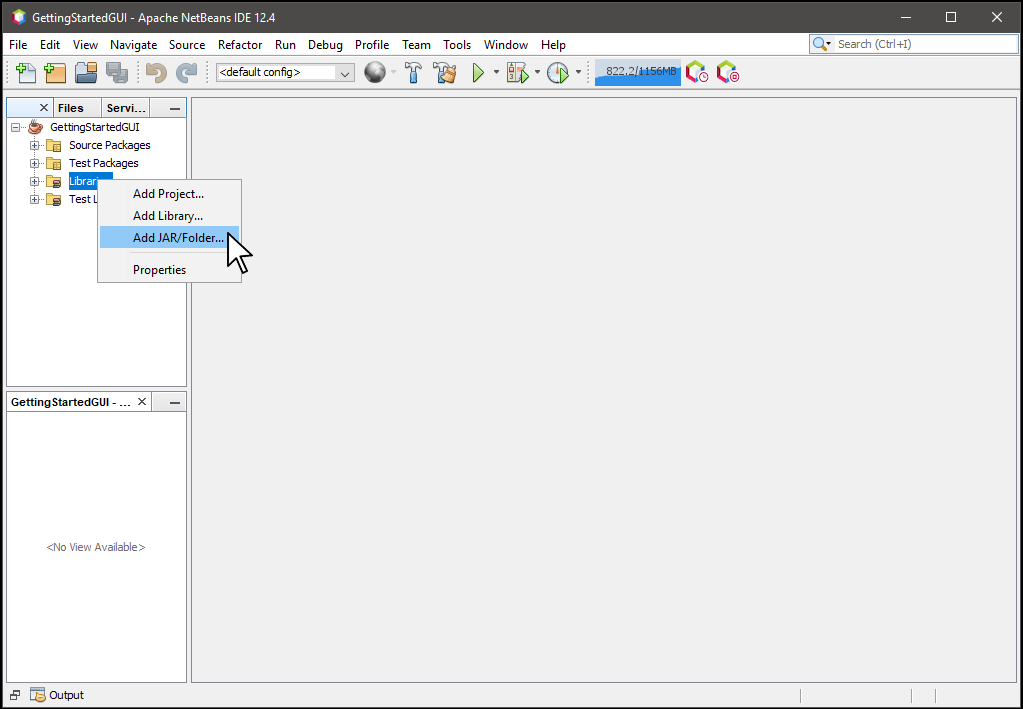
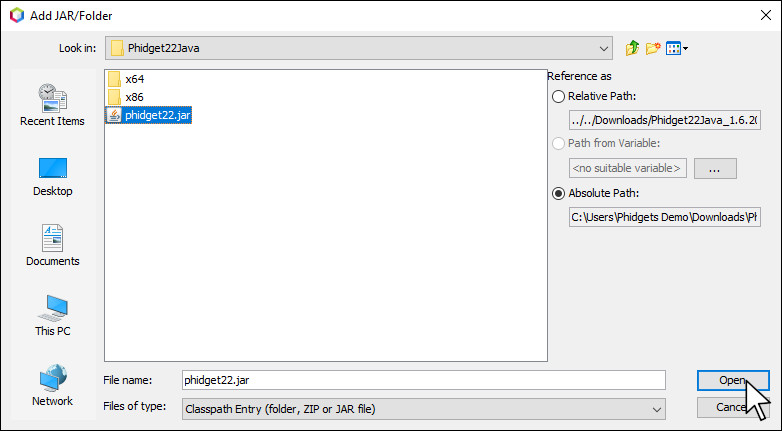
After creating your project, right-click on Libraries and click on Add JAR/Folder...
Step 4
Navigate to the folder you downloaded and extracted and select the phidget22.jar file.
Step 5
Next, navigate to the Windows tab and select the Files option.
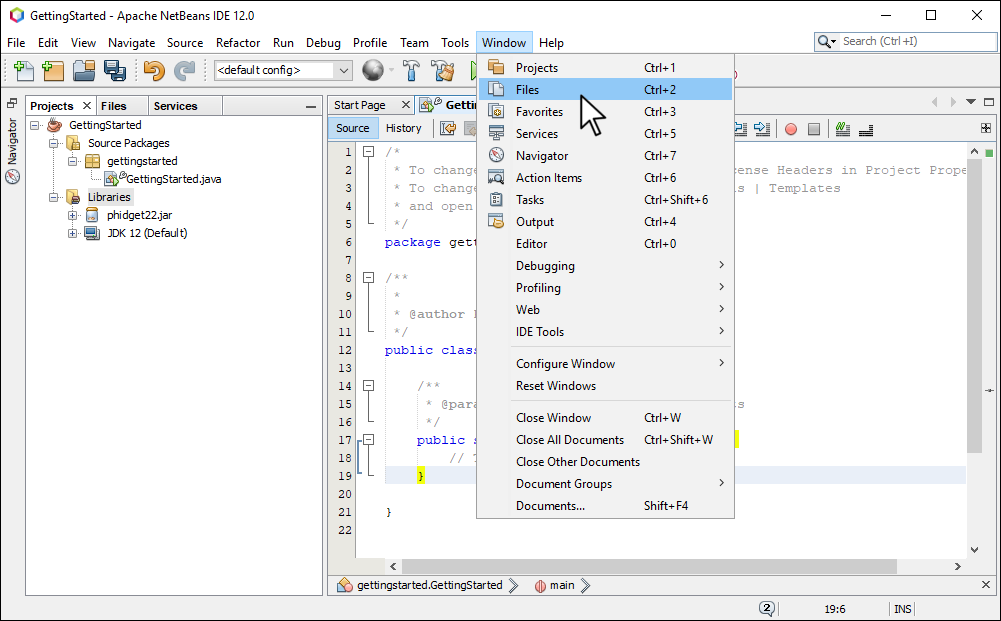
Step 6
Transfer the other Phidget library files to your project.
Step 7
Create a new JFrame called MainFrame.
Step 8
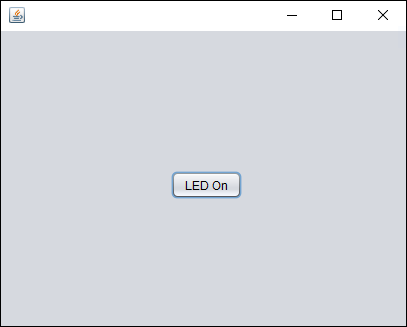
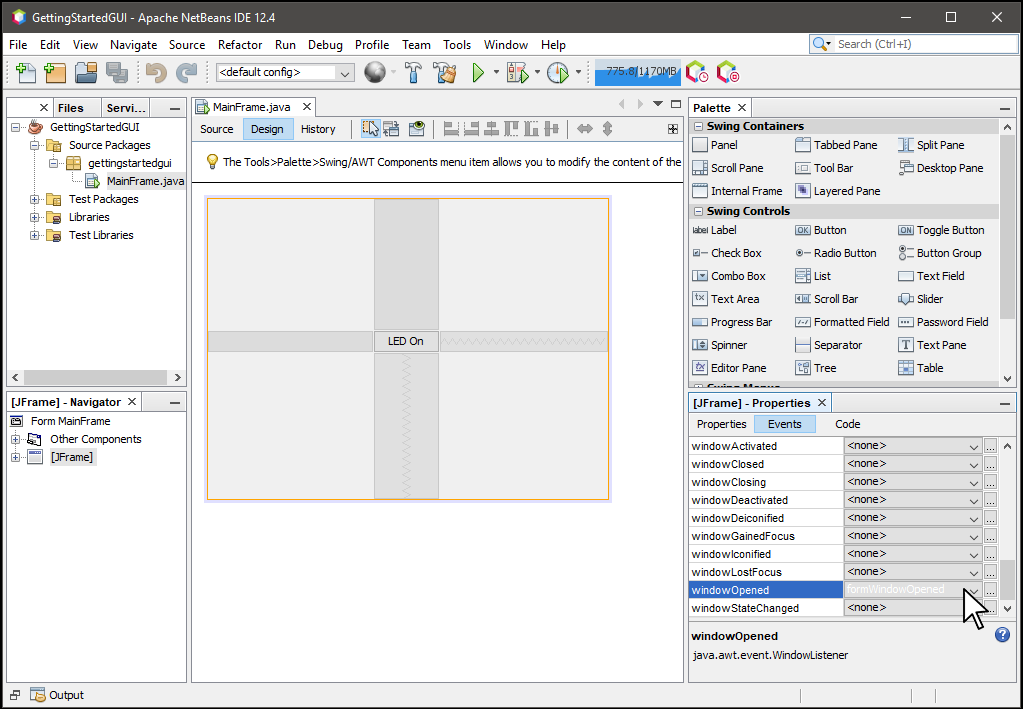
Place a button on your window and title it LED On. Generate an event for the button.
Step 9
In the design tab, click on your window. Next, under JFrame properties, click Events and find the windowOpened event. Click on the dropdown menu and select formWindowOpened
Step 10
Review the code below and add the relevant sections to your MainFrame.java file. Hover over the comments below for more information about specific sections of the code. Note: Due to the way NetBeans generates code for GUIs, full code is not provided. You must place the code below into the relevant areas of your code.
    //Add Phidgets Library
    import com.phidget22.*;

    //Define | Define object here so it can be used throughout your program.
    private static DigitalOutput redLED;

    private void jButton1ActionPerformed(java.awt.event.ActionEvent evt) {

        try {
                //Change button text
                if (redLED.getState()){
                    jButton1.setText("LED On");
                }
                else{
                    jButton1.setText("LED Off");
                }

                //Flip LED state
                redLED.setState(!redLED.getState());
            }
            catch (PhidgetException e) {};
    }

    private void formWindowOpened(java.awt.event.WindowEvent evt) {
        try {
        //Create
        redLED = new DigitalOutput();

        //Address
        redLED.setHubPort(1);
        redLED.setIsHubPortDevice(true);

        //Attach Listener | Use this to control the button on the GUI. If the Phidget is attached, the button will be enabled.
        redLED.addAttachListener(new AttachListener() {
            public void onAttach(AttachEvent e) {
                jButton1.setEnabled(true);
            }
        });

        //Detach Listener | Use this to control the button on the GUI. If the Phidget is detached, the button will be disabled.
        redLED.addDetachListener(new DetachListener() {
            public void onDetach(DetachEvent e) {
                jButton1.setEnabled(false);
            }
        });

        //Open | Use open without a timeout value becuase GUIs are event driven and we do not want to wait on the main thread.
        redLED.open();

        } catch (PhidgetException e) {}
    }
Create Project (Eclipse)
Download Java Folder
Before starting, download and extract the Phidget Java Folder (you will use this in step 3)
Step 1
In order to build GUIs with Eclipse, you will need to download the WindowBuilder extension. Navigate to Help > Eclipse Marketplace.
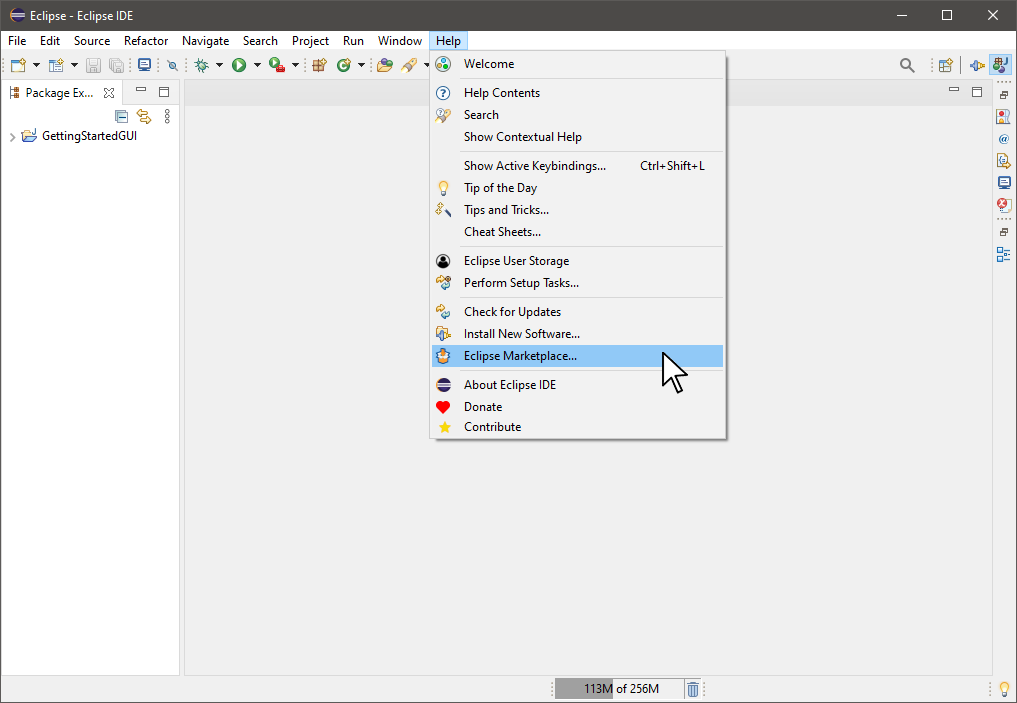
Search for WindowBuilder and download:
Step 2
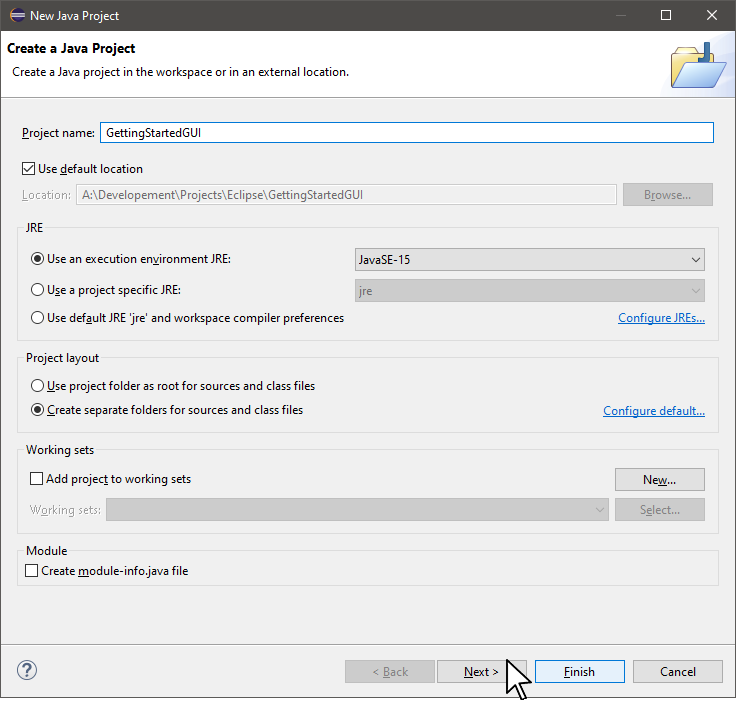
Select File > New > Java Project

Step 3
Name the project GettingStartedGUI and click Next.
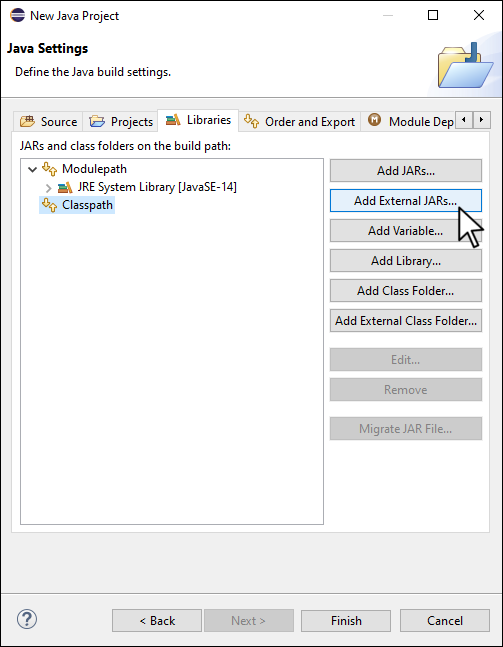
Step 4
Navigate to the Libraries tab and select ClassPath. Next, click on Add External Jars...
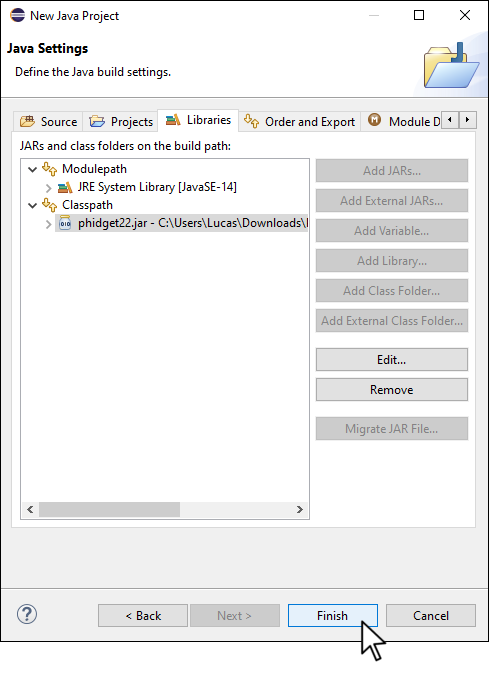
Step 5
Navigate to the folder you downloaded and extracted and find the phidget22.jar file.
Step 6
Press Finish
Step 7
When asked to create a module file, press Don't Create

Step 8
Transfer the other Phidget library files to your project.
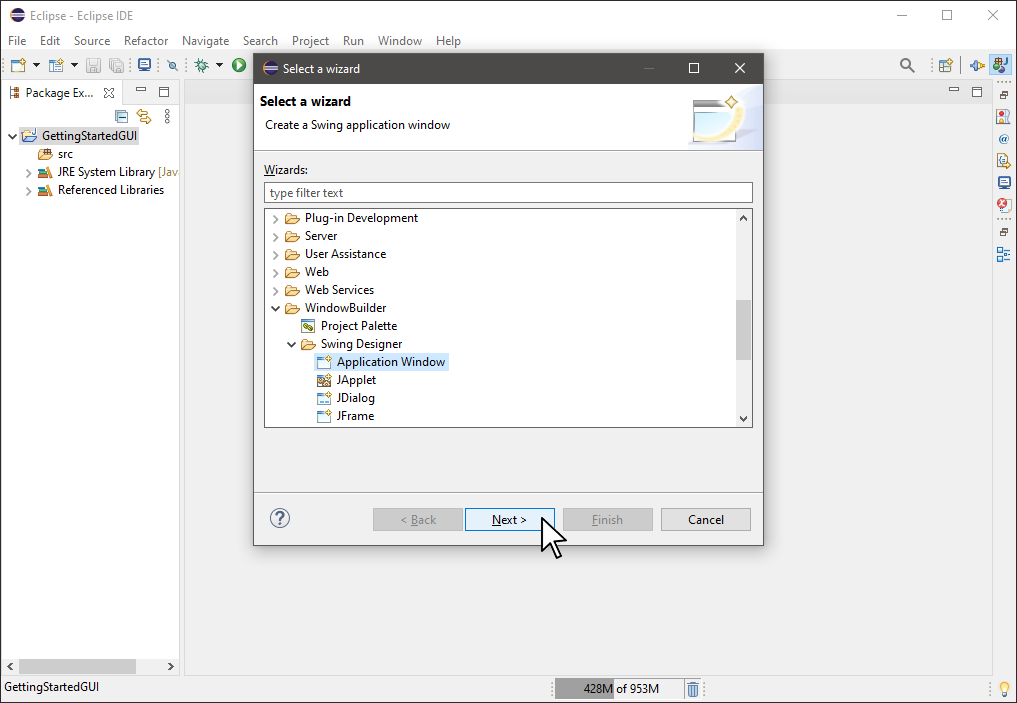
Step 9
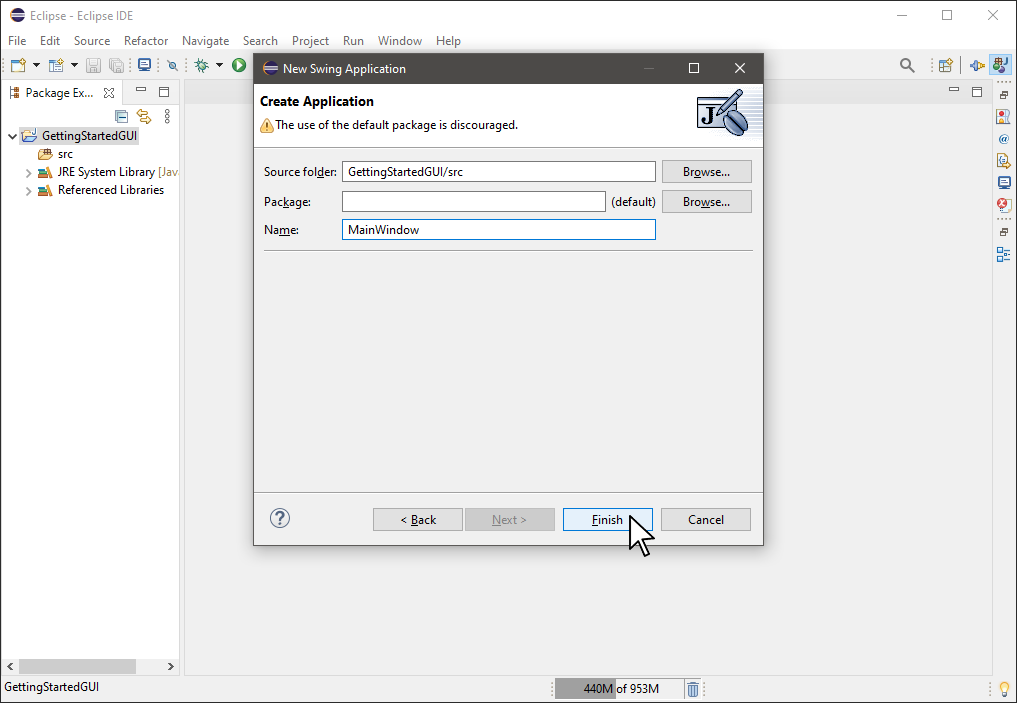
Right-click on your project and select New > Other. Expand WindowBuilder and find Swing Designer > Application Window. Finally, click Next.
Step 10
Name the window MainWindow and click Finish.
Step 11
Add a JButton to your window by going to the Design tab and generate an event for the button.
Step 12
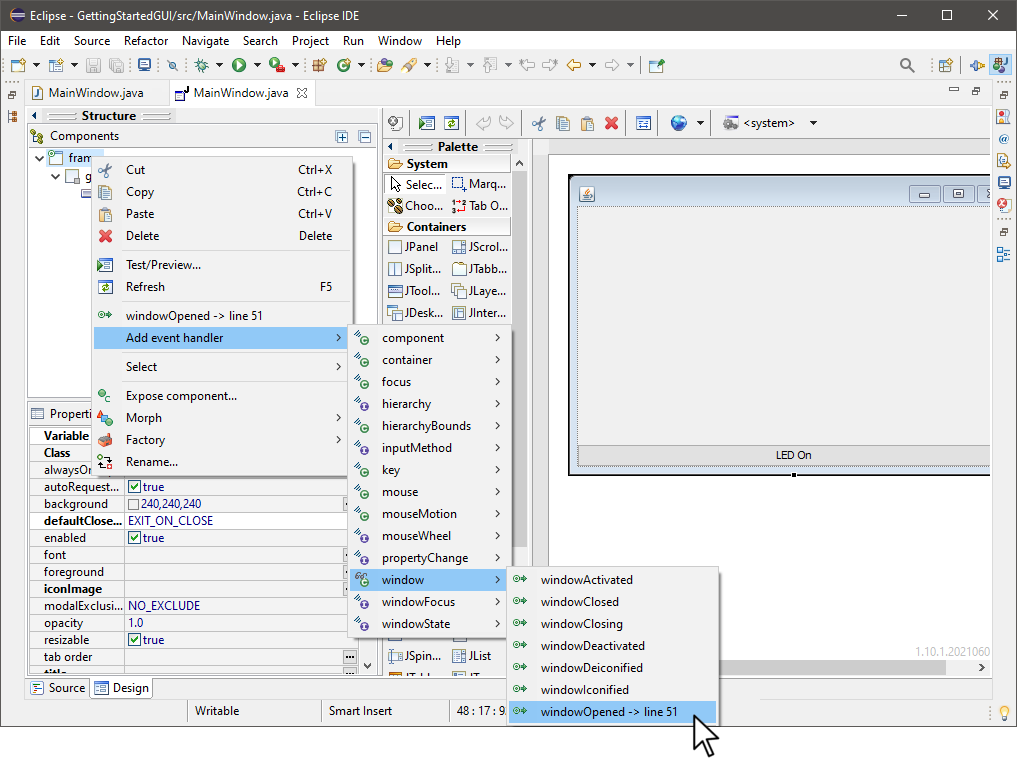
Right-click on the frame and add the windowOpened event handler.
Step 13
Review the code below and add the relevant sections to your MainWindow.java file. Hover over the comments below for more information about specific sections of the code. Note: Due to the way Eclipse generates code for GUIs, full code is not provided. You must place the code below into the relevant areas of your code.
//Add Phidgets Library
import com.phidget22.*;

//Define | Define object here so it can be used throughout your program.
DigitalOutput redLED;

JButton btnNewButton = new JButton("LED On");
btnNewButton.addActionListener(new ActionListener() {
    public void actionPerformed(ActionEvent e) {
        try {
            //Change button text
            if (redLED.getState()) {
                btnNewButton.setText("LED on");
            }
            else {
                btnNewButton.setText("LED Off");
            }

            //Flip LED state
            redLED.setState(!redLED.getState());

        } catch (PhidgetException err) {};
    }
});


frame.addWindowListener(new WindowAdapter() {
    @Override
    public void windowOpened(WindowEvent e) {
        try {
            //Create
            redLED = new DigitalOutput();

            //Address
            redLED.setHubPort(1);
            redLED.setIsHubPortDevice(true);

            //Attach Listener | Use this to control the button on the GUI. If the Phidget is attahced, the button will be enabled.
            redLED.addAttachListener(new AttachListener() {
                public void onAttach(AttachEvent av) {
                    btnNewButton.setEnabled(true);
                }
            });

            //Detach Listener | Use this to control the button on the GUI. IF the Phidget is detached, this button will be disabled.
            redLED.addDetachListener(new DetachListener() {
                public void onDetach(DetachEvent dv) {
                    btnNewButton.setEnabled(false);
                }
            });

            //Open | Use open without a timeout value because GUIs are event driven and we do not want to wait on the main thread.
            redLED.open();

        } catch (PhidgetException error) {}
    }
});
Run Your Code
When you click the button on your GUI, your LED will turn on/off.
Run Your Code
When you click the button on your GUI, your LED will turn on/off.
Practice
- Unplug your Getting Started Kit from your computer. What happens to the button on your form?
- Create a label on your form and use it to display the state of the red button from your Getting Started Kit.
- Re-create the Tug of War game from the Getting Started Kit using your GUI. This time, display the current button count for each player on your GUI using labels and include a button on your form that resets the game so it can be played again.