Prerequisites
- This project assumes you have a basic understanding of GUIs with C# and Visual Studio. If you do not, we recommend reviewing a tutorial from Microsoft such as Create a Windows Forms app in Visual Studio with C# or numerous video tutorials online.
- This project assumes you have completed the Getting Started Kit Advanced Lessons on events.
Setup
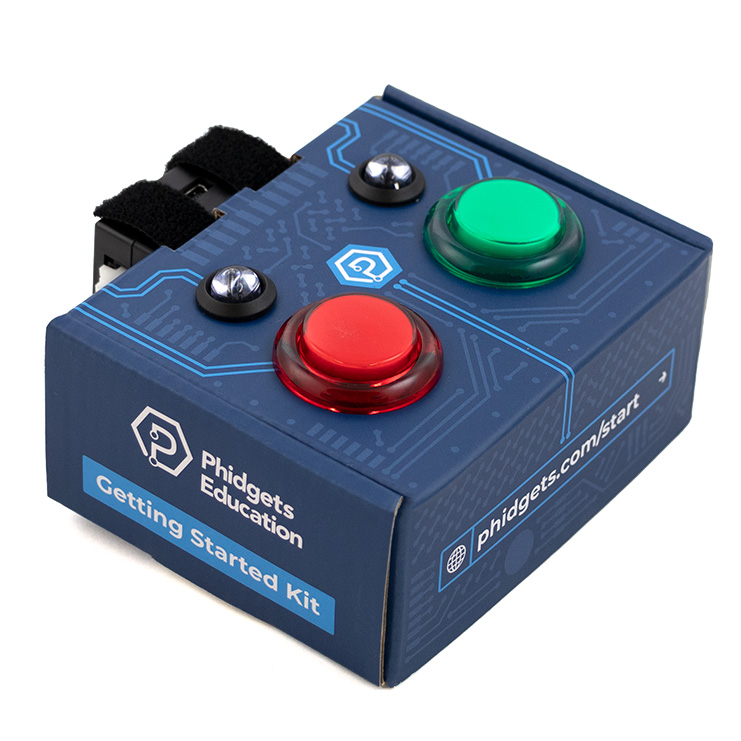
All you need for this project is the Getting Started Kit.
Create Project
Step 1
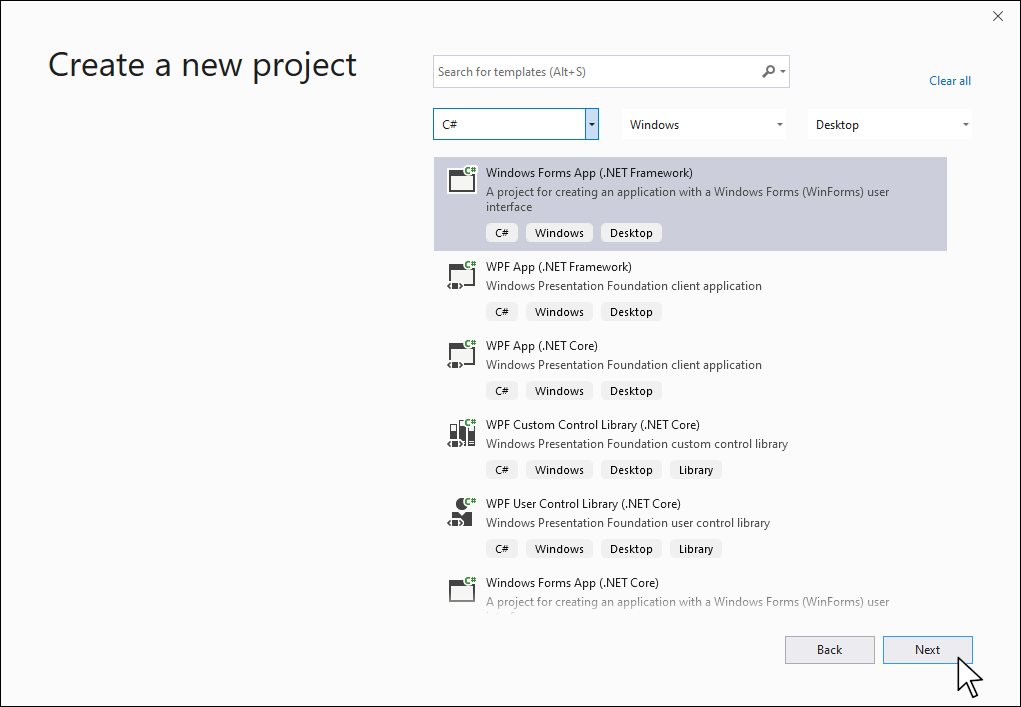
Open Visual Studio and create a new Windows Form App (.NET Framework).
Step 2
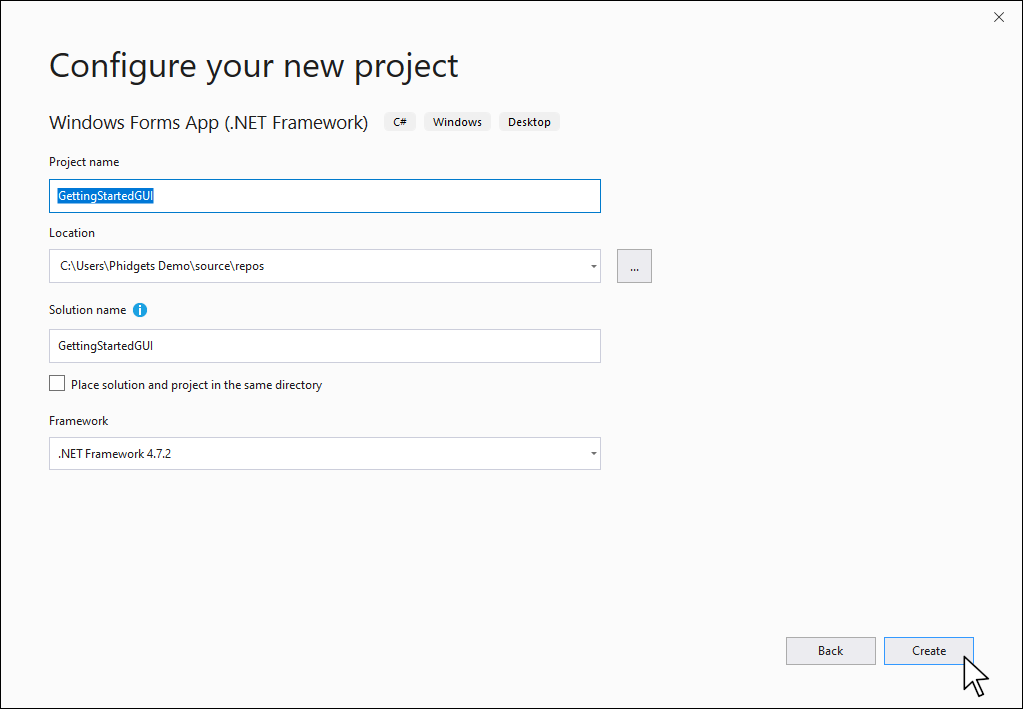
Name the project GettingStartedGUI and place it in the location of your choice
Step 3
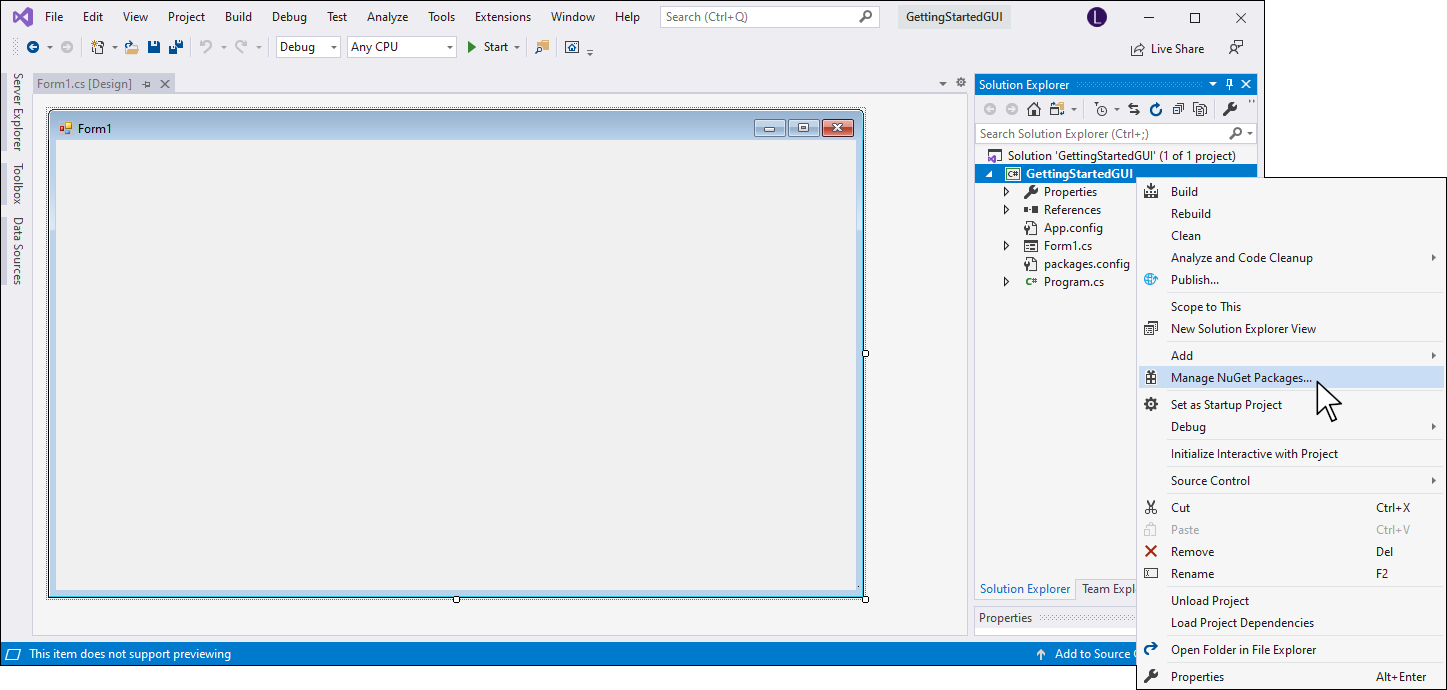
Right-click on your project and select Manage NuGet Packages…
Step 4
Click on the Browse button in the top left corner and enter Phidget22 in the search bar. Click on the package and install the latest version.

Step 5
Generate the Form Load event by double-clicking on your form.
Step 6
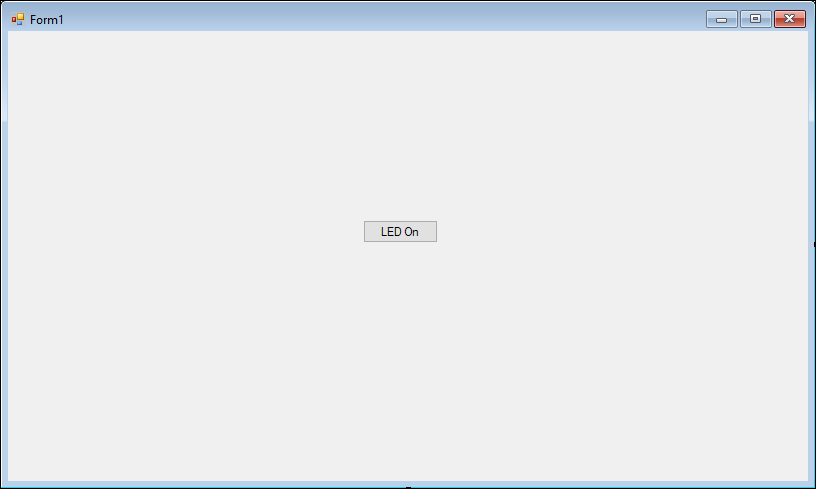
Place a button on your form and label it LED On. Double-click on it to generate the Click event.
Step 7
Rewrite the code below into your Form1.cs file. Hover over the comments below for more information about specific sections of the code.
using System;
using System.Windows.Forms;
using Phidget22;

namespace GettingStartedGUI
{
    public partial class Form1 : Form
    {
        //Define | Define object here so it can be used throughout program
        DigitalOutput redLED;

        public Form1()
        {
            InitializeComponent();
        }

        //Form Load | This will run once when the form loads, so it's the perfect spot to put your create, address, event and open code.
        private void Form1_Load(object sender, EventArgs e)
        {
            //Create
            redLED = new DigitalOutput();

            //Address
            redLED.HubPort = 1;
            redLED.IsHubPortDevice = true;

            //Attach/Detach Handlers | Use these to control the button on the GUI. If Phidget is unplugged, button will be disabled.
            button1.Enabled = false;
            redLED.Attach += RedLED_Attach;
            redLED.Detach += RedLED_Detach;

            //Open | Use open without a timeout value because GUIs are event driven and we do not want to wait on main thread.
            redLED.Open();
        }

        private void RedLED_Detach(object sender, Phidget22.Events.DetachEventArgs e)
        {
            //Disable button if red LED is not attached
            button1.Enabled = false;
        }

        private void RedLED_Attach(object sender, Phidget22.Events.AttachEventArgs e)
        {
            //Enable button if red LED is attached
            button1.Enabled = true;
        }

        private void button1_Click(object sender, EventArgs e)
        {
            //Change button text
            if (redLED.State)
            {
                button1.Text = "LED On";
            }
            else
            {
                button1.Text = "LED Off";
            }
            //flip LED state
            redLED.State = !redLED.State;
        }
    }
}
Run Your Code
When you click the button on your GUI, your LED will turn on/off.
Practice
- Unplug your Getting Started Kit from your computer. What happens to the button on your form?
- Create a label on your form and use it to display the state of the red button from your Getting Started Kit.
- Re-create the Tug of War game from the Getting Started Kit using your GUI. This time, display the current button count for each player on your GUI using labels and include a button on your form that resets the game so it can be played again.