Prerequisites
You should review the following before moving on:
Setup
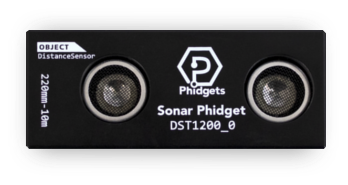
Note: you can use any distance sensing Phidget for this project.
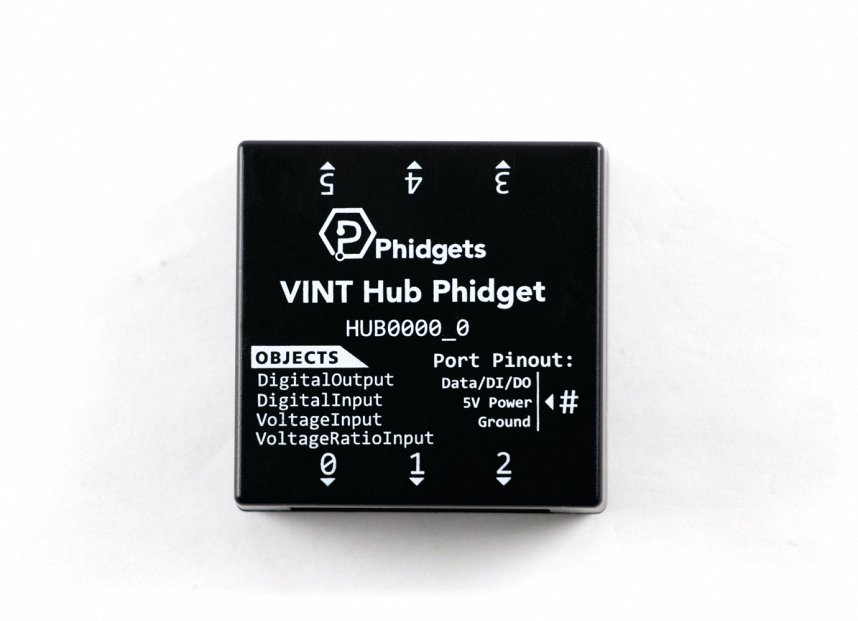
VINT Hub

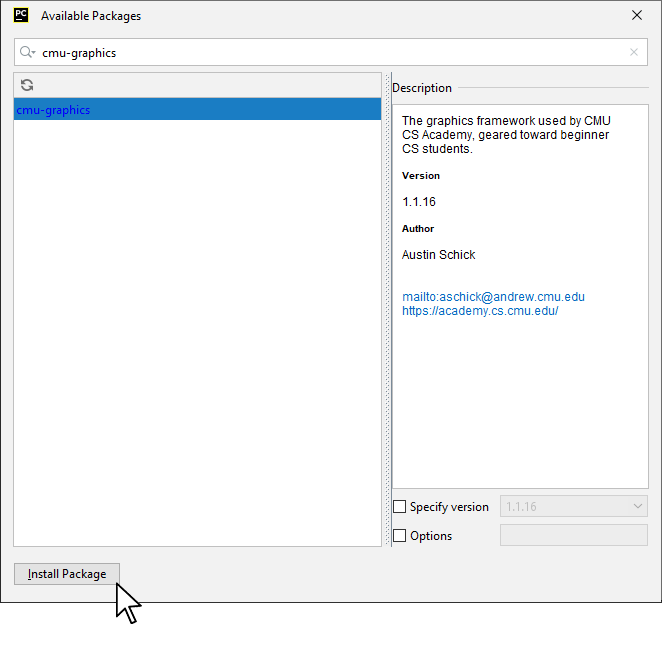
Install CMU Graphics
In order to use CMU Graphics, you first have to install it. You do this in the same way you previously installed the Phidget22 library. Simply navigate to your package manager, search for cmu-graphics and press install!
Note: macOS users must install dependencies before moving forward. For more information, please visit this page.
Thonny
If you're using Thonny, select Tools > Manage Packages and search for cmu-graphics.

PyCharm
If you're using PyCharm, select File > Settings > Python Interpreter and use the + symbol to install cmu-graphics.
PyScripter
If you're using PyScripter, select Tools > Tools > Install Packages with pip and enter cmu-graphics.

Write Code (Python)
Copy the code below into a new Python project.
from cmu_graphics import *
from Phidget22.Devices.DistanceSensor import *

app.background = gradient('white', 'aliceBlue')

# feet
Oval(125, 305, 20, 50, fill='orange', rotateAngle=50)
Oval(135, 310, 20, 50, fill='orange', rotateAngle=20)
Oval(145, 310, 20, 50, fill='orange', rotateAngle=-10)
Oval(275, 305, 20, 50, fill='orange', rotateAngle=-50)
Oval(265, 310, 20, 50, fill='orange', rotateAngle=-20)
Oval(255, 310, 20, 50, fill='orange', rotateAngle=10)

# wings
leftWingUp = Group(
    Oval(110, 150, 65, 120, rotateAngle=-40),
    Oval(110, 160, 35, 110, fill='white', rotateAngle=-40)
)
leftWingDown = Group(
    Oval(110, 210, 65, 120, rotateAngle=40),
    Oval(110, 220, 35, 110, fill='white', rotateAngle=40),
    visible=False
)
Oval(290, 150, 65, 120, rotateAngle=40)
Oval(290, 160, 35, 110, fill='white', rotateAngle=40)

# belly
Oval(200, 150, 150, 230)
belly = Circle(200, 230, 80, fill='white', border='black', borderWidth=15)

# body
Oval(175, 160, 65, 180, fill='white')
Oval(225, 160, 65, 180, fill='white')
Circle(175, 110, 10)
Circle(225, 110, 10)
Polygon(185, 130, 215, 130, 205, 150, fill='orange')

# words
Label('Move Hand Over Sensor To Wave', 200, 370, size=20)

#Phidgets Code Start
#Distance Event
def onDistanceChange(self, distance):
    if(distance < 100):
        if leftWingDown.visible == True:
            leftWingDown.visible = False
            leftWingUp.visible = True
        else:
            leftWingDown.visible = True
            leftWingUp.visible = False


#Create, Address, Subscribe to Events and Open
distanceSensor = DistanceSensor()
distanceSensor.setOnDistanceChangeHandler(onDistanceChange)
distanceSensor.openWaitForAttachment(1000)
#Phidgets Code End

cmu_graphics.run()
Run Your Program
When you wave your hand in front of the Sonar Phidget, the penguin will wave back.
Code Review
As you may have noticed, the program above is based on a sample program from the desktop CMU Graphics package. The main difference is that the code to handle mouse clicks has been removed. To replace mouse clicks, your Sonar Phidget is used.
When using a Sonar Phidget, it's important to set the data interval to the minimum as shown in the code above. This will ensure your sensor is as responsive as possible.
Practice
- Try commenting out the section of your code that sets the data interval. What is the result?