Managing Multiple Phidgets
In this lesson, you will learn how to manage multiple Phidgets! You will need to partner with two other students and use six LEDs.
Setup
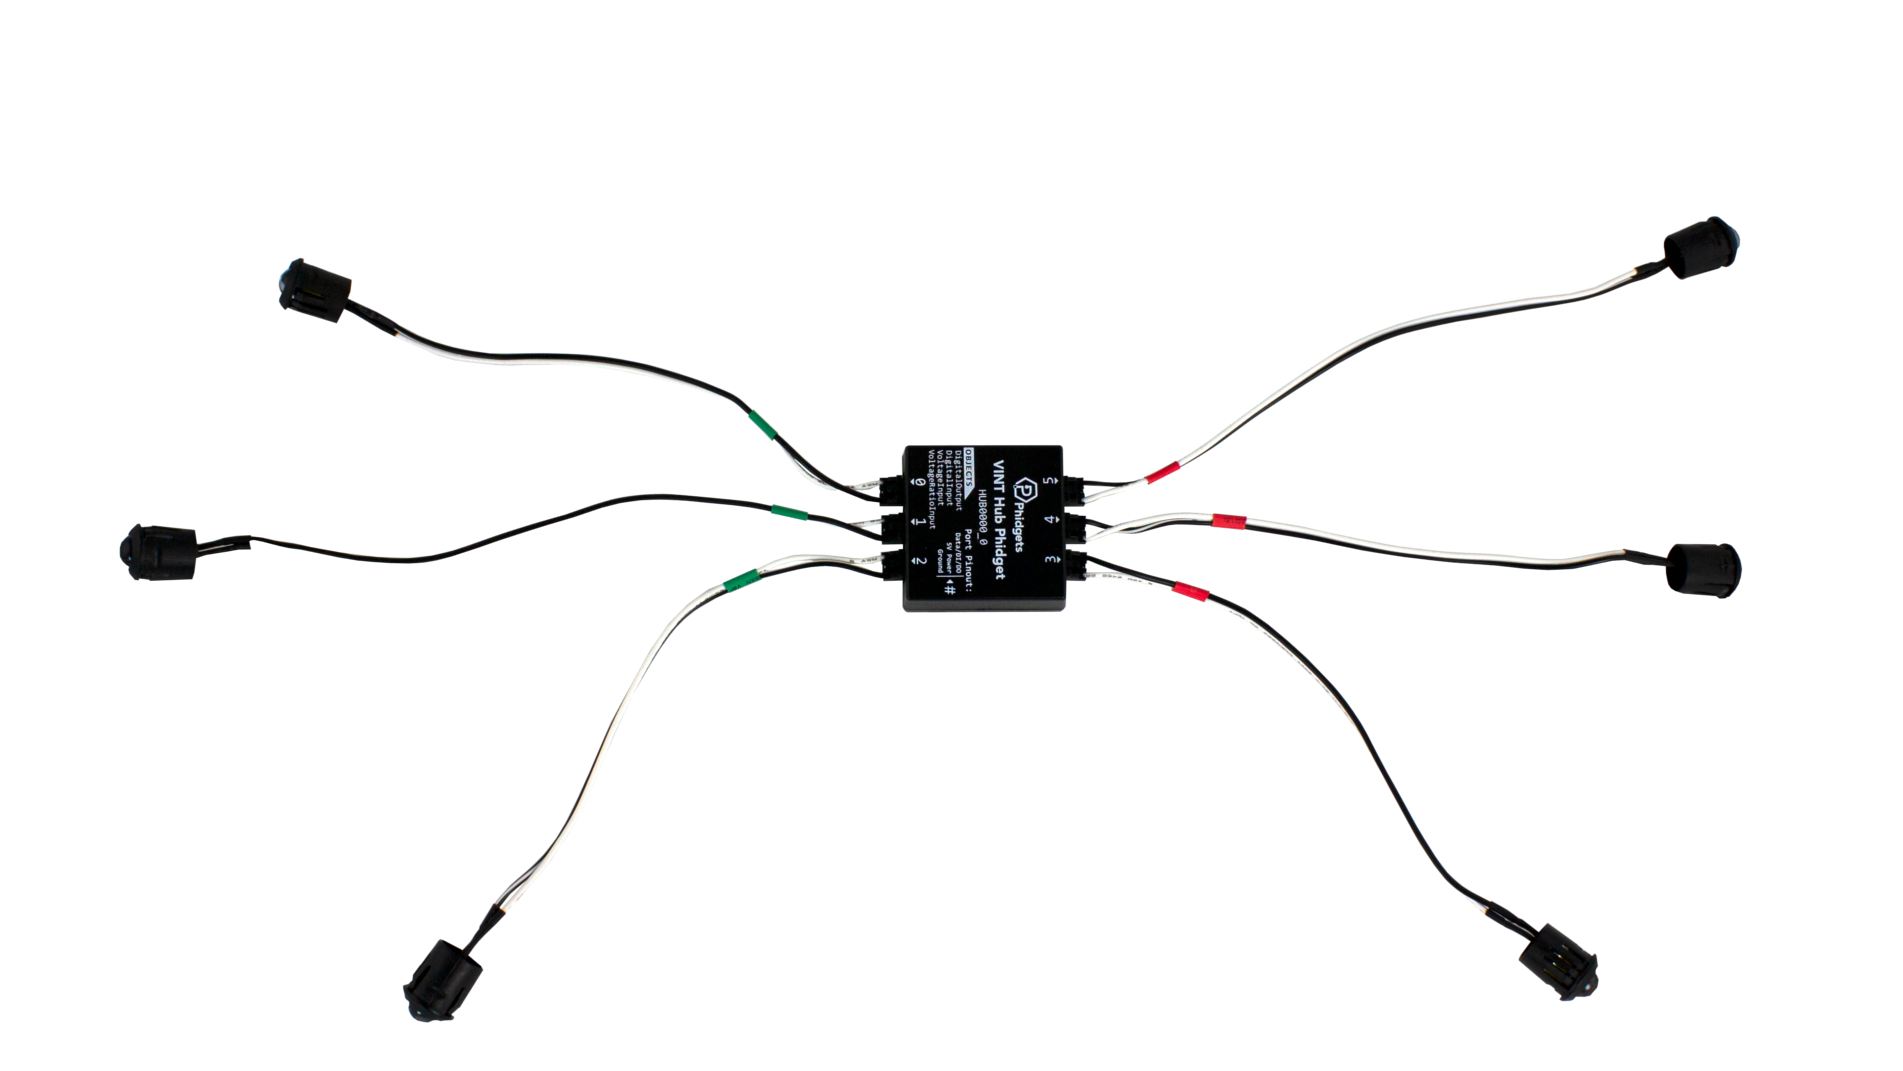
Remove one VINT Hub from a Getting Started Kit. Connect six LEDs to the hub as shown:
Write code (Java)
Copy the code below into the project you created. If you don't have a project or forgot how to create one, revisit the Configure section.
Not your programming language? Set your preferences so we can display relevant code examples
package gettingstarted;

//Add Phidgets Library
import com.phidget22.*;

//Imports required for lists
import java.util.ArrayList;
import java.util.List;

public class GettingStarted {
    //Handle Exceptions
    public static void main(String[] args) throws Exception{

        //Define
        List < DigitalOutput >  leds = new ArrayList();

        //Create, Address and Open
        for(int i = 0; i < 6; i++){
            leds.add(new DigitalOutput());
            leds.get(i).setHubPort(i);
            leds.get(i).setIsHubPortDevice(true);
            leds.get(i).open(1000);
        }

        //Use your Phidgets
        while(true){
            for(int i = 0; i < leds.size(); i++){
                leds.get(i).setState(true);
            }

            Thread.sleep(1000);

            for(int i = 0; i < leds.size(); i++){
                leds.get(i).setState(false);
            }

            Thread.sleep(1000);
        }
    }
}
//Add Phidgets Library
import com.phidget22.*;

//Imports required for lists
import java.util.ArrayList;
import java.util.List;

public class GettingStarted {
    //Handle Exceptions
    public static void main(String[] args) throws Exception{

        //Define
        List < DigitalOutput  > leds = new ArrayList();

        //Create, Address and Open
        for(int i = 0; i < 6; i++){
            leds.add(new DigitalOutput());
            leds.get(i).setHubPort(i);
            leds.get(i).setIsHubPortDevice(true);
            leds.get(i).open(1000);
        }

        //Use your Phidgets
        while(true){
            for(int i = 0; i < leds.size(); i++){
                leds.get(i).setState(true);
            }

            Thread.sleep(1000);

            for(int i = 0; i < leds.size(); i++){
                leds.get(i).setState(false);
            }

            Thread.sleep(1000);
        }
    }
}
//Add Phidgets Library
import com.phidget22.*;
//Imports required for lists
import java.util.ArrayList;
import java.util.List;

//Define
List < DigitalOutput > leds;

void setup(){
  try{

    //Create list
     leds = new ArrayList();

    //Create, Address and Open
    for(int i = 0; i < 6; i++){
        leds.add(new DigitalOutput());
        leds.get(i).setHubPort(i);
        leds.get(i).setIsHubPortDevice(true);
        leds.get(i).open(1000);
    }

  }catch(Exception e){
    //Handle Exceptions
    e.printStackTrace();
  }
}

void draw(){
  try{

      for(int i = 0; i < leds.size(); i++){
          leds.get(i).setState(true);
      }

      delay(1000);

      for(int i = 0; i < leds.size(); i++){
          leds.get(i).setState(false);
      }

      delay(1000);

  }catch(Exception e){
    //Handle Exceptions
    e.printStackTrace();
  }
}
Write code (Python)
Copy the code below into the project you created. If you don't have a project or forgot how to create one, revisit the Configure section.
Not your programming language? Set your preferences so we can display relevant code examples
#Add Phidgets Library
from Phidget22.Phidget import *
from Phidget22.Devices.DigitalOutput import *
#Required for sleep statement
import time

#Create, Address and Open
leds = []
for i in range(6):
    leds.append(DigitalOutput())
    leds[i].setHubPort(i)
    leds[i].setIsHubPortDevice(True)
    leds[i].openWaitForAttachment(1000)

#Use your Phidgets
while(True):
    #Turn all LEDs on
    for i in range(len(leds)):
        leds[i].setState(True)

    time.sleep(1)

    #Turn all LEDs off
    for i in range(len(leds)):
        leds[i].setState(False)

    time.sleep(1)
Write code (C#)
Copy the code below into the project you created. If you don't have a project or forgot how to create one, revisit the Configure section.
Not your programming language? Set your preferences so we can display relevant code examples
//Add Phidgets Library
using Phidget22;
//Import for use of lists
using System.Collections.Generic;

namespace GettingStarted
{
    class Program
    {
        static void Main(string[] args)
        {
            //Define list
            List < DigitalOutput > leds = new List < DigitalOutput > ();

            //Create, Address, Open
            for(int i = 0; i < 6; i++)
            {
                leds.Add(new DigitalOutput() { HubPort = i, IsHubPortDevice = true});
                leds[i].Open(1000);
            }

            //Use your Phidgets
            while (true)
            {
                for (int i = 0; i < leds.Count; i++)
                {
                    leds[i].State = true;
                }

                System.Threading.Thread.Sleep(1000);

                for (int i = 0; i < leds.Count; i++)
                {
                    leds[i].State = false;
                }

                System.Threading.Thread.Sleep(1000);
            }
        }
    }
}
Write code (Swift)
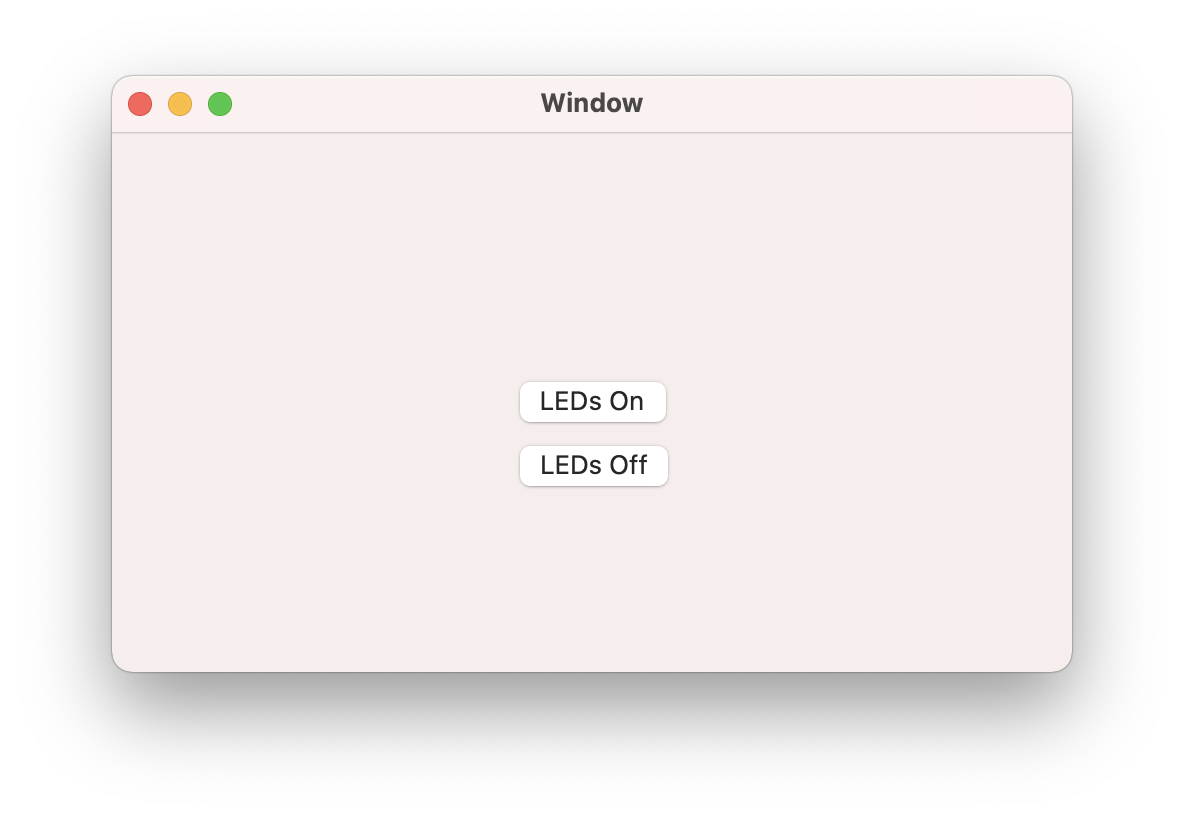
Create two labels in your window and copy the code below into the project you created. If you don't have a project or forgot how to create one, revisit the Configure section.
Not your programming language? Set your preferences so we can display relevant code examples
Create two labels
import Cocoa
//Add Phidgets Library
import Phidget22Swift

class ViewController: NSViewController {

    //Create
    var leds: [DigitalOutput] = []

    override func viewDidLoad() {
        super.viewDidLoad()
        do{
            for i in 0...5{
                //Create
                leds.append(DigitalOutput())
                //Address
                try leds[i].setHubPort(i)
                try leds[i].setIsHubPortDevice(true)
                //Open
                try leds[i].open()
            }
        }catch{
            print(error)
        }
    }

    @IBAction func turnLEDsOn(_ sender: Any) {
        do{
            //Use your Phidgets
            for led in leds{
                try led.setState(true)
            }
        }catch{
            print(error)
        }
    }

    @IBAction func turnLEDsOff(_ sender: Any) {
        do{
            //Use your Phidgets
            for led in leds{
                try led.setState(false)
            }
        }catch{
            print(error)
        }
    }
}
Run Your Program
You will see all six LEDs blink continuously.
Why Use Lists?
When you are using multiple Phidgets in your program that are the same class, it's often useful to group them in a List (shown above) or an array. Your code will be much more compact and your objects will be easier to manage.
Practice
- Using a pen/paper, notepad, etc. explain what is happening in the Create, Address, and Open section of the code.
- Modify your code so the LEDs turn on one at a time (from port 0 to port 5) and then off one at a time (from port 5 to port 0).
Troubleshoot
I am getting a "Timed Out" exception.
- Make sure the USB cable from your VINT Hub to your computer is attached properly.
- Make the Phidget cable (the black, red and white one) is connected to your VINT Hub and to your Humidity Phidget properly).
- Make sure no other program is running that uses Phidgets. If a Phidget is already in use in another program, it will be busy and won't respond to this one.
Still having issues?
Visit the Advanced Troubleshooting Page or contact us (education@phidgets.com).